filmov
tv
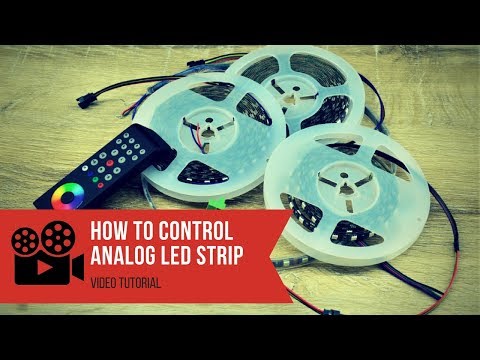
Analog RGB LED Strip Control with Arduino (Lesson #29)

Показать описание
Add RGB LED lighting to your next Arduino project! This video will show you how to individually control the brightness of red, green, and blue LEDs on an analog strip so you can mix colors. Note that unlike digital strips, the LEDs on these analog strip are not individually addressable - that is a topic for a different video!
0:00 introduction
0:24 LED strip and wiring
3:26 power
6:22 breadboard connections
13:48 code
19:21 sensors
#STEM #sciencebuddies #arduino #electronics #programming
*******************************
Connect with Science Buddies:
 0:01:08
How to control analog LED strip?
 0:10:08
Plug n Play WLED Controller: 5v, 12v, 24v Compatible! Full Walkthrough.
 0:11:13
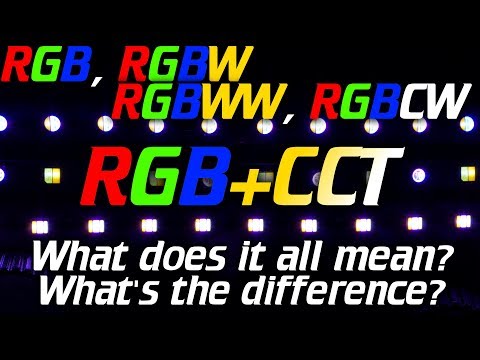
QuinLED: RGB, RGBW, RGBCW, RGBCCT LED strip, what does it all mean?
 0:01:06
Touch Wheel Controller for Analog RGB LED Strips
 0:04:46
ADDRESSABLE led strip vs DIRECT led strip
 0:00:38
RF Touch Wheel Controller for Analog RGB LED Strips
 0:20:13
Analog RGB LED Strip Control with Arduino (Lesson #29)
 0:14:42
LED Strips, what's the difference? WS2811, WS2812B, 2812Eco, WS2813, WS2815, SK6812, SK9822.
 0:06:22
How to Control Analog RGB LED Strip with Arduino | Easy way
 0:00:55
LEDSTRIPHUT.com - Touch Controller for RGB Light Strip & Flexible LED Strip Lights
 0:00:50
Touch Wheel Controller For Analog RGB LED Light Strip
 0:01:11
Touch Wheel Controller for Analog RGB LED Strips
 0:07:55
Power your LEDs! Cosplay & DIY Batteries Simplified.
 0:00:55
Touch Wheel Controller for Analog RGB LED Tape Light
 0:01:38
analog vs digital RGB LED strip
 0:00:28
RF Touch Wheel Controller for Analog RGB LED Tape Light - Theledstrip.com
 0:01:13
What is an analog LED strip?
 0:05:44
Bluetooth RGB LED strip Control with Arduino
 0:04:30
How To Use RGB Strips Without Buying An RGB Controller! (Solid Colors Only!)
 0:08:11
How to convert Simple LED Strip to Smart LED Strip | Turn Simple LED Strip to Smart LED Strip
 0:10:39
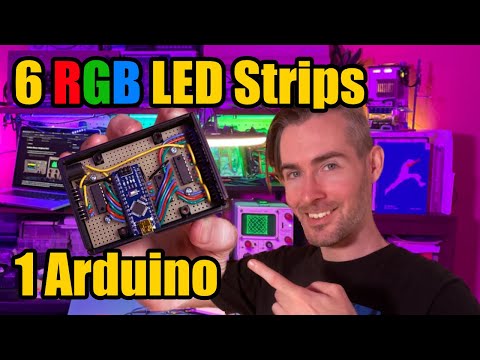
Control 6 RGB LED strips with 1 Arduino
 0:08:59
Beginner's Guide to Using LED Strips with Arduino
 0:07:00
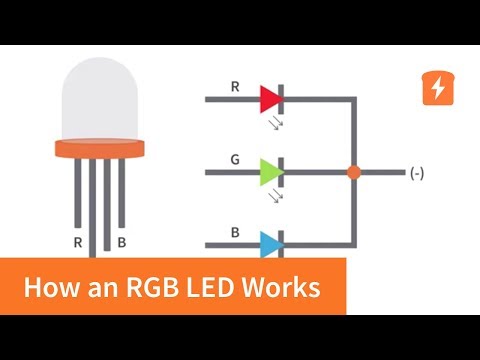
How an RGB LED works and how to use one! | Basic Electronics
 0:00:14
Controlling a 5V RGB LED Strip with an Arduino
Комментарии