filmov
tv
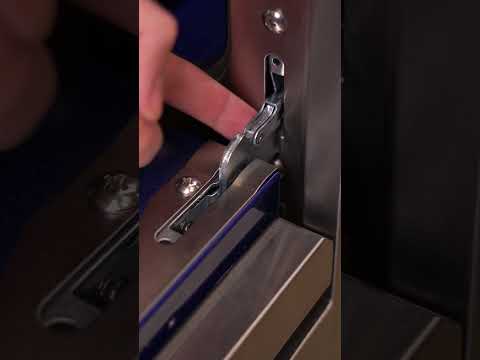
How To: GE Front Air Duct Assembly WE14X25080

Показать описание
Symptoms: Upper bearing assembly has worn out, causing drum to settle onto lower portion of front air duct assembly, wearing it out
Tools: Torx 20 screwdriver, Phillips screwdriver
This GE made Dryer Front Air Duct Assembly replaces the following older part numbers on General Electric, Hotpoint, RCA, Sears and Kenmore Dryers: WE14X21334, WE14M92, WE14X20425, 4467076, WE14M0076, WE14M0079, WE14M0092, WE14M76, WE14M79.
Most orders delivered in 2 business days or less.
If you enjoyed this video, please click the like button. Subscribe to this channel for more appliance repair tutorials.
For more appliance advice, information, and tips, follow us on social media.
 0:05:55
How To: GE Front Air Duct Assembly WE14X25080
 0:00:17
Air conditioner filter removal and installation process, filter cleaning
 0:00:28
GE Appliances UltraFresh Front Load Washer - 1 Step Wash + Dry
 0:00:29
How to clean & open portable ac
 0:01:53
(QUICK version) “disassembly” of GE window air conditioner (deep clean)
 0:00:24
Clothes not dry enough? Check the moisture sensor!
 0:01:58
GE Dryer disassembly and vent cleaning. (Hampster Nest of Lint)
 0:00:13
GE Dryer Won’t Heat? Check This! #ge #appliances #dryer
 0:00:19
GE Appliances Front Load Dryer with Sanitize Cycle
 0:00:30
HOW DID I JUST FIND OUT OVENS CAN DO THIS! 🤯 #shorts #cleaninghack #lifehack #cleaning
 0:00:21
Helpful Tip For Putting DRYER BELT on Tensioner!
 0:00:16
how to Lg air conditioner cleaning
 0:00:22
GE Appliances Range with Steam Clean
 0:08:28
Dryer Repair - Replacing the Front Air Duct Assembly (GE Part # WE14M92)
 0:00:27
Doing an extensive cleaning of the Lint Trap. #oddlysatisfying #asmr #dryerventcleaning #vacuum
 0:01:22
How to Clean GE Air Conditioner Filter Model AEL05LXL1 5000 BTU
 0:00:31
Dryer Not Heating? Here's The Real Problem!
 0:00:20
🥵 99% Don't Know THIS About Window A/C!
 0:00:20
GE Appliances with SmartHQ Portable AC Temperature
 0:01:01
Clean Your Dryer Like A Boss! #shorts
 0:01:01
Dryer not drying solved!
 0:00:09
drain pipe cleaner easy 2 minutes me #ac #service #split #airconditioner #hvac #cooling
 0:00:16
removing and cleaning washing machine water inlet filter
 0:00:11
How To Remove Your Oven Door ⚡ #oven #kitchenhacks #kitchentools
Комментарии