filmov
tv
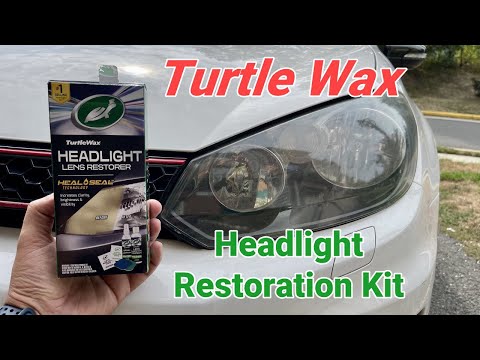
Turtle Wax Headlight Restorer All Steps

Показать описание
This video takes you through each step in restoring oxidized headlight lenses with a DIY kit. My daughter's used car had some oxidation on the headlight (headlamp) lenses. In this video, we used the Turtle Wax Lens Restorer kit to remove the oxidation.
 0:05:24
Turtle Wax Headlight Restorer All Steps
 0:02:44
Easy Headlight Restoration with Headlight Lens Restorer Kit | Turtle Wax
 0:01:00
Like-New Renewal | Turtle Wax Headlight Lens Restorer Kit
 0:11:02
Turtle Wax Headlight Restorer Kit Lens Restoration Cleaner
 0:01:53
Headlight Cleaner & Sealant | Turtle Wax
 0:06:36
TurtleWax Headlight 2 in 1 Cleaner & Sealant Review: How To Restore Car Headlights
 0:01:00
Quick Headlight Restoration | Turtle Wax Speed Headlight Cleaner Kit
 0:02:44
Turtle Wax Headlight Restoration Kit // Supercheap Auto
 0:06:37
DIY Headlight Restoration Turtle Wax Speed Kit! Does It Work? Let's Find Out! KnightAutoPCD Avo...
 0:04:45
Applying Turtle Wax 🐢 Headlight Restorer Kit w/ Review
 0:12:39
Mobile Car Mechanic - Restoring Headlight With Turtle Wax 🐢 Restoration Kit
 0:10:03
How To Restore Headlights Quick & Easy with Headlight Lens Restorer Kit | Turtle Wax!!!
 0:00:56
Headlight restoration. Trying the Turtle Wax headlight restoration kit
 0:09:07
Turtle Wax Headlight Restoration Kit vs Professional Restoration
 0:12:02
Turtle wax headlight Lens restoration kit tutorial
 0:17:34
Unboxing and Review Turtle Wax Headlight Restorer Kit Lens Restoration Cleaner
 0:01:59
Does the Turtle wax headlight cleaner and sealer 2in1 works?
 0:12:42
Best Headlight Restoration Kit in 2024? Let’s Find Out!
 0:08:31
The BEST Headlight Restoration Kit for the Money!! | Turtle Wax Headlight Lens Restorer Kit Review
 0:11:43
Best Headlight Restoration Kit?? Heal & Seal Technology! TURTLEWAX Headlight Lens Restorer!
 0:06:43
The easy way to do your headlight restoration with TURTLE WAX THE RESTORER!!
 0:04:07
Turtle Wax Headlight Restoration Cleaner and Sealant - Review #turtlewax #headlightrestoration
 0:01:01
Turtle Wax The Restorer for headlight haze cleaner & polish Review! (Longer video in Descriptio...
 0:03:15
How to Use Drill-Based Car Headlight Restoration Kit | Turtle Wax
Комментарии