filmov
tv
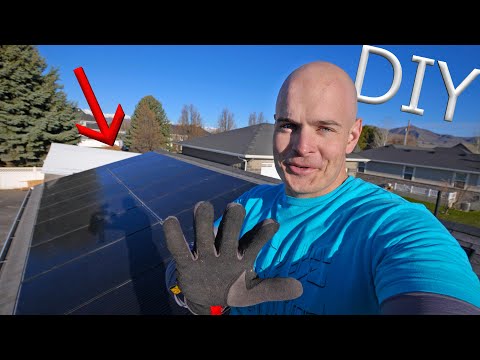
BEGINNER FRIENDLY Step-by-Step: DIY SOLAR GENERATOR for Emergency Power, RV, Shed... Ampere Time

Показать описание
Let's build a simple starter Solar System together. We'll learn all the essential components and how to assemble them.
Here are links to all the components and tools I used in this video:
As an Amazon Associate I may earn a small commission from qualifying purchases when you use the link(s) above. This helps the channel without any impact to the price you pay through Amazon. We appreciate your support! :)
Here are links to all the components and tools I used in this video:
As an Amazon Associate I may earn a small commission from qualifying purchases when you use the link(s) above. This helps the channel without any impact to the price you pay through Amazon. We appreciate your support! :)
 0:22:34
BEGINNER FRIENDLY Step-by-Step: DIY SOLAR GENERATOR for Emergency Power, RV, Shed... Ampere Time
 0:08:00
Beginner And Budget Friendly DIY Solar Power System! Anyone can build this!
 0:07:45
12V Beginner Friendly Solar System Packages! Budget and Performance
 0:13:42
DIY Solar Setup: Easy to Follow Step-by-Step Instructions
 0:13:41
How to Build a DIY Solar Generator Setup - Complete Review - Beginner Friendly - 12V
 0:10:59
Beginner Friendly All-in-One Solar Power System! Build a System in Minutes
 0:31:59
How To Build A Solar Setup: COMPLETE Step-by-Step, DIY Guide (12V, 2000W)
 0:12:14
Beginner Friendly 48V Solar Power System! Step by step!
 0:11:22
Build Your First Solar Power System! Beginner Tutorial Easily Explained, Budget Friendly
 0:17:21
Want To DIY Solar For Your Home? Start HERE!
 0:17:39
Top 10 Beginner Mistakes When Building a DIY Solar System
 0:22:26
Build Your Own DIY Solar Power System - Step by Step Guide
 0:11:25
SOLAR POWER: The Ultimate Beginner's Guide / How To
 0:33:20
DIY 400 Watt 12 volt Solar Power System Beginner Tutorial: Great for RV's and Vans! *Part 1*
 0:16:24
Do It Yourself Solar Power? - Easy DIY Solar Panel Installation!
 0:12:36
Paano mag-install ng Solar set up || Beginner friendly, solar power generator.
 0:12:19
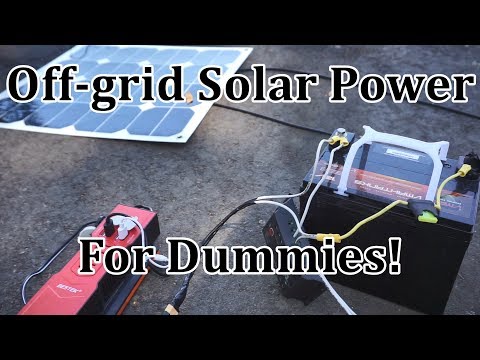
Off-grid Solar for Dummies! Step-by-step Solar Power System Tutorial
 0:08:32
Ultra-Budget Solar Panel Setup - What Can It Power?
 0:12:11
DIY 200 Watt 12 volt Solar Power System 'The Minimalist' Beginner Tutorial
 0:17:43
Paano Gumawa ng DIY Simple Solar Setup for Home Cheapest Solar Setup for home
 0:09:44
DIY 400 Watt Solar Power System Beginner Tutorial *Part 2*
 0:00:16
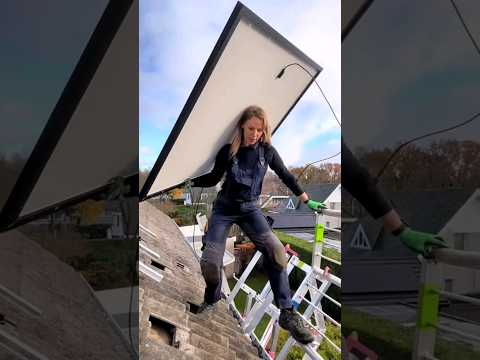
Very Impressive #Solar Installation on a Roof💪 - Subscribe for more! ☀️
 0:00:30
DIY Solar Panel System Where?
 0:40:10
Step by Step BASIC CALCULATION Para sa Gustong mag DIY ng Solar - Beginner's Basic Guide in Tag...
Комментарии