filmov
tv
How I Built Our NEW GATES

Показать описание
It's been a week of gate building! In this video I make some much needed replacement gates for the back garden. Due to the fixed size of the opening there was no 'off the shelf' option, so time to get stuck in and make a pair myself.
--- CLICK SHOW MORE FOR LINKS AND RESOURCES ---
CONTACT US
OUR SOCIAL NETWORKS
OUR BLOG
#gates #gardengates #woodworking
--- CLICK SHOW MORE FOR LINKS AND RESOURCES ---
CONTACT US
OUR SOCIAL NETWORKS
OUR BLOG
#gates #gardengates #woodworking
 0:15:55
How I Built Our NEW GATES
 0:17:02
We Built Our House In 4 DAYS With FOAM!
 0:26:07
WE BUILT OUR DREAM HOME! | Full House Tour & Renovation
 0:40:50
How We Built Our Farmhouse Dream Barn! Post Frame - Steel Truss Pole Barn
 0:34:52
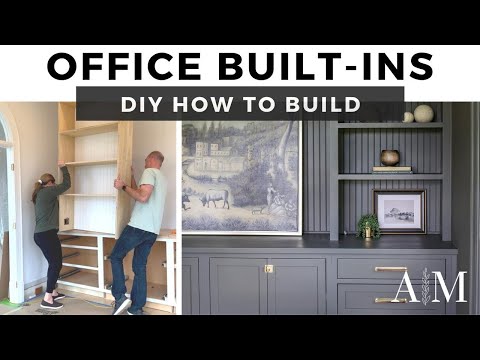
How We Built Our Office DIY Built-Ins - Built In Cabinets START to FINISH
 0:08:35
How We Built our Slate Hearth Pad + a Peek at our new Wood Stove!
 0:18:05
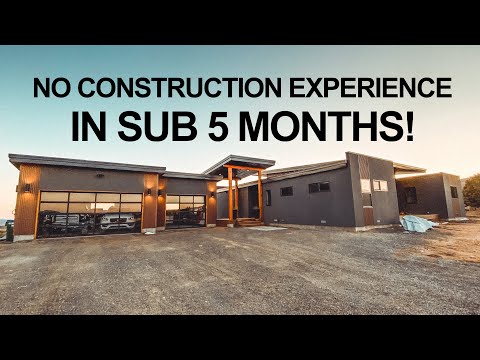
Why We Haven't Built Our New Home | 2 Years & Permitting in Florida
 0:16:35
How We Built Our Lake
 0:05:27
We built our own in-ground pool and saved $50,000! 🏊 [ DIY In-Ground Pool ] #diy #pool
 0:25:50
Others build dream garages, we built our own street...
 0:18:18
YEAR 1. Everything we built on our Homestead from SCRATCH! Timelapse
 0:14:05
We Built Our DREAM Swimming Pool | Full Tour & First Swim
 0:19:32
We built our FOREVER home on 1.5 acres!! FULL HOUSE TOUR
 0:05:20
We Built our House for $80k! - House Build Update
 0:39:51
I Built A Traditional Firewood Dome For The Log Cabin
 0:08:59
We Built Our Dream Home, FROM A KIT!
 0:06:51
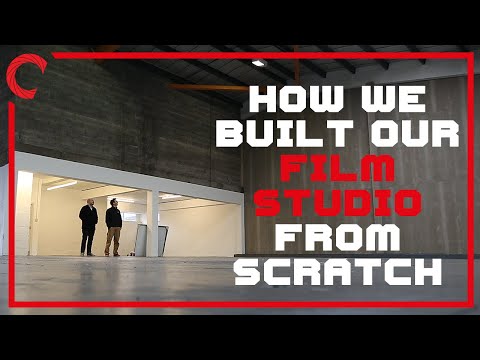
How We Built Our FILM STUDIO From Scratch!
 0:20:14
We Built Our Cozy Off Grid Cabin for $7,000
 0:41:40
We Built Our Own Micro Stores!
 0:21:50
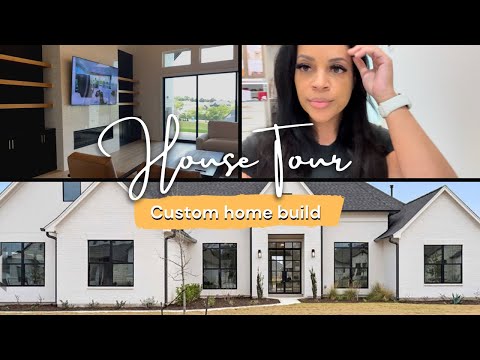
New Build Home Tour | Inside Our Custom Home Build
 0:15:42
How we built our Dream House in New Zealand | An Unforgettable Journey - Start to Finish SUBTITLES
 0:17:23
YEAR ONE. Everything we built on our abandoned land
 0:09:24
We Built Our DREAM Anime Room ($15,000+)
 0:43:26
NEW HOUSE TOUR | INSIDE OUR CUSTOM HOME BUILD
Комментарии