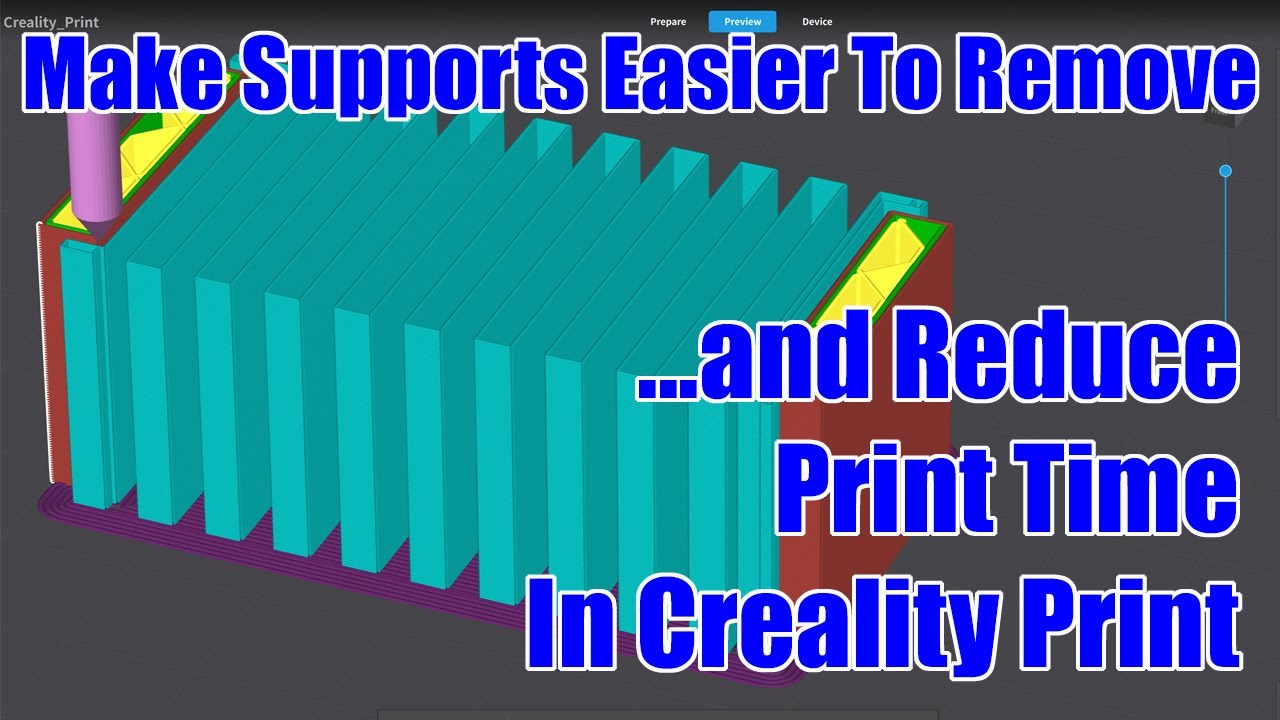
Easy To Remove Supports In Creality Print

preview_player
Показать описание

Рекомендации по теме
Комментарии
Автор

Dude you need way more subscribers for the quality/help you are providing for us a Creality users. Thank you 🙏

lahso
Автор

Thank you, You are the most useful 3D printing person I have ever seen (and I have watched and skipped loads) Easy to follow what you are doing and saying. You are now my go to channel for Creality Print and anything else you do. Keep at it thanks.

kirslukey
Автор

I’ve been 3-D printing for three years I think more and this channel helped me out a lot. Awesome awesome work buddy.

crocythecrocodile
Автор

Thank you, supports are much easier to remove now. I'm using a Creality K1 max and so far am happy with Creality Print.

lynnbergan
Автор

Thank you for taking the time o explain this. Looking forward to seeing the stringing video when you figure it out 😀

flawedatdesign
Автор

Great tutorial Bill, thanks for putting the time into this for all of us new to creality print. I've used Cura for the past 8 years but since I recently moved into the 21st century lol with the purchase of a new KE, I'm willing to learn about crealities own slicer. I got to say I like it so far. I don't understand why there's so many comments From people that say they absolutely hate creality print on YouTube, guess we get pretty narrow-minded don't we, even for an old guy I'm willing to try something new I like it,
it's got everything I need to push plastic thanks for your tutorials Bill they're excellent.
And like another guy said here you need more subscribers! so count me in,
your content is excellent my man from one old guy to another old guy, ha ha😊

metalfabman
Автор

YouTube algorithm send me here.
I use snug supports in Prusa slicer for my models. I mean figurines.
My 1st attempt was with Creality Print. Something I have to use with my Ender 3 S1 laser engraver.
And it was awful.
Then yree supports slim then strong.
Awful.
So your video pointing out how to tune Creality Print is a good one.
1st time buyers won't know about other slicers by default. So informing them on how to use the provided slicer is a great idea.
I was a little different.
When I bought my 1st 3D printer I was researching the model and relevant information.
That is how I got to 3DPN, uncle Jesse and CNC Kitchen and last year Aurora Tech Channel.
Every channel has something to offer the community. And this video sure did.

MrGerhardGrobler
Автор

Thank you, Sir, this video is godsent for sure. I've just bought my first 3d printer and was struggling removing tree supports connected to my prints, changing the XY/Z distance really helped me. Printing with one-click is the reason to use this slicer and my simple testing prints are fine. Im going to try this on smth complex. Thank you!

ИисусиАпостолПавел
Автор

Thanks for sharing! I really enjoy your in-depth explanation and step-by-step approach, works for me!

rodneysmith
Автор

I've been 3D printing for many years using a DIY kit printer (it has been a journey!) and finally I've moved on to a more commercial approach with an Ender 3 v3 KE. The differences are remarkable but I'm still getting used to this machine. Thanks for all the helpful tips good sir :)

AseGarcia
Автор

Great explanation of supports. I think next step should be how to smoothly print the bottom surface of the model touching the supports, to prevent strings and etc.

emreocan
Автор

Thank you sir! The same settings are found in Cura.

stephsunny
Автор

we need a small hot iron to smooth those down facing, stringing layers. Carefully

bodstrup
Автор

Thank you very much for your help. I was looking for this information to improve my prints. Very useful. Greetings from Brazil.. 🤝

tgames
Автор

Now i know why you said stay tuned!! Haha thank you Bill, Seriously your videos have been super helpful!

JayEm
Автор

VERY VERY useful thank you so much, my supports were crazy difficult to remove

Kalahari-kia
Автор

Thanks Bill - good work. I am using tree supports on veterianry anatomy models printed with 95A TPU - do you have a tutorial on that?

apcpolli
Автор

I am new to the world of 3D and everything involved. I have only just purchased a Creality Sermoon V1 printer. I have the slicer, and use Tinkercad to design at this stage. I cannot for the life of me find how to flip an object in the Creality slicer, which would be so much simpler. When I use Flash Forge (?) at the library you can remove some of the supports manually, which makes it easier to clean up after the print.

sharynwillis
Автор

What I learned from my testing to get support material to stick less (mostly applicable for spanning horizontal surfaces like shown in the video)
Short version:
1) Reduce extrusion width specifically for layers that have supported bridges. (Or only for the bridges, but I doubt that any slicer can do that)
2) Drastically reduce temperature - but only specifically for layers that have bridges over support material.
3) Make the topmost support layers (that touch the part) less dense. Less lines touching the part = less hassle removing.

long version:
1) If you use high extrusion width to save on print time and to increase stability: reduce extrusion width only on the specific layers that have bridges over the support material. Reduce extrusion width to the nozzle diameter (0, 4) or below. That results in finer and more bridge lines - with the benefit that the molten filament gets "pressed" less onto the support material. Imagine having to do a line with 1mm width there. The printer would press the material right in between the small support layer crevices because it needs more pressure to make the broader line with the same speed.
Playing around with reducing bridge flow ratio has the same effect of "less pressure", but you bridge lines will be further apart. Haven't tested it's efficacy compared to changing extrusion width yet, but it will definitely be less work in the slicer compared to setting extrusion with for multiple layers individually.
(With this you probably also will not need such high vertical distance to the support material any more.)
If this alone doesn't do it, using 1) in combination with 2) will.

2) Use custom gcode for the layers where the part is getting pressed onto the support to reduce temperature where needed (e.g. "M104 S190" = set temp to 190°C). There is also M109 but use with caution since the printhead stands still until it reaches the desired temperature and can create small blobs. I only use that for high flow printing where the next layer immediately needs to print super fast & hot again. Check if your slicer sets the next layer back to the original temperature automatically!

3) I usually reduce "interface material" density quite a bit (double or tripple the usual line distance). Worked nicely for me so far.

SebasTian-odoz
Автор

Cool video

On that print you should turn off support roof, you dont need it for that shape and the support will come straight off without changing any other settings. Id keep the support at 15% if your removing the roof and print grid

peaceorpieces