filmov
tv
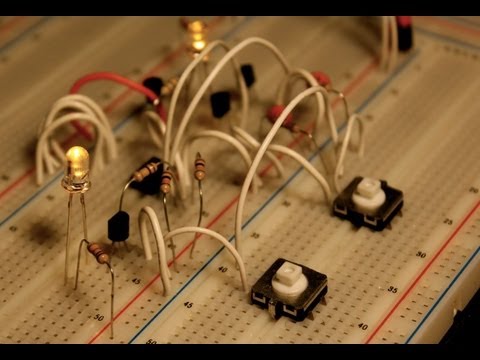
I2C Bit-Banged without Microcontroller!

Показать описание
I used push-buttons to bit bang an I2C EEPROM 24LC256. No Micro used! Kind of a crazy experiment to demonstrate the protocol...
Parts used in video:
Buttons:
EEPROM:
1k, 10k, and 100k resistors... you can get these anywhere
2N3904 Transistors:
0.1uF Caps:
Thanks to all the Patrons for dropping a few bucks in the tip jar to help make these videos happen!
For inquiries or design services:
Parts used in video:
Buttons:
EEPROM:
1k, 10k, and 100k resistors... you can get these anywhere
2N3904 Transistors:
0.1uF Caps:
Thanks to all the Patrons for dropping a few bucks in the tip jar to help make these videos happen!
For inquiries or design services:
 0:30:32
I2C Bit-Banged without Microcontroller!
 0:10:57
EEVacademy #4 - I²C (I2C) Bit Banging
 0:03:59
Electronics: I2C bit banging (4 Solutions!!)
 0:13:15
FMD chip FT62F13 - Software I2C Implementation (Bit-Banging Method) | C Code Example
 0:08:28
#078 Bit Banging I2C Part 1
 0:01:18
Electronics: I2C - bit banging query
 0:10:47
I2C bit bang using MSP430G2353 chip!
 0:20:25
Bit-Banging It Old School
 0:29:29
Coding in Hardware: Hacking I2C without a Microcontroller
 0:03:19
Bit-banging of I2C on Attiny 10
 0:01:36
Understanding I2C Start Condition Detection on STM32 with Bit-Banging Technique
 0:03:04
Electronics: Missing 1 bit shift Bitbang I2C Atmega328p
 0:00:11
Bit bang i2c
 0:04:47
Electronics: I2C EEPROM bit-banging: Writes fine, but only if first bit is not set (5 Solutions!!)
 0:08:23
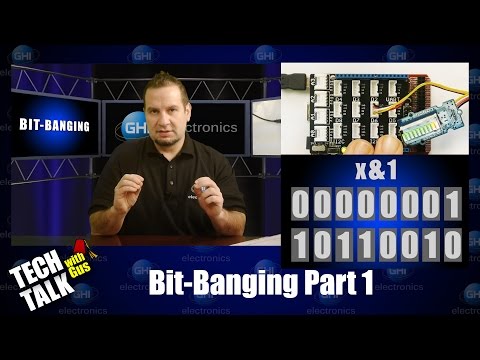
Bit-Banging: Part 1- Tech Talk - #027
 0:03:32
Electronics: I2C: Unable to Read Multiple Byte using Bit-Banging method (3 Solutions!!)
 0:15:43
Bit Bang I2C for EEPROM IC 24LC256 using Push buttons and Nuvoton W78E052D | Understand I2C Protocol
 0:02:39
Raspberry Pi: Proper way to bit bang I2C (2 Solutions!!)
 0:02:09
Electronics: Bit Banging a PICAXE 08M2 as an I2C Slave (2 Solutions!!)
 0:07:15
TDA8425 PC - LPT Driver I2C Bus Without Microcontroller and LCD VB6
 0:03:28
Debugging an I2C bus using the Rohde n Schwarz
 0:08:36
Bit-Banging: Part 2 - Tech Talk - #028
 0:00:14
DS3231 + 2.8' TFT (Bit Banged I2C)
 0:01:32
Electronics: Master SW (bit-bang) I2C with Interrupts?
Комментарии