filmov
tv
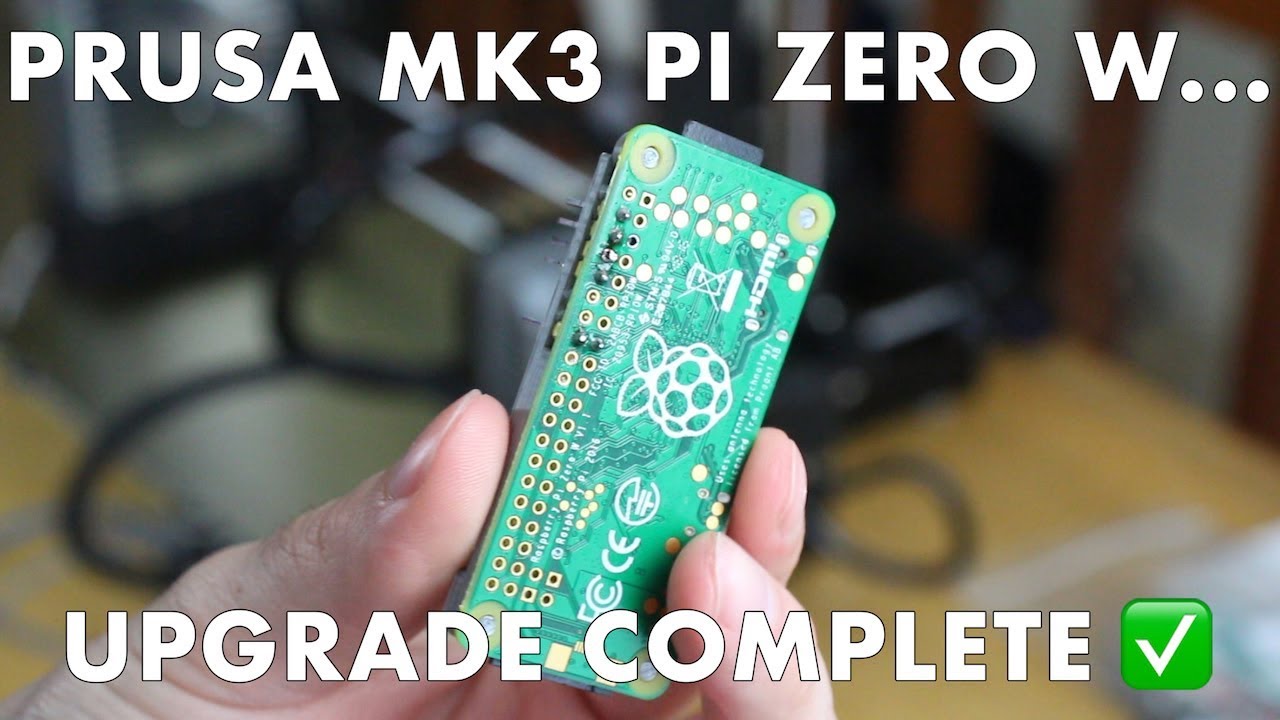
How to Install AND GIVEAWAY the Raspberry Pi Zero W on the Prusa MK3
Показать описание
Are you interested in learning how to install the Raspberry Pi Zero W on your Prusa MK3?! The Prusa MK3 3D printer has a motherboard that allows for the Raspberry Pi Zero W to just be plugged in after a few pins are soldered to the board. Check out this video as I go through the process, and as a bonus I tell you how to enter for a chance to win your very own Raspberry Pi Zero! You can then install it on your Prusa MK3 or use it for anything else you want. Let me know what you guys think, and thank you for watching.
Georges Gadgets FIRST GIVEAWAY!!!
Pi Zero Case
Pi Cover
BytePen Studios
Octopi Github Download
SD Formatter Download
Etcher Download
Notepad++
Putty
Zero on MK3 Post
Items I use
Social Media Links:
Instagram: @georgesgadgets
Twitter: @Georges_Gadgets
Facebook: @GeorgesGadgets3D
TubeBuddy Helps me manage my videos:
The music I use :
-~-~~-~~~-~~-~-
Please watch: "Install a buck converter on YOUR 3D printer for the raspberry pi"
-~-~~-~~~-~~-~-
 0:11:33
Gleam.io Review & Tutorial: How to Setup a Giveaway The Easy Way
 0:03:38
Giveaway Bot Discord 2022
 0:14:49
How to install Windows 10 on a Chromebook + GIVEAWAY
 0:05:13
How to Create a Giveaway with Simple Giveaways, WordPress Plugin
 0:03:25
How to: GTA V Free + FiveM Setup Guide | Epic Games - Giveaway
 0:02:34
How to install Iobit Driver Booster 12 Version—2024 Giveaway Guide - Update Drivers
 0:10:45
Dreamcast GDEMU / GDMENU Installation Guide and Giveaway!
 0:15:41
PS5 Slim in a Living Room? - Unboxing, Setup + Tips & Tricks (GIVEAWAY)
 0:13:30
Drip Irrigation Made EASY! Plus 3 GIVEAWAYS! How to install drip irrigation system.
 0:05:52
2000 Presets Pro | Free Extension | EasyEdit- Giveaway💥
 0:22:23
AUDI TT MK3 SPEAKER UPGRADE AND FREE GIVEAWAY - HOW TO INSTALL TTS, TTRS
 0:00:40
Espresso with the Flair 58 and Varia VS3 grinder. Enter our giveaway to win this setup!
 0:00:15
Apple Watch 7🔥Free Giveaway?😲#shorts #giveaway #smartwatch #applelogocode #applewatchultragiveaway...
 0:09:43
Keyfob with a BOTTLE OPENER Install + GIVEAWAY! 3rd Gen TACOMA!
 0:10:40
JUMBO TWIST RUBBER BAND METHOD + GIVEAWAY! | 1.5 HR INSTALL
 0:07:22
How to Build a Gaming PC + Giveaway!
 0:00:16
Galaxy Watch Ultra🔥Free Giveaway?#shorts #giveaway #smartwatch #applelogocode
 0:00:37
The Ultimate Giveaway Plugin for WordPress: RafflePress Review
 0:01:10
Script Blox Fruit Mobile FRUIT RAIN , AUTO FARM & KITSUNE FRUIT GIVEAWAY | Delta Fluxus Script
 0:00:50
Create Engaging Giveaway Campaigns with RafflePress | Drag-and-Drop Builder
 0:00:57
#Giveaway #FunctionalScala 2021
 0:19:28
Installing a New Hoselink (+ Giveaway!) & Harvesting Potatoes! 💦🥔🙌 // Garden Answer
 0:01:00
ROG Ally First Impressions & Giveaway
 0:00:35
How To Connect Watch🔥Free Giveaway?🆓#shorts #giveaway #smartwatch #applelogocode
Комментарии