filmov
tv
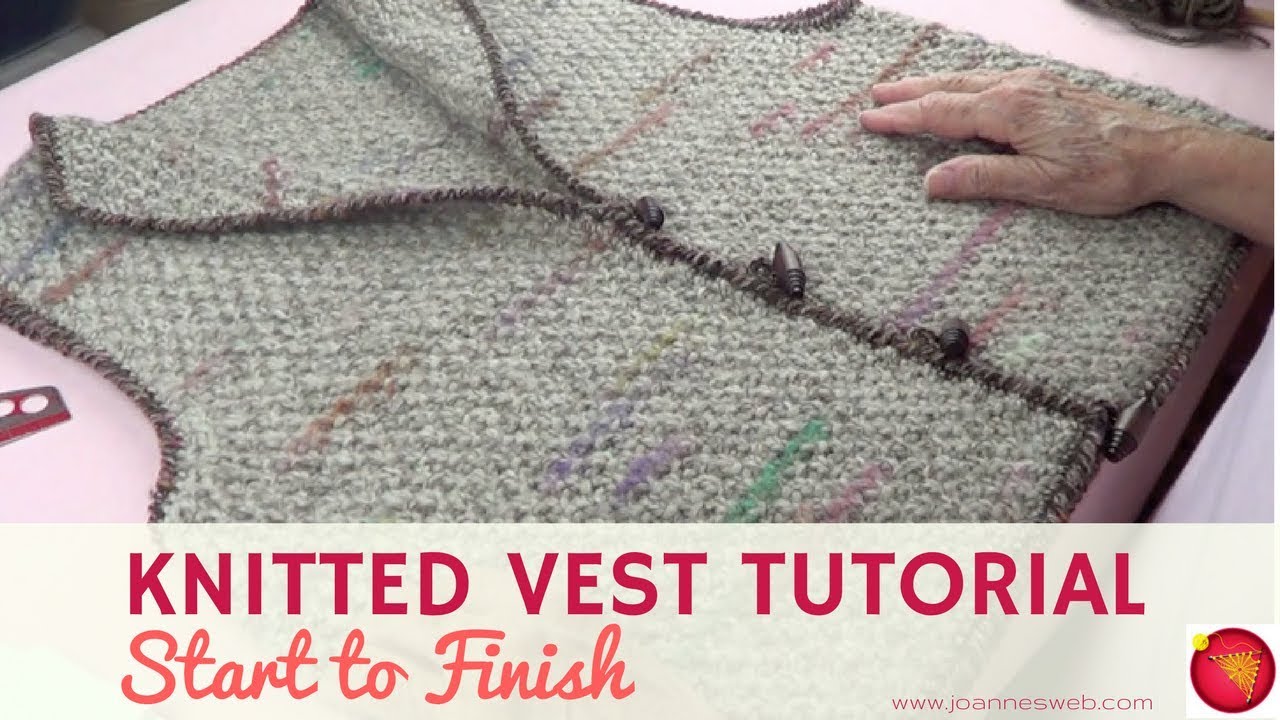
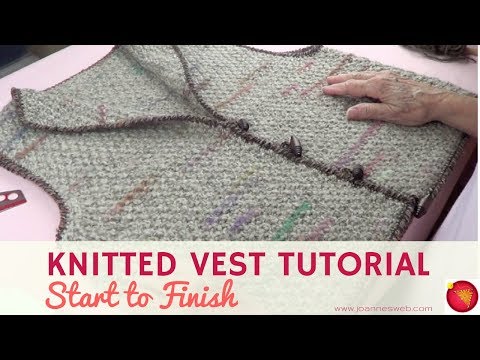
Knitted Vest Start to Finish - Vest Tutorial Knitting - How To Knit A Vest
Показать описание
A whole start to finish vest tutorial. Excellent to learn how to design in knitting, make buttonholes and sew pieces together. A great way to learn to convert to your own measurements and decrease on the sleeves as well.
used #5 yarn and 10 1/2 knitting needles
Gauge 15.5 stitches = 4”
k=knit
p=purl
k2tog=knot 2 stitches together
p2tog=purl 2 stitches together
ssk= slide 1stitch to the right needle, slide another stitch, put the left needle
in front of the 2 stitches and knit them together.
Repeat from * to *
Always leave long tails at the beginning and at the end, for sewing.
Cast on 81 Stitches and knit (double seed stitch) 48 rows.
Double seed stitch: since its an odd number of stitches, do the following:
1.- k1, p1 (end with k1)
2.- p1, k1 (end with p1)
3.- p1, k1 (end with p1)
4.- k1, p1 (end with k1)
For the armholes:
Row 1of armhole (49).- Bind off 5 stitches and continue with *k, p*….k
Row 2 (50).- Bind off 5 stitches and continue with *p, k*…p
Row 3 (51).- k1, k2tog, *p, k* to last 3 stitches, ssk, k1
Row 4 (52).- p1, p2tog, *p, k* p, last 3 stitches, p2tog, p1
Row 5 (53).- k1, k2tog, *k, p* k, last 3 stitches, ssk, k1
Row 6 (54).- p1, p2tog, *k, p* k, last 3 stitches, p2tog, p1
Row 7 (55).- k1, k2tog, *p, k* to last 3 stitches, ssk, k1
Row 8 (56).- p2, *k, p* purl last 2.
Row 9 (57).- k1, k2tog, *p, k* p, last 3 stitches, ssk, k1
Row 10 (58).- p2, *k, p* k purl last 2.
Row 11 (59).- k1, k2tog, *p,k*, p, last 3 stitches, ssk, k1
Row 12 (60).- p2, *k, p* k, purl last 2.
Continue straight until you have 96 rows.
Bind off.
Fronts:
Cast on 41 stitches and knit the same way as you did the back
using double seed stitch. The armholes are done the same way
Right side: same as left side of the back.
Left side: Same as the right side of the back.
Nothing is done at the neck.
Bind off on row 97.
Sew sides and shoulders.
Finish with a row of single crochet with main color.
1 row of single crochet with contrasting color and
1 row of reverse single crochet.
When making the front crochet, make chains (for the buttons).
/////Similar videos:
Disclosure: this video and description contain affiliate links :) thanks for your contribution
///Follow us:
💻 /CONTACT US:
#KnittingStitches #KnittingPatterns #KnittingInstructions #KnittingProjects #KnittingBasics #BasicKnitting #StartKnitting #KnittingTips #KnittingTutorial
 0:30:12
Knitted Vest Start to Finish - Vest Tutorial Knitting - How To Knit A Vest
 0:08:01
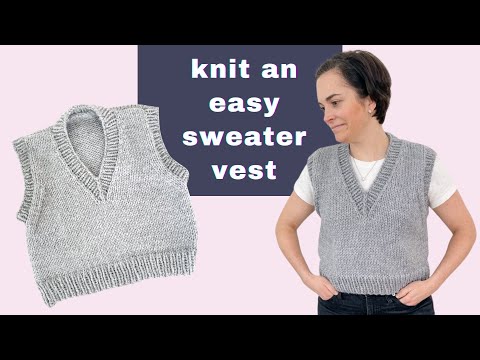
knitting a sweater vest w bellish | knit w me START to FINISH!
 0:30:40
knit vest tutorial 🧡 pt. 1 (step by step)
 0:51:19
FREE Cropped Vest KNITTING PATTERN + TUTORIAL
 0:00:07
Knit a chunky vest in 2 days and add a cute layer to your look this spring 🌷 #knitting
 0:00:16
Knitting a men's sweater vest for my friend (full vid on channel!)
 0:00:18
Better days vest coming soon #diy #knitting #knitsweater #knitters #knittingpattern #knit #yarn
 0:53:27
Knit a Simple V-Neck Sweater Vest | Chunky Slipover Knitting Pattern + Video Tutorial
 0:00:16
Knitting a vest 🧶🧥 #crochet #knitting #winter #laqthaq #brand #shorts
 0:00:23
PART1:Crop Top Knit Vest⭐️ #knitting #knittingdesign #fashion #fashiondesign
 0:22:01
EASY Knit Sweater Vest Tutorial | DIY Knit Vest
 0:00:09
Sweater vest knitting pattern coming in a few weeks! #knittingpattern #howtoknit
 0:00:16
The finishing touches on my sweater vest #knittingpattern #knitsweater #knitknitknit
 0:00:07
Get my latest sweater vest knitting pattern and tutorial 🧶 #knittingtutorial #knittingpattern
 0:44:08
How to Knit a Sweater Vest | Free Knitting Pattern
 0:00:26
3 Ways to Style a Knitted Sweater Vest
 0:00:14
Finished Project | Open Trails Sweater Vest #knitting
 0:00:07
Another sweater vest in the works #knittingpattern
 0:42:18
Knit an Easy V-Neck Sweater Vest with Buttons | Knitting Pattern + Tutorial
 0:00:25
Decreases on my latest knit vest pattern #knittingpattern #knitknitknit
 0:00:25
Nova vest 👀 #diy #knitting #knitsweater #knitters #knittingpattern #knit #yarn #fashion
 0:00:16
This better be a cute vest 🫠#crochet #crochetvest #crocheting #crocheter
 0:00:15
Vest Knitting Pattern - Melia Vest By Through The Stitch
 0:53:58
Easy Chunky Knit Cosy Vest Tutorial
Комментарии