filmov
tv
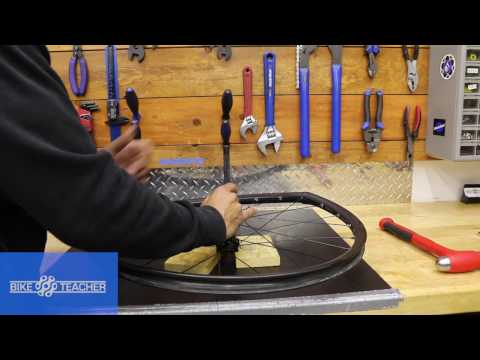
HOW TO: Replace Sealed Cartridge Hub Bearings // No Special Tools!

Показать описание
A simple process to replace your sealed cartridge hub bearings without special tools.
RELATED:
How to replace freehub body bearings:
Hopefully this video gives you the confidence to remove your old bearings and press in new cartridge bearings at home. You don't need a fancy bearing press with the proper drifts (although it's a nice-to-have). This video demonstrates the process with a DIY homemade bearing press made using $5 worth of common hardware. Keep your road bike, gravel bike, or MTB rolling smooth with a fresh set of bearings!
Help support nerdy bike content!
Thanks for watching and subscribing if you haven't already!
#bikenerd #bikewrench #smilespermile
 0:08:21
HOW TO: Replace Sealed Cartridge Hub Bearings // No Special Tools!
 0:16:11
Replacing Sealed Cartridge Bearings - Tools Required - Road Bike Maintenance
 0:10:08
Overhaul/Rebuild Bottom Bracket With Sealed Cartridge Bearings
 0:06:03
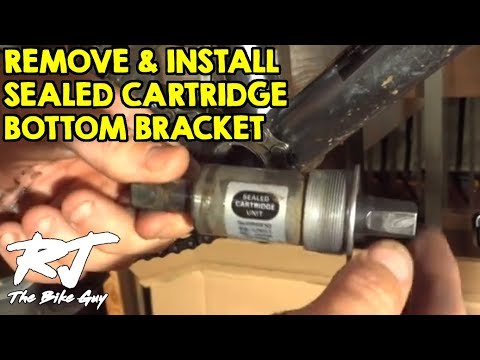
How To Remove/Install Sealed Cartridge Bottom Bracket
 0:04:35
How to Remove & Replace a Sealed Cartridge Bottom Bracket | Halfords UK
 0:12:28
How To Replace Cartridge Hub Bearings In Your Road Bike Wheels
 0:08:03
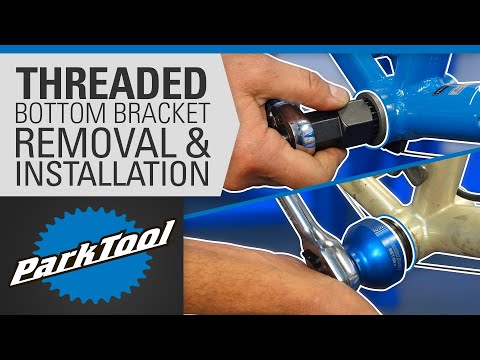
How to Remove and Install Bottom Brackets - Threaded Shell (BSA, T47, Cartridge, etc.)
 0:01:45
DSM Street Collective: How To Replace A Sealed Cartridge Bottom Bracket
 0:10:48
Sealed Cartridge Bottom Bracket Disassembly/Assembly
 0:09:25
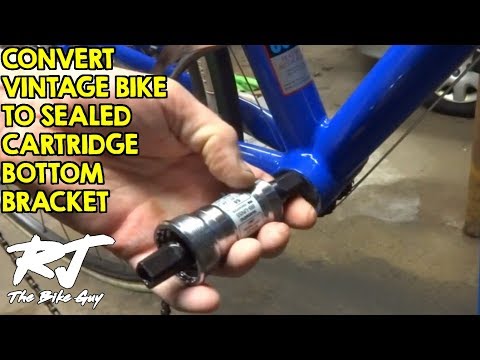
How To Upgrade Vintage Bike With Sealed Cartridge Bottom Bracket
 0:03:00
Sealed Cartridge Bearing Overhaul
 0:05:22
How To Service Cartridge Wheel Bearings
 0:08:07
Replacing a sealed cartridge unit on a bike
 0:15:32
How To Replace Cartridge Wheel Bearings - Road Bike Maintenance
 0:01:00
Wobbly bottom bracket replacement. Square tapered system.
 0:03:54
How To Change The Bearings In Your Mountain Bikes Front Wheel | MTB Maintenance
 0:01:00
How to Service and Prolong life in sealed bearings!!! #DIY #automotive #mechanic #bearing #tunengoon
 0:16:02
Sealed Cartridge Bottom Bracket Removal And Replacement
 0:03:56
How To Remove Sealed Cartridge Bearings With a Woodruff Key, Part 2
 0:03:57
How To Remove Sealed Cartridge Bottom Bracket Fast! Easy! Fun!
 0:06:29
How to Remove and Install a Bottom Bracket - Threaded Cartridge
 0:00:10
Bottom bracket removal - the easy way!
 0:00:15
Effortless Sealed Bearing Install on a Bike Hub
 0:00:59
Bicycle Wheel Sealed Bearing Removal/Install: No Bearing tool! #shorts #bicycle #sealedbearing
Комментарии