filmov
tv
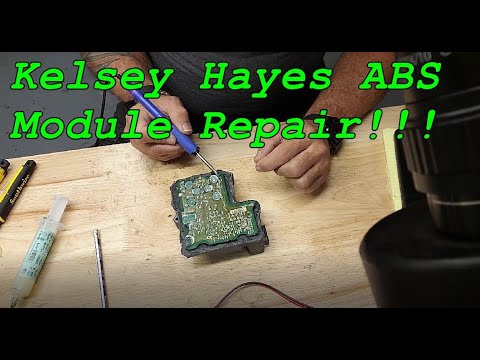
Kelsey Hayes ABS Module repair - Multiple vehicles!! ABS light on diagnostics-ABS pump runs non stop

Показать описание
Kelsey Hayes ABS Module repair - Multiple vehicles!! ABS light on diagnostics-ABS pump runs non stop or doesn't run at all. Changed speed sensor and still have ABS light. ABS Inoperative Brake light on. C0265 code
 0:32:58
Kelsey Hayes ABS Module repair - Multiple vehicles!! ABS light on diagnostics-ABS pump runs non stop
 0:19:33
Kelsey Hayes ABS MODULE REPAIR! IS YOU ABS OR BRAKE LIGHT ON? THIS COULD BE WHY! HERES HOW ITS FIXD
 0:17:45
Kelsey Hayes /cardone Reman ABS Module repair - Multiple vehicles! ABS light on - diagnostics of ABS
 0:09:22
GMC Chevy Truck ABS Brake Light EBCM Module Repair C0265 | How to DIY
 0:02:48
Spongy ABS Brake Fix 88 to 98 Chevrolet Silverado
 0:17:20
2005-2007 GMC Savanna ABS Kelsey Hayes module Repair ABS light on diagnostics-ABS pump runs non stop
 0:01:47
SYMPTOMS OF A BAD ABS MODULE
 0:12:17
1999 to 2007 Silverado ABS Light on! This is your repair video for the Kelsey Hayes ABS Module!
 0:22:14
ECBM Rebuild At Home Fix ABS and Brake Light on
 0:00:48
Kelsey-Hayes ABS module from a 1996 Chevy C1500
 0:29:00
Don't Replace ABS Module Before Watching This | Part 2 | ABS Module Components Test #abs #tcs #...
 0:05:22
K1500 Soft Brake Pedal Solved!! ABS Delete NBS Master Cylinder
 0:03:22
Bleeding ABS on a 1999 Suburban
 0:06:14
ABS BRAKES
 0:07:13
Ремонт ABS Kelsey - Hayes EBS 430
 0:08:54
GMC CHEVY ABS BRAKE LIGHT MODULE REPAIR C0265
 0:04:48
Bleeding ABS module s10 blazer (Kelsey-Hayes 4WAL)
 0:03:31
How to Fix your ABS Ford F150 Control Module Replacement
 0:14:36
Bleeding an ABS module with different methods - Brakes won't bleed - FIXED!
 0:02:54
88-98 Chevy Power Booster & Master Cylinder Swap turned into simple bleed of ABS Housing (fixed!...
 0:12:21
ABS break Module Kelsey Hayes 125 RWAL Dodge 1998 Ram pickup
 0:03:51
GMC Chevy Truck ABS / Brake Light on C0265 Solution
 0:12:24
ABS Control Module Removal Rebuilt & Reinstalled *LINK IN DESCRIPTION*
 0:00:54
Kelsey Hayes Brake Pedal Assist - Retro Power Brakes!
Комментарии