filmov
tv
How To Fit Wall Panels And Ceiling Panels by DBS

Показать описание
Shop the DBS Bathrooms ceiling and bathroom panels ranges here:
**Please note that our Coving Trim & Internal Corner Trim have now been updated to a Single Interlocking Trim **
These can be found here;
Wall panels are also known as:
"Wall Cladding"
"Bathroom Cladding"
"Wall Panelling"
"Wall Paneling"
"Wet Wall Panels"
"Showerwall Panels"
"Marbrex Ceiling Cladding"
"Marbrex Cladding"
"PVC Cladding"
"PVC Panels"
"Plastic Cladding"
"Waterproof Wall Panelling"
"Shower Panels"
"Plastic Shower Panels"
"Waterproof Shower Panels"
"Cladseal Around Bath"
"Cladseal Strip"
"Shower Wall Cladding"
"Shower Wall Panels"
"Plastic Ceiling Panels"
"PVC Ceiling Panels"
"Plastic Ceiling Cladding"
"Marbrex Ceiling"
"Plastivan Cladding"
"Plastivan Wall Panels"
"Wall & Ceiling Coverings"
"Laminate Plastic Sheets"
"Decorative Cladding"
"Wet Walls"
"Water Repelant"
"Waterproof Tiles"
"Swish Panels"
"Swish Cladding"
"Seal Around Bath & Shower"
"Marbrex Ceiling Clading"
"Marbrex Clading"
"PVC Clading"
"Plastic Clading"
"Shower Wall Clading"
"Plastivan Clading"
"Decorative Clading"
"Swish Clading"
 0:00:30
Wall Panels Installation
 0:14:08
How to Install Wood Slat Wall Panels | Trepanel
 0:00:14
How to Install Wood Slat Panels in Seconds | PANELUX™ Canada
 0:08:43
How to Install Wood Slat Wall Panels
 0:09:47
How To Install Wall Panelling - Easy DIY Guide
 0:07:25
How To Fit Wall Panelling For Under £100 | Step By Step Guide
 0:03:28
How To Install Timber Wall Panels - Bunnings Warehouse
 0:02:48
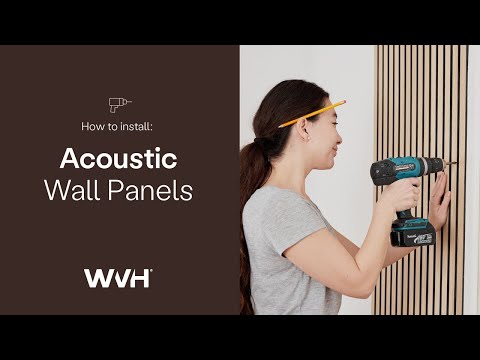
Acupanel® Acoustic Wood Wall Panel Installation Guide
 0:05:40
WALL PANEL INSTALLATION | How To Fit Wall Panelling | Easy DIY Tutorial
 0:02:47
Installing Wall Panels with Just Adhesive! | Transformation! | 3C Multi-Use
 0:02:52
How to create your own wall panelling
 0:00:18
What's the easiest way to install acoustic wall panels?
 0:02:57
How to install acoustic panels? ❓ Assembly instructions 🔨 - Lameo
 0:00:15
Transform your space ─ How to install wall panels #homediy #short
 0:02:53
The EASY Way To Fit Bathroom Wall Panels
 0:00:30
Easy DIY wainscoting to add some class to this dining room. #diy #wainscoting #moulding #diyprojects
 0:00:27
Complete DIY wall panelling transformation with Roomix
 0:00:57
Panel your bedroom walls like a pro with DIY tips from Jade Sweeney 🛌🎨 #DIY #Howto #BandQ
 0:00:12
Wpc wall panel background wall installation, wpc wall panel, home decoration
 0:00:14
wpc wall panel invisible door installation, wpc wall panel supplier, wpc import and export
 0:00:33
Panel Installation Day at Dollface
 0:05:02
How to create wall panelling up a staircase | DIY
 0:00:15
Transform your wall with our Akupanel 60!
 0:00:14
Acoustic panel installation on the wall is very simple,to see the finished effect.#acousticpanels
Комментарии