filmov
tv
ATmega8 bootloader, code, Arduino IDE

Показать описание
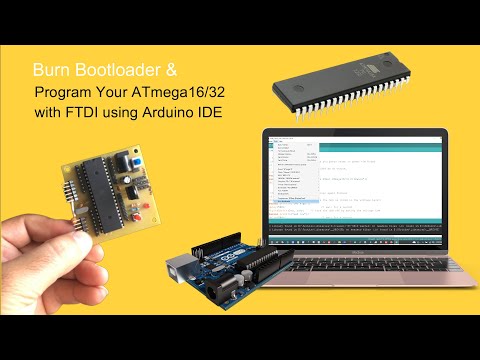
Let's start with other AVR microcontrollers from Atmel. This time, the ATmega8. Butn the 16MHz bootlaoder and then upload codes using the FTDI programmer. More micros tutorials soon...
------------------COUPONS--------------------
PRINTERS
-------------------------------------
Coupon code: "11CR10EU" or "11CR10US"
Coupon code: "Anete10us"
Coupon code: "Tarantulaus"
COUPON: CR10MINI
Coupon code: "A8KIDA"
------------------LINKS--------------------
Like share and subscribe to motivate me. Thank you
#electronoobs #arduino #homemade
 0:07:41
ATmega8 bootloader, code, Arduino IDE
 0:04:01
How to Program ATMEGA8 / 48 /88 / 168 / 328 P | Arduino As ISP | AVR Microcontroller Programming
 0:01:17
ATmega8 Arduino Bootloader
 0:18:40
How to code & upload atmega8 from Arduino IDE
 0:05:32
How To Burn Arduino Bootloader and sketch for ATMEGA8 ?
 0:03:59
Program atmega8 with arduino bootloader using arduino.
 0:00:40
ATMEGA 8 Bootloading with Arduino IDE 1.8.5
 0:00:37
#EP-217 Burn Bootloader in atmega8 using arduino uno as isp
 0:09:01
Burn Bootloader and Program ATmega16/32 with Arduino IDE using FTDI Programmer like Arduino Uno!
 0:08:50
nạp bootloader cho atmega8
 0:05:50
How to use atmega8 with arduino uno
 0:05:05
atmega8 bootloading efuse problem Solved
 0:01:46
How to program an ATmega8 with Arduino IDE
 0:14:22
Easy way to Load Bootloader on Blank Atmega328/Atmega8 chip
 0:05:52
How to Burn Bootloader and Upload Program in Atmega | Bootloader & Programmer board for Atmega8
 0:10:01
Tutorial burn atmega8 bootloader arduino
 0:10:11
HOW TO BURN BOOTLOADER IN ATMEGA328P MICROCONTROLLER . HELP OF USING ARDUINO UNO
 0:06:52
how to make arduino with ATMEGA-8 (atmega 328 vs atmega 8)
 0:03:35
arduino atmega burn bootloader and code (Christmas Tree ATmega )
 0:10:13
⚡ ATMEGA8 en placa de Arduino UNO, bootloader y uso con el IDE de Arduino
 0:12:53
WITH VS WITHOUT Bootloader Testing ATmega8 AVR MCU + 16Mhz External Oscillator Arduino Blink Sketch
 0:08:26
Atmega-8, 168, 328 & Attiny85 ISP Programmer And Boot Loader Burner Shield | How to Program Atti...
 0:05:03
ATmega8 - Programming in C & Assembly
 0:02:38
Install MiniCore Arduino IDE Additional Boards for ATmega328, ATmega168, ATmega88, ATmega48 ATmega8
Комментарии