filmov
tv
GNS3 1.4 and (MikroTik RouterOS) Cloud Hosted Router - installation and configuration

Показать описание
If you want to use MikroTik in a simulated environment than your simulator is GNS3. The newest version of the graphical network simulator is 1.4.
MikroTik is introducing Cloud Hosted Router (CHR), Public Beta – Router OS specifically tailored for running in virtual environments. CHR supports x86 64-bit architecture and can be used on most of popular hypervisors such as VMWare, Hyper-V, VirtualBox, KVM, QEMU and others. Full set of Router OS features are enabled by default, distinguished only by max upload speed. For each of the paid tiers a 60-day trial is available with no max upload speed limits.
To prepare your PC, for network simulations with MikroTik, it is necessary to follow these steps:
First: Download GNS3 and Raw disk image of the latest version of Cloud Hosted Router. Raw disk image because in this video we are going to use QEMU witch offers scalable options to use multiple routers by only one instance in GNS3.
Second: Setup GNS3 and configure your PC with Loop Back adapter.
Third: Configure GNS3 to work with Cloud Hosted Router and do some small tweaks for better visualization and performance.
Than you are ready to build complex network topologies with MikroTik RouterOS.
Important URLs:
 0:05:27
MikroTik Router Integration and Configuration on GNS3 (Part 1/4) - Install GNS3
 0:11:01
MIKROTIK-SERIES | Mikrotik On Gns3 Using Virtualbox_Vm Part 1 | Technology 4 All Academy
 0:22:41
Learn MikroTik using GNS3 Part 1 (Tagalog)
 0:18:32
Setup Mikrotik Router on GNS3 - Use WinBox to Configure IP Address and DHCP Server
 0:18:26
MikroTik Router Integration and Configuration on GNS3
 0:04:32
How to install Mikrotik OS on GNS3
 0:04:12
How to Connect Internet with Mikrotik on GNS3
 0:31:37
RouterOS Network Planning with GNS3
 0:05:48
GNS3 - Installing Mikrotik Cloud Hosted Router (CHR) On GNS3 | Accessing Mikrotik Router via Winbox
 0:27:28
Instalar Mikrotik en GNS3
 0:22:40
Creando nuestro laboratorio GNS3 y agregando RouterOS CHR | NETWORLD
 0:05:01
MikroTik RouterOS DHCP & DHCP Relay (GNS3 Lab)
 0:14:34
INSTALL MIKROTIK DI GNS3 | BelajarMikroTik Eps-1
 0:21:16
How to Build Mikrotik Real LAB with GNS3
 0:02:57
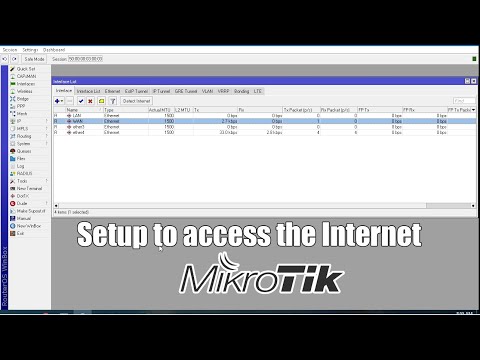
How to setup Mikrotik to access the Internet
 0:06:25
Install mikrotik in GNS3 1.2.1 version
 0:40:25
GNS3 2.1.11 Full Setup Guide for Beginners (2019)+ Mikrotik Start To Finish
 0:13:01
GNS3 MikroTik RouterOS Routing statico e dinamico con OSPF
 0:29:44
CONFIGURACION iOS Mikrotik EN GNS3 QEMU img (PARTE 1)
 0:06:44
MIKROTIK: Prise en main d'un routeur Mikrotik dans GNS3 à partir d'une machine virtuelle
 0:03:09
Mikrotik VLAN : Create and Configure ( VLAN, IP, DHCP, NAT )
 0:16:54
Belajar Routing OSPF mikrotik dengan GNS3 Simulator
 0:09:12
Mikrotik License Level 6 | Mikrotik 7 OVA Free File | Mikrotik 7 L6 install in VmWare | iT info
 0:02:50
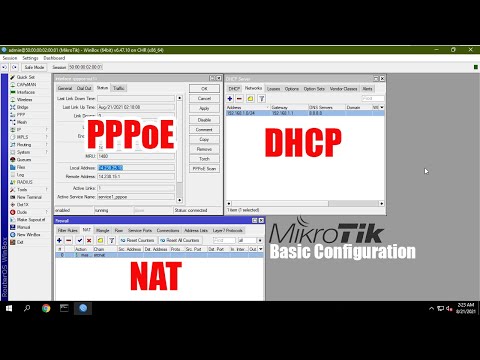
Mikrotik - Basic Configuration ( PPPoE, DHCP, NAT, IP LAN )
Комментарии