filmov
tv
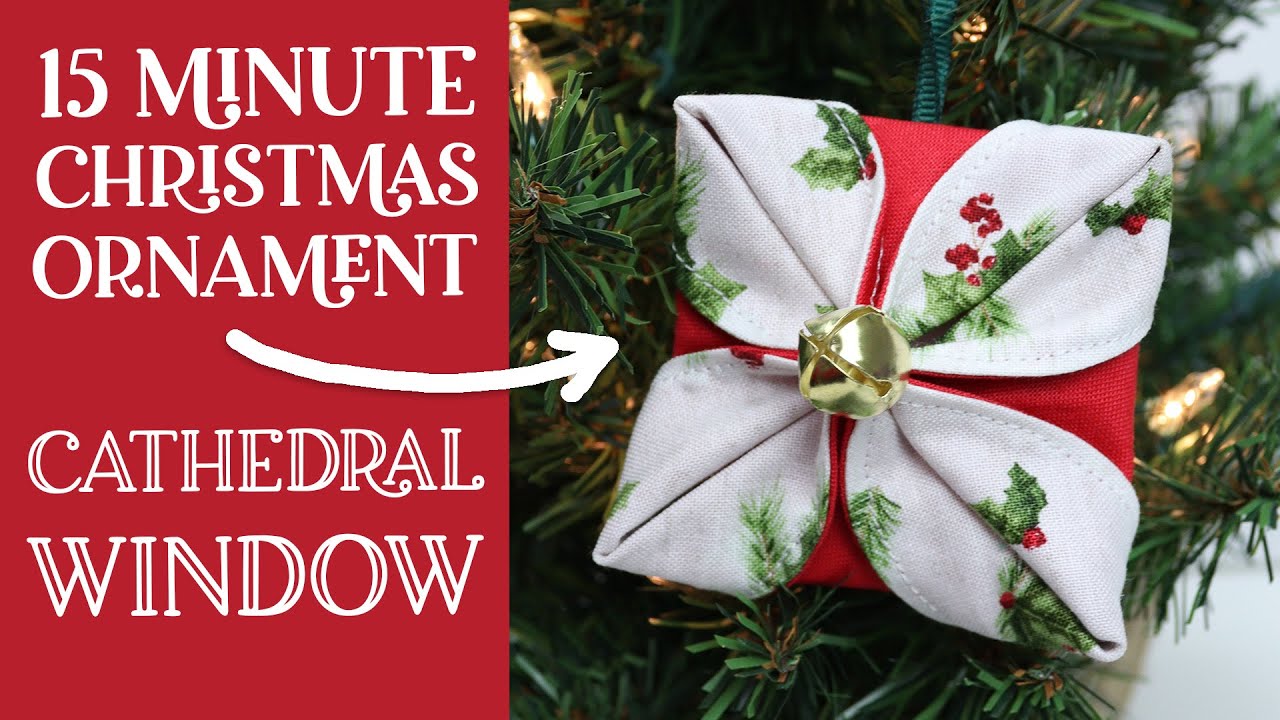
🎅🏻 How to Make a Cathedral Window Ornament - Christmas Ornament Tutorial
Показать описание
How to sew a Cathedral Window Ornament: this step-by-step tutorial uses 6" circles of fabric to add a touch of elegance to your holiday decor.
💡 Don't miss my favorite way to clip curves at 3 mins 27 seconds!
In this DIY video, we'll guide you through the process of creating a beautiful and timeless holiday ornament that will impress your family and friends.
🛒 AMAZON LINKS TO PRODUCTS USED IN THIS VIDEO
Disclaimer: As an Amazon Associate I earn from qualifying purchases.
WATCH NEXT!
LET'S CONNECT 👇🏼
🎥 SUBSCRIBE for new video tutorials every Wednesday
VISIT MY ONLINE SHOPS:
🎯 SHORTCUTS TO SPECIFIC TOPICS:
00:00 introduction
00:13 Supplies
01:09 Cutting fabric circles
02:16 Choose fabrics
03:03 Clip curves & turn
03:27 My favorite way to clip curves
06:18 Fold fabric to make the ornament
07:20 Hand stitch to form center
08:40 Iron
09:14 Fold fabric to make Cathedral Windows
#diychristmasornaments #HolidayCrafts #SewingProjects #ChristmasDecorations #CathedralWindowOrnament #sewingtutorial #sewingforbeginners #sewingforbeginners
 0:00:23
Squid game ddakji tutorial #diy #papercraft
 0:01:40
How To Make A CPU
 0:06:31
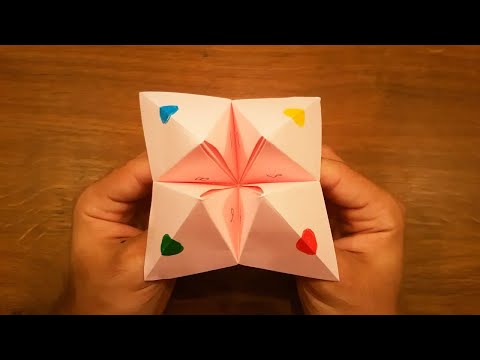
How To Make a Paper Fortune Teller - EASY Origami
 0:00:12
How To Make a Matchbox Rocket
 0:00:15
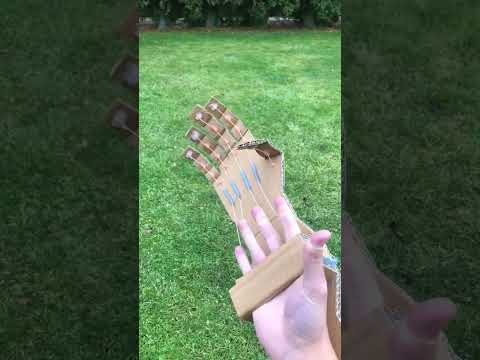
How to Make a Robotic Arm from Cardboard #shorts #lifehacks
 0:01:41
How to make a Paper Boat
 0:00:19
How to make the viral water bubble. You need this type of thin nano tape! #satisfying #trending #diy
 0:00:34
Squid Game Paper Button Toy ⭕❌ How to Make Vote Button from SQUID GAME 2 | Easy DIY Squid Game Craft...
 0:01:32
How to make a TRIP-WIRE ALARM
 0:00:34
How To Make Air
 0:00:14
Squid Game DDAKJI flip toy origami 🟥🟦
 0:00:20
How To Make Squid Game DDAKJI Easy Way | Diy Ddakji #shorts #squidgame 🟦🟥
 0:00:31
How to Make a TABA SQUISHY with MOCHIS! 😱🍓 *DIY Viral Taba Squishy tutorial*
 0:02:51
How to Make a PAPER AIRPLANE!! - (Easy for Kids!)
 0:07:55
How to MAKE A FLIPBOOK
 0:00:27
How to Make Slime AT HOME! 😱🧴🧼 DIY Slime Tutorial
 0:11:18
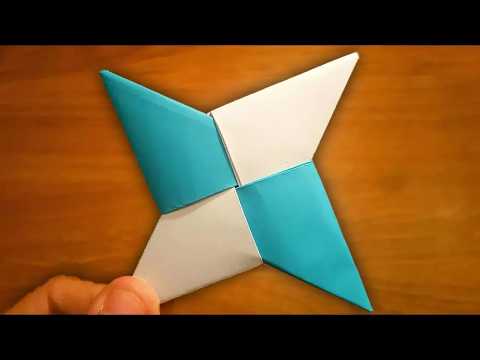
Origami Ninja Star (Paper Shuriken) - BEST Tutorial!
 0:00:15
How to make All the DIY games from squid game #shorts #squidgame #diy #craft #challenge
 0:00:54
How to make Homemade Lemonade
 0:00:27
How to make your own stickers #youtubeshorts #artideas #fyp
 0:00:34
How to make a slushie with the viral ICEE machine.
 0:00:27
How to Make a VIRAL SQUISHY! 😱😳 *Satisfying DIY Taba Squishy Tutorial*
 0:00:51
How to make a ddakji with A4 paper
 0:00:10
How To Make 2 Ingredients Slime At Home, Satisfied Crush Edition
Комментарии