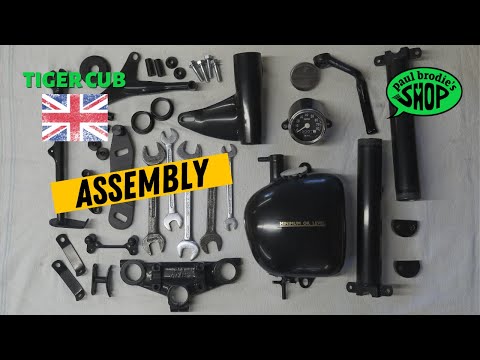
Tiger Cub Engine Assembly - Part 1 // Paul Brodie's Shop

preview_player
Показать описание
🤓🏁

________________________________________________________________
Please Subscribe to see more videos!
________________________________________________________________

#engine #assembly #tigercub #fussyframebuilder
Рекомендации по теме
Комментарии
Автор

Hi Paul and Mitch, time for a video and coffee 😀☕

Paul-FrancisB
Автор

Great Job as Always Mr Brodi, I Was So Inspired, I Picked Up A 07 Triumph Bonniville Black, Thank You Sir, Bé Well...

corvette
Автор

Lovely video Paul. Hope you are well now.

colinmartin
Автор

Nice to have the bits and pieces prepared and tested before you start actual assembly. Lots of work in the prep. Thanks Paul, binge watching your channel to catch up.

TheOldaz
Автор

Mr.Brodie,
I was inspired by you and guys like Allen Millard to build my 2000cc dual Harley Davidson, Evo head, twin 4 cylinder engine. Yes, it ate the first transmission, I had to use a dragster tranny, the case machining and the crank itself was when I had to watch guys like you to keep on trying.
Your attention to the details really got my attention.
All I can say is carry on Sir!
Great work!

Buzbikebklyn
Автор

Thanks for the Loctite product tip. I normally use the Red anarobic sealer on John Deere bell housings, but i have made up a alu conversion bell housing, so these products you use should be better.
Again, you and your camera man make GREAT vids, dont stop. The problem now is I wish I never sold my Norton.

stevecarlisle
Автор

The bush for the oil pump drive is held in place with the case screw, my cub is 1 down 3 up on the gears .

johnnymees
Автор

Hi dear Paul, I like your work, its really nice bu5 particularly I like that you build a port for sprocket in clutch side, I also install oil seal instead of rubber ring

mashooqbughio
Автор

When you had that thing all apart I would've gone ahead and made patterns for the gaskets/made some gaskets out of gasket paper. From there adding a thin film of RTV or that spray gasket adhesive stuff would've sealed up the bottom end just fine. A lot of people hate RTV these days but it really has it's uses if you don't just put a massive glob of it on and let it get into places it shouldn't be. I'd think adding some assembly lube into the oil pump and on the gears would've been useful too, just to make sure everything was well lubed before that initial startup. It'll thin out quickly and come out in the first oil change. I'd also lubricate the crank before putting it through the bearings.. An unlubed shaft is never good. :P

jaratt
Автор

looks like you had it all ready to fit together, came out fine.

gordonhenagar
Автор

hey Paul, great job as always my friend, if its any consulation when you dont have a torque wrench, when dealing with aluminum cases, once you have it snugged, an 1/8-1/4 turn is sufficient which comes out to approx 12inch lbs, been building motorbike engines for decades and hopefull this helps for your future builds...great job again, looking forward to your topend assembly :)

zenpro
Автор

When you installed the oil pump gear bushing you mentioned that you didn't know what held it into the case. The bushing had a groove in it and looks like 1 of 2 holes might line up with the groove to located it. 1 is small like a roll pin might go into it and the other looks like one of the shifter cover bolts might line up with that groove also.

michaelmathews
Автор

That oil pump is an interesting design. The gear style pump that's in common use nowadays is so simple in comparison. I'm guessing the engines uses splash lube for a majority of its lubrication given the piston style pump will produce an oil pressure pulse more than a steady pressure?

Surestick
Автор

I use wellseal, a bit messy but seals well and comes apart easy.

pbysome
Автор

I use to use silk thread to seal the two case half’s instead of a gasket. If the two case half’s have been lapped it works very well on BSA’s.

joereedmusic
Автор

I understand your love for this bike but i much prefer the engineering of my Honda cb77!
Good work!!

bertrandlussier
Автор

strange you went around the outside of the bolt holes in the crankcases as this would mean the bolt hole were open to oil/ outside air opposed to being sealed

kevinapps
Автор

The reason it may look correct re the shifting up for first is that you are driving the gearbox via the kickstart not via the mainshaft …? I would have to think..The kickstart stop was fouling on the case and needed a bit of rotation before the case would go home..common on lots of German and British bikes. It’s always a mystery..thanks.

terrygower
Автор

Hey Paul, is the loctite sealant any different than say silicone or yamah bond or idk rtv? That's pretty expensive stuff. Great video, thank you

bigct
Автор

I thought you always circled the bolt holes with gasket maker. You didn't on the first case. Why is that?

deangiacopassi
welcome to shbcf.ru