filmov
tv
How to Add CROP Marks in Adobe InDesign (2024)

Показать описание
▬▬▬▬▬▬▬▬▬▬▬▬▬▬▬▬▬▬▬▬▬▬▬▬▬▬▬▬▬▬▬▬▬▬▬
▬▬▬▬▬▬▬▬▬▬▬▬▬▬▬▬▬▬▬▬▬▬▬▬▬▬▬▬▬▬▬▬▬▬▬
▬▬▬▬▬▬▬▬▬▬▬▬▬▬▬▬▬▬▬▬▬▬▬▬▬▬▬▬▬▬▬▬▬▬▬
1. Open your InDesign document.
2. Go to "File" - "Adobe PDF preset and choose like "High Quality Print."
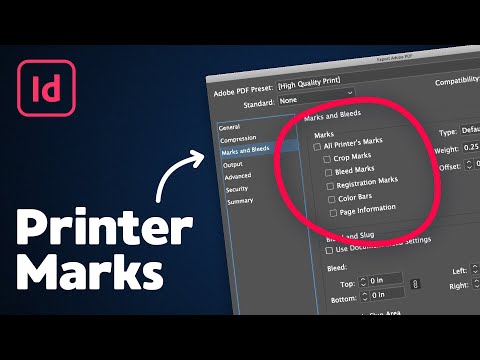
3. In the "Adobe PDF" dialog box, look for the "Marks and Bleeds" section on the left.
4. Check the "Crop Marks" option to add crop marks to your PDF.
5. If your document has bleed, make sure to select "Use Document Bleed Settings" or set your own bleed settings.
6. Click "Export" to save your PDF with crop marks.
HOPE IT HELP YOU IF YOU HAVE ANY QUESTION ASK IN THE COMMENTS
I am affiliated with the websites mentioned in the description. By clicking on the provided links and making a purchase, I receive a small commission.
MAY INCLUDE
1. InDesign Add Crop Marks Tutorial
2. How to Insert Crop Marks in Adobe InDesign
3. Adobe InDesign Crop Marks Guide
4. Adding Printer's Marks in InDesign Tutorial
5. InDesign Crop Marks and Bleed Tutorial
6. How to Include Crop Marks in InDesign Document
7. Adobe InDesign Printing Marks Tutorial
8. InDesign Trim Marks Placement Tutorial
9. Adding Registration Marks in InDesign
10. How to Set up Crop Marks in InDesign File
 0:02:47
Illustrator - How to Add Crop Marks
 0:00:58
How to Add Crop Marks in InDesign
 0:01:13
Add Crop Marks in Adobe Illustrator and Save pdf with Crop & Bleed
 0:05:34
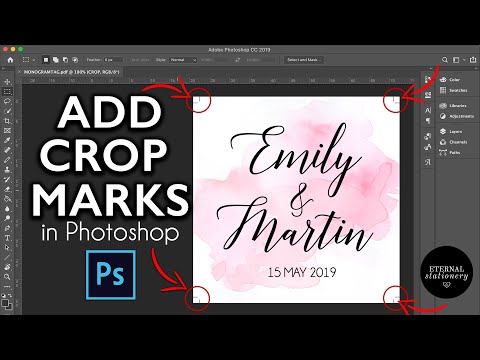
✅ How to Add Bleed and Crop Marks/Trim Marks in Adobe Photoshop CC
 0:05:43
How to add crop / trim marks and bleed in Adobe Photoshop | Eternal Stationery
 0:03:04
How to add crop marks in Microsoft Word | 2 easy ways
 0:01:19
How to add CROP MARKS In InDesign? #indesigntutorial #indesign #graphicdesign
 0:04:36
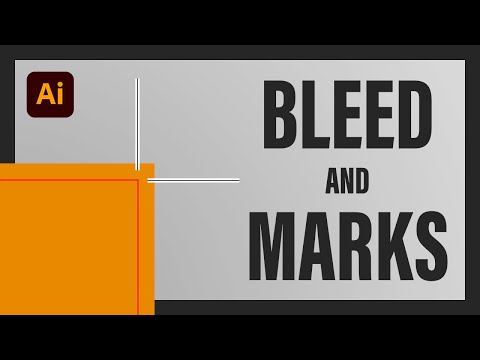
Bleed and Crop Marks in Adobe Illustrator
 0:00:23
Crop Marks PowerScript for Adobe Illustrator
 0:03:50
How to add Crop Marks and Bleed to Adobe Illustrator
 0:05:59
How to add Crop or Trim Marks and Bleeds Automatically in Adobe Photoshop
 0:02:46
How to Add Bleed in Adobe Photoshop & Save with Trim Marks for Print
 0:01:21
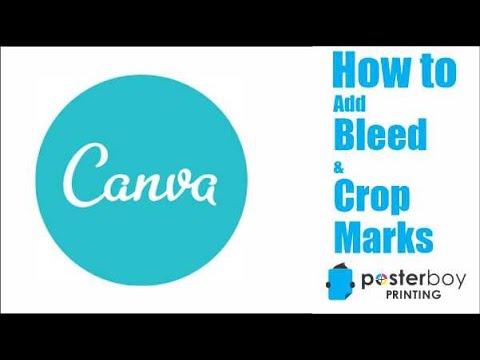
How to Add Bleeds and Crop Marks in Canva
 0:01:34
How to add crop and bleed marks in pdf using Adobe Acrobat Pro DC
 0:00:26
How to Add/Remove Crop Marks in MS Word
 0:02:11
Add bleed and crop marks in Canva
 0:01:53
How to add Crop Marks in Illustrator CC
 0:02:16
How to Add Crop Marks or Cut Marks in Adobe Illustrator
 0:01:32
How to add crop marks to a pdf using Adobe Acrobat Pro DC
 0:01:16
How to Add Bleed and Crop Mark in adobe acrobat pro
 0:03:01
HOW TO ADD CROP MARKS | TRIM MARKS | ILLUSTRATOR TUTORIAL
 0:01:29
How to Add Crop Marks One Page of a PDF with Adobe Acrobat Pro 2020
 0:01:15
How to add bleed and crop marks in Canva
 0:06:24
How-To: Create Crop Marks in Indesign (Video Tutorial)
Комментарии