filmov
tv
I tried Injection Molding using a 3D Printer!

Показать описание
I wanted to find out if I can use a 3D printer as an injection molding machine. I printed molds using resin and then injected the molten plastic using a hotend. But how well did it work, what are the limitations and what could this method be useful for? Let's find out more!
💚 Support me 🙏
Join as a YouTube member!
*Chapters*
00:00 Introduction
01:11 Making a Mold
04:25 Sponsor
05:48 1st Attempt: PLA
07:31 High-Speed PLA
08:30 Why all of this?
09:42 Mold Pre-Heating
11:53 Switching Printers
15:25 Injection Molding with TPU
16:08 Building the Über-Extruder
17:39 Summary
#3Dprinting #DIY #injectionmolding
DISCLAIMER: Part of this video was sponsored by KiwiCo.
FTC Disclaimer: A percentage of sales is made through Affiliate links
 0:18:27
I tried Injection Molding using a 3D Printer!
 0:20:53
3D Printed Injection Molds (actually work)!
 0:00:25
Another 3D Printed Injection MOLDING TOOL test.
 0:25:04
3D Printed vs Aluminum Injection Molds
 0:17:17
First time INJECTION MOLDING! | Bench-top plastic injection molding.
 0:00:27
Injection Moulding Made Easy | Precious Plastic Melbourne
 0:00:23
Skip injection molding and try MJF 3D printing!
 0:00:07
What happen?! When the injection molding workshop meets AI!!Let's try together?
 0:02:29
Unbreakable PNW Mountain Cup Set by NORTH DRINKWARE
 0:03:33
Recycling Plastic with Injection Molding
 0:09:37
Plastic Injection Molding
 0:08:23
5 Tips to Avoid Expensive Plastic Injection Molding Mistakes | Serious Engineering: Ep30
 0:12:53
3D Printing & Injection Molding IMPOSSIBLE Parts? Nexa3D at Formnext 2023!
 0:05:21
What is Injection Molding and How Does it Work?
 0:15:14
An injection mold made from RESIN and METAL powder.
 0:13:55
Injection Molding - Design Your Product for Manufacturing
 0:15:25
Making Larger Injection Molded Parts
 0:02:59
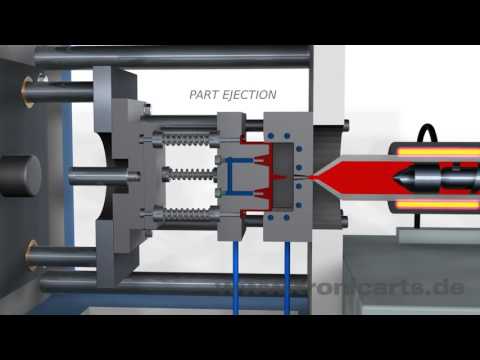
Injection Molding Animation
 0:01:35
Plastic Injection Molding
 0:23:52
Injection Molding a Spoon - Designing, making, using
 0:00:06
Injection molding machine adjustment is really a technical job that requires experience
 0:00:08
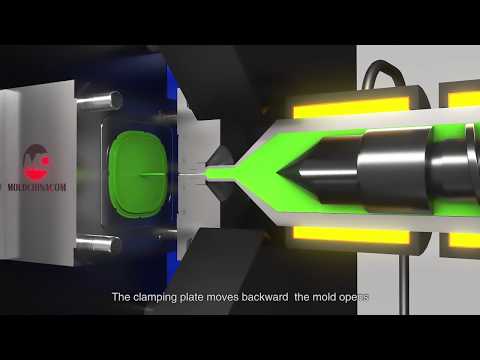
This is a one out of two mold design injection molding process
 0:00:26
How do the sliders(slide) work in plastic injection mold?
 0:00:14
How to make plastic products | Plastic Injection Molding | Plastic industry|Making Plastic Items.
Комментарии