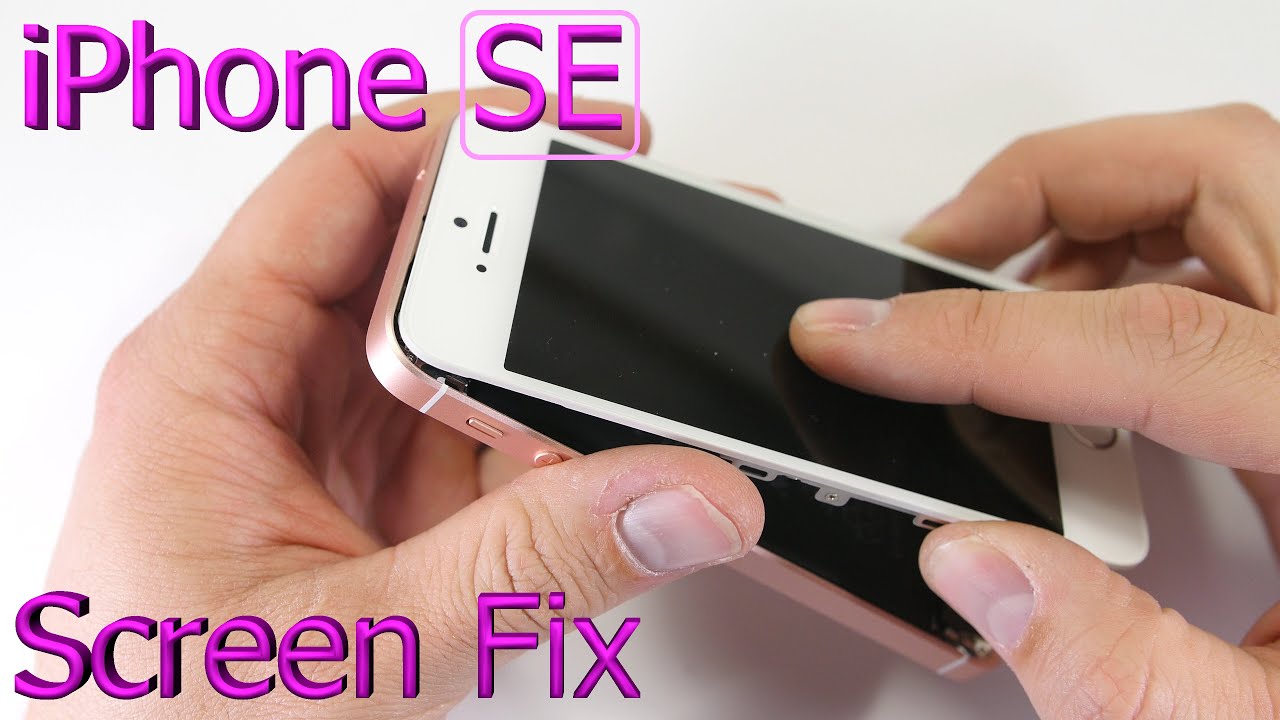
iPhone SE Screen Replacement in 4 minutes NEW

preview_player
Показать описание

LET ME KNOW IF THOSE LINKS STOP WORKING!!

The iPhone SE screen replacement is pretty much the exact same process as the iPhone 5s. (And the 5, and the 6, and 6+, and 6s, and 6s+... But whos keeping track?) The whole process should only take about 30 minutes, and the replacement parts are pretty cheap.

You attempt this project at your OWN risk.

*Follow me for updates!*

JerryRigEverything assumes no liability for property damage or injury incurred as a result of any of the information contained in this video. JerryRigEverything recommends safe practices when working with power tools, automotive lifts, lifting tools, jack stands, electrical equipment, blunt instruments, chemicals, lubricants, expensive electronics, or any other tools or equipment seen or implied in this video. Due to factors beyond the control of JerryRigEverything, no information contained in this video shall create any express or implied warranty or guarantee of any particular result. Any injury, damage or loss that may result from improper use of these tools, equipment, or the information contained in this video is the sole responsibility of the user and not JerryRigEverything. Only attempt your own repairs if you can accept personal responsibility for the results, whether they are good or bad.
Рекомендации по теме
Комментарии
Автор

Thank you!

Who else rocking an SE in 2019?

Edit: Good to see the SE community is STRONG!

4/3/2020 my Se is now my Smart remote for my entire home... How many other people can stream Hulu on a TV from the remote, then watch YouTube videos and adjust the lighting/thermostat all from one device.

be_easy
Автор

THANK YOU! apple would've charged me a TON if I got it fixed there, and since I didn't have applecare I either had to wait for my phone upgrade, or I had to get it repaired by myself.
I bought the toolkit and then waited for my replacement screen to finally ship.
I saw your tutorial and I trusted you since I've been watching you for awhile.
The tutorial was flawless.
That one connecter that goes from the home button to the mainboard was a pain to put back, but I successfully did it!

william
Автор

Just wanted to take a moment and thank you for this great how-to! I followed the step-by-step instructions, went back and forth and even paused the video throughout the replacement. Thank you so

tinman
Автор

The iPhone SE is a small wonder, hopefully Apple doesn't stop supporting it too soon. Even though it came out after the 6S Apple still groups it with the 5S which is odd

ChildOL
Автор

your a genius communicator stable mind with perfect stabilization and good treble i give you a 19 out of 19 bravo

antonioelmurr
Автор

THANK YOU!!!


I replaced the battery on my father in law's iphone and while I was placing the screen back in the display cracked. I ordered a new one on Amazon and your calm, cool, collected video helped me replace it.

adamoctranspo
Автор

FANTASTIC guide. Simple, fast and thorough. I've used a lot of these videos over the years to repair different devices and this video is the easiest to follow BY FAR. Thank you.

mortenhouring
Автор

Finally a tutorial that's quick and concise. This is how long the guide should be and you can use your pause button to complete your steps.

dfvel
Автор

Excellent tutorial, and by far the most helpful on this task. A few specific suggestions after completing the replacement:

1) A single-edge razor blade is a good pry bar, as long as you are careful. The plastic pick in the replacement kit ('Weelpower') was great to open cables, but not to lift the screen
2) A sheet 8x11/A4 with double-sided Scotch tape helps organize your materials, and lets you add notes
3) Buy a good toolkit with tweezers, similar to the pair used in the video
4) Be patient when you put the front camera as sensors in - they are a pain in a** to line up right, and it is very easy to crack a new screen
5) For some of the small cable couplings, wetting the end of my fingertip (sticks to the plastic) made it easier to click in. This is gave more precise feedback for me, but YMMV
6) Work over a paper towel or white cloth - this screws wont bounce away if they fall off, and will be easier to see

In general, get an inexpensive pair of magnifying glasses and have a good light source overhead.

boston
Автор

"...silly little ribbon cable down here at the bottom. You're going to hate this thing" Never have truer words been spoken. Subscribed

angellopez
Автор

Thank you!

Easy to follow, successfully fixed my son’s phone

Advice: do this on a tray. You probably will drop at least one screw!!

beths
Автор

This is by far the BEST video on how to replace screens....

One small piece of When taking off the first ribbon cable..
Use plastic tweezers.... The battery is still connected and it could possibly short out...

But all the videos Jerry makes are Top Notch !!

scottcribbs
Автор

Thanks, you helped me out 😸

This is my first phone repair, where I have zero leftover screws 😹

TheInferno
Автор

Thank you so much. I didn't feel like spending over $100 to get it fixed at the mall over here. I got a new screen and did it myself. You're a life saver. Only problem I had was the home button. I didn't get it on there good enough but good thing "Assistive Touch" is a thing.

yatrippin
Автор

I love when my Repairman refers to an intricate piece of technology as "Metal Doohickey"

neburnynhs
Автор

I have used your video twice now and it is spot on, thank you! The only caution I would recommend is when "snapping" in the screen to the back. If you are not careful, the part of the screen around the home button could crack - I'll let you guess as to how I know.
Thanks again, great video, perfect explanation.

timinjapan
Автор

For me, getting the home button ribbon cable plugged back in and the metal clip on top of it was one of the easiest parts. I struggled with getting that metal bracket over the ear piece and everything to sit in there flat without sticking up. And the strong magnet kept grabbing the screws off the end of my screwdriver. This video was very helpful and I couldn't have figured it all out myself in one night. Very intense job, got it done and everything works, but I don't think I'll attempt another one.

Steveh
Автор

Really detailed instructions and excellent video production. Fixed my kid’s SE inside of about 2hrs. The tools that came with my replacement screen kit were lousy. I recommend using the grade of tools shown in the video...especially the screen pry tool. Also, keep the whole job contained in a tray, box or some type of container that won’t let the screws fall on the floor. And bring lots of patience...the guy in the video is very skilled and makes the job look easy. It’s not super difficult, but it will take time if you’ve never changed a screen before.

ryanmcewen
Автор

I was able to take apart my daughter’s SE with ease thanks to you and my $10 repair kit from amazon. In my daughter’s eyes I am now a tech genius😆. THANK U!!!

indomitusEvehementis
Автор

JerryRigEverything you are the best, the way you show how to do it, is very easy; thanks to you I save money. repairing my own cell phones

antoniotrinidad
join shbcf.ru