filmov
tv
Android App Development for Beginners - 17 - GridLayout

Показать описание
 0:55:20
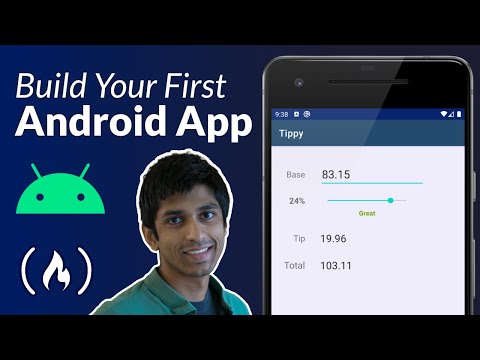
Android App Development Tutorial for Beginners - Your First App
 0:19:18
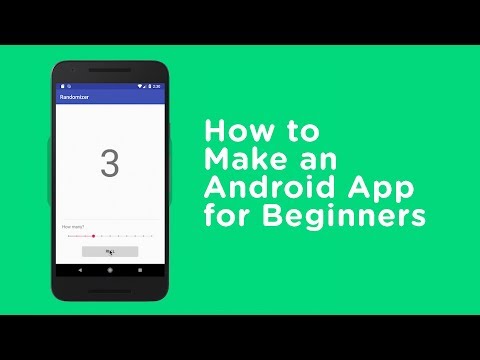
How to Make an Android App for Beginners
 0:07:52
The Complete App Development Roadmap
 0:02:22
Kotlin in 100 Seconds
 11:36:27
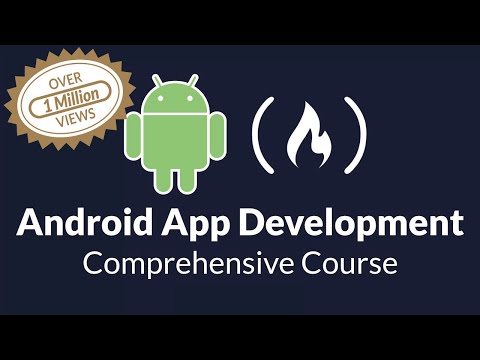
Android Development for Beginners - Full Course
 0:19:57
Android Studio Tutorial (2024 Edition) - Part 1
 0:28:58
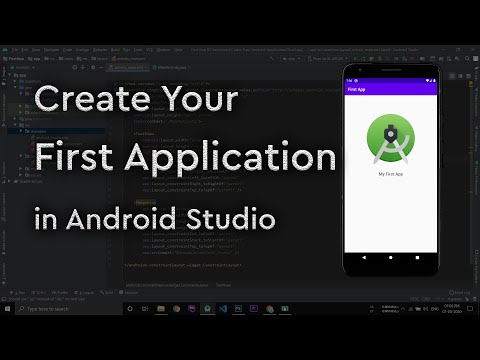
🔥 How to Create Your First Android Application with Android Studio | Tutorial for Beginners
 0:09:59
Creating First Application In Android Studio in 2025
 0:04:25
How to Make Android App on Mobile 🔥AI + No Code Full Guide (Hindi, 2025) ! Earn from App 🤑
 0:00:17
Flutter Tutorial for Beginners – Build This in 60s!
 1:11:41
Build A Simple Android App With Kotlin
 3:54:35
Android App Development in Java All-in-One Tutorial Series (4 HOURS!)
 1:01:18
Android App mit Kotlin erstellen in 60 Minuten - Tutorial Deutsch
 0:00:38
Why you SHOULDN’T build a mobile app 📱👩💻 #technology #programming #software #career #tech...
 0:10:21
I Made an Android App in MINUTES with This AI Tool
 0:11:37
Android App Development for Beginners - 8 - Basic Overview of an App
 0:01:00
Create your own Android App with ChatGPT #androidapp #chatgpt #hrishikeshroy #makemoneyonline
 0:00:46
Master Mobile App Development with Flutter and React Native! 🚀📱 #android #ios #flutter #react
 0:08:11
From Beginner to Pro: Master Android App Development in Telugu | Microsoft | Google | Amazon | Meta
 0:00:45
Java vs Kotlin for Android App Development | Mobile App Development | Programming | @SCALER
 0:12:09
Flutter Basic Training - 12 Minute Bootcamp
 0:07:09
Android Studio Tutorial (2021 Edition) - Part 1
 0:10:48
Android App Development for Beginners - 4 - Running a Simple App
 0:00:23
Payment app desin in Android studio using java
Комментарии