filmov
tv
Sunset Afterglow in Luminar 4.2
Показать описание
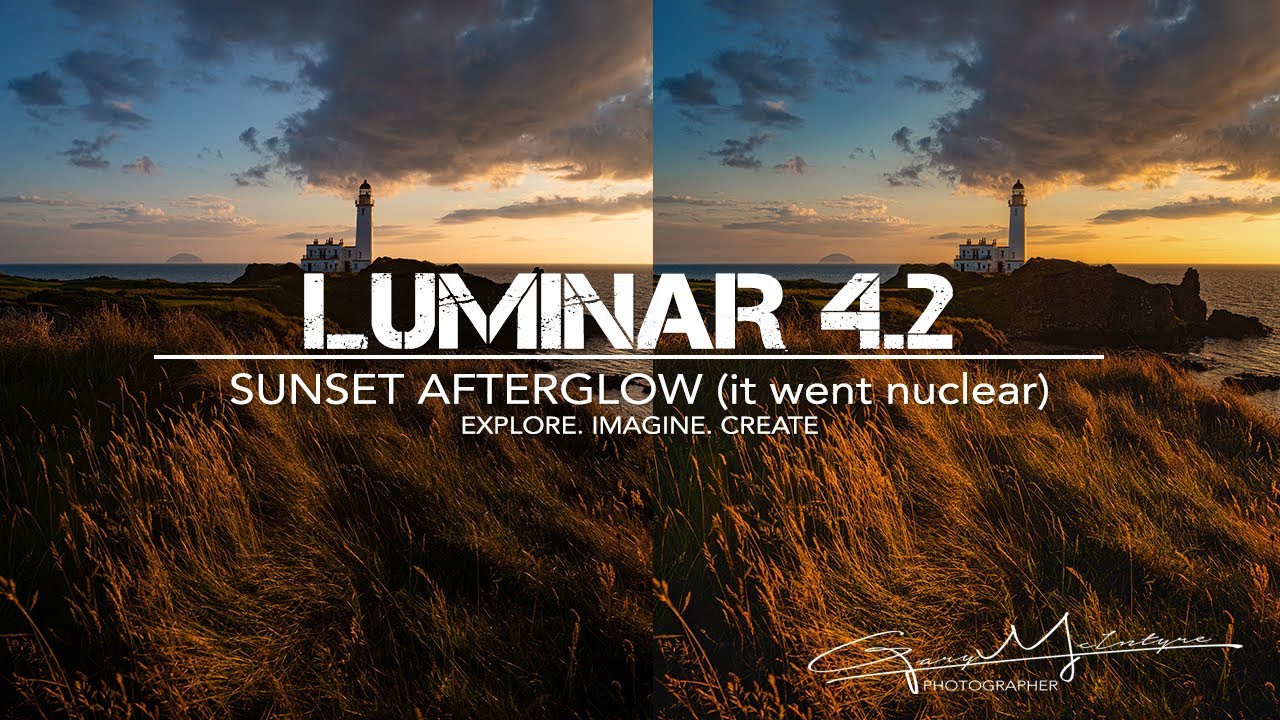
Sunset Afterglow (it went Nuclear)
Creating a sunset afterglow in Luminar 4.2 using the available light that is present can clearly enhance the mood of an image or the scene you were looking at.
(Take a look at the beginning where Adobe have just updated Adobe Camera Raw, love the interface and the new features).
In this video I show you one of the techniques I use in Luminar to work with the available light in order to enhance the image and mood of the sunset. For me however this one has gone 'nuclear' and although I was happy initially with the edit once I saw it on another screen I wasn't too enamored with it at all.
I've recently changed screens and now work entirely with a Benq sw2700pt for all my editing work. This calibrated screen is phenomenal for post work and although my mac was calibrated a wee while back the difference is just too apparent.
Anyway back to the video. The techniques I use for this edit are dependent on the available light and as you know each image is edited differently and you have to work with what you have.
I enjoyed the edit but didn't like the final image once I had stepped back and taken time away (more so because of the mac screen colours).
Hopefully you will find the techniques used helpful in your own images as they looked good on the Benq.
EXPLORE. IMAGINE. CREATE. thats the key. Once you have the idea then it's just the process.
There are many ways to create your images and its fun to try different things with your images.I hope the methods shown in this tutorial are useful to you in creating your own.
Its really worth exploring the software and seeing what it can do and as well as that letting your imagination run free :)
It’s good to think outside the box at times and just experiment with what you can do with your software.
The focus of the tutorial is not the final image but the process involved to get there.
Try the techniques for yourself and see what happens, if you like them use it in the future. But if not, well at least you have learned something that the software can do differently. All’s Good :)
enjoy :)
LUMINAR SUMMER SALE **EXTENDED**
Luminar 4 Inspiration Edition: Luminar 4 + Amazing Planets at US$69 (original price $89+$49= $138, saving of $69)
Luminar 4 Plus Edition: Luminar 4 + Amazing Planets + Power of Nature at US$84 (original price $89+$49+$29 = $167, saving of $83)
Luminar 4 Max Edition: Luminar 4 + Aurora HDR + Amazing Planets + Power of Nature at US$139 (original price $89+$99+$49+$29 = $266, saving $127)
Use Code MCINTYREGARY to get and additional $10 of the sale price
*******************************************************************************************************************************************
AFFILIATED LINK BELOW
Luminar 4.2 link
DRAGON PACK
To Purchase the Dragon Pack for $7.99 please follow the link below.
 0:19:55
Sunset Afterglow in Luminar 4.2
 0:15:53
Creating a light Glow in Luminar 4.2
 0:10:54
Luminar 4 Professional Tools
 0:19:18
Masking in Luminar 4.2 Part 2
 0:11:31
Luminar 4: Exposure Blends with Luminosity Masking
 0:29:08
Dark Processing in Luminar 4.2
 0:15:42
Luminar 4.1 Back to Basics : Essentials Tools
 0:00:11
Beautiful Sunset tiktok anais menard
 0:00:20
Red ocean wave sunset part 2
 0:17:48
Landscape Photography | Amazing Colour Along the Riverland
 0:00:16
20160321 alien cloud sunset
 0:02:48
Speed Photoshop Editing Video|| Sunrise at Bramhatal campsite ||
 0:01:31
Anazing Sunset that I took in Big Sur. #sunset #bigsur #local #ocean #waves #
 0:26:20
Kelebihan dan Kekurangan Luminar 4 (English CC)
 0:01:54
Beautiful sunset at the beach with the Mavic 2 Zoom - Melkbos, South Africa
 0:03:35
Sunrise in Florida DJI Mini 2 4K
 0:03:01
First Light Of The Sun - Lossiemouth (Scotland)
 0:15:35
Ko'olina Sunset Oahu, Hawaii
 0:04:58
Sunrise at Mumbles Pier 21 Jan 2022
 0:01:44
CITY FOG - Brisbane Australia 4K
 0:09:07
Presets Lightroom Free Download | Royal Tone Preset | Mobile Lightroom Tutorial
Комментарии