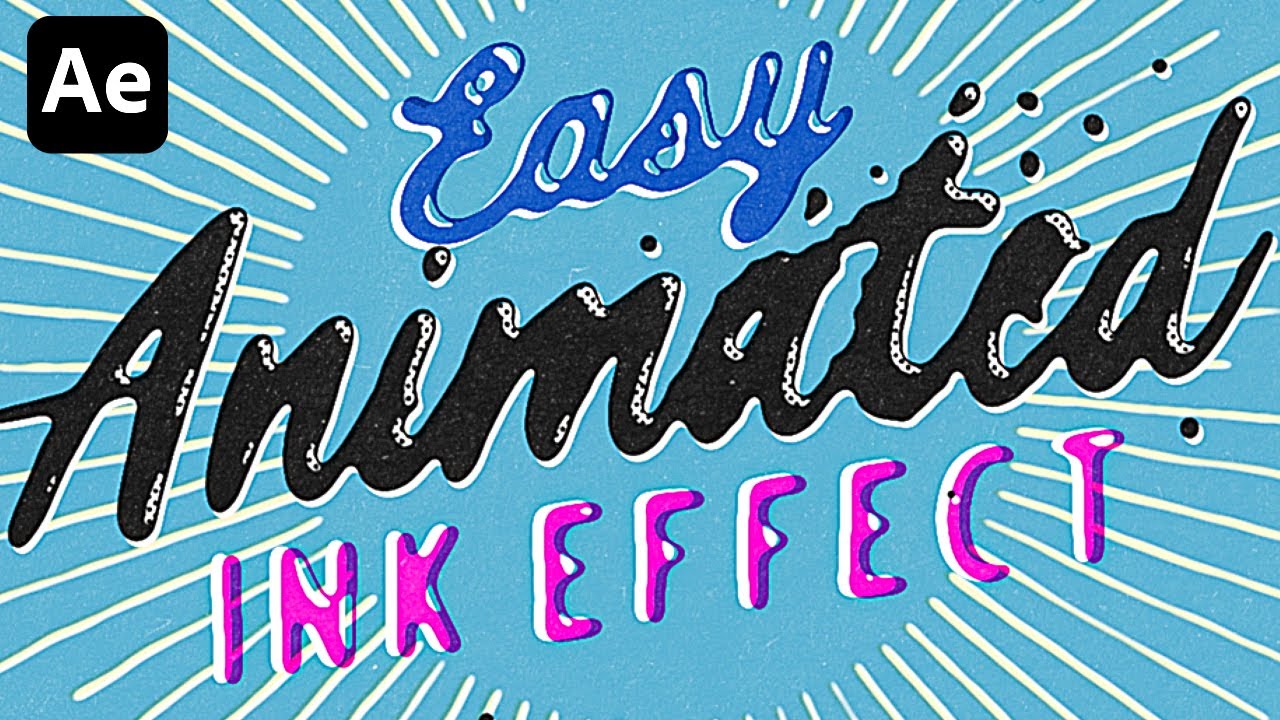
Create this effect with just two adjustment layers in After Effects!
preview_player
Показать описание
In this After Effects tutorial, we’ll check out a technique for giving typography, shapes, and artwork a unique hand-illustrated look. Using just two adjustment layers (settings listed below), this effect is highly customizable can be applied quickly to multiple elements. Download the texture and vector elements used in this video below!

Free textures and vector elements used in this video:

Fonts used in this tutorial:

Intro Music by The Ross Sea Party:

Connect:
Insta, Facebook, Twitter tag: @texturelabs

ADJUSTMENT LAYER SETUP
(Effects and layers are listed as they appear in the project)

1) HILIGHT Adjustment Layer
Fill- Color: Black
Bevel Alpha- Edge Thickness 15, Light Angle 50, Light Intensity 1
Simple Choker: Choke Matte 7
Solid Composite: Color Black
Fractal Noise: Complexity 3, Blending Mode Overlay
Fast Box Blur: Radius 2
Threshold: Level 110
Median: Radius 3
Fast Box Blur: Radius 1
Brightness & Contrast: Contrast 80, Use Legacy On
Set Matte: Default Settings

2) SMOOTH ALPHA Adjustment Layer
Turbulent Displace: Displacement Bulge, Amount 3, Size 40, Complexity 4, Evolution Expression “time*400”
Fast Box Blur: Radius 5
CC Threshold: Threshold 110, Channel Alpha
Roughen Edges: Fractal Influence 0
Рекомендации по теме
Комментарии
Автор

You are singlehandedly revolutionizing the quality of YouTube tutorials

Hambxne
Автор

In the beginning I thought "no way this can be easily done" and with each new step I was blown away with how beautiful these effects turned out. Thank you so much! I'll definitely included these techniques in some future work!

gutobernardo
Автор

What I really appreciate about your tutorials for AE is that after watching several, you really start to pick up on the basic building blocks that recur in a lot of these techniques and see why certain combinations are so powerful and widely applicable for achieving different styles

codydobie
Автор

this is great!
Quick tip: you can precompose the Adjustements layers together and set the precomp to Continuously Rasterize, then use that comp in every precomp you need to apply that effect, this way you can adjust later on the effect globaly. Thanks for the tutorials and Textures, they're great!

stillremain.artwork
Автор

This is the best tutorial type channel in the world. No one manages to motivate me to learn and use adobe programs as much as you guys do, and the fact you have a free texture website? that's just insane, the world seriously need more people like y'all <3

hx
Автор

Not only is this a super cool effect, but this is also without a doubt one of the best After Effects tutorials I've ever watched. Clear, concise, & charming!! Amazing!!

zaqstoner
Автор

Your tutorials never cease to amaze. I don't do AE, but this seems like a great thing to try. More power, man.

larrydelacruz
Автор

Been a photoshop user for years, and now recently getting into motion graphics - then I discover my favourite photoshop tutorial maker also does Affter Effects. Yayness! Will check out the others in good order

gregwill
Автор

Honestly, I don't know if its the Youtube algorithm, but I am so very glad your video popped up. This video alone was easy to follow and well structured. I have made some progress in learning the basics of motion graphics/ graphic design on my own for the last two years through online classes. But discovering your page is like the advanced course I needed. I understand the work and time to put together these kinds of videos. I would love to support your channel by any means that I am capable of!

ranielsandiego
Автор

I like how clean and reusable this effect is, no need to do tons of manual adjustments to make it work.

HajimeChan
Автор

Blown away by this technique and your ability to explain it so concisely, and yet still helping us understand what each part is doing . Thanks once again!

BILLABOBICAL
Автор

Subbed within the first 2 minutes. Been working with AE for 12 years and omfg this is instantly going in as a preset. You sir, are a legend.

Never used CC Threshold, always been a fast blur with a Levels effect adjusting the Alpha channel.

SamiBayleyFilmMaker
Автор

Blown away by this technique and your ability to explain it so concisely, and yet still helping us understand what each part is doing ....

WoWNull
Автор

You are absolutely an amazing human Brady!

sethpaul
Автор

dude... just... dude, lol. my mind is blown, as always when watching your short tuts.
thanks a lot for your videos and especially for the in depth explanation of how those effects actually work, which is incredibly helpful for a self-taught industry professional like me. kudos

hoozn
Автор

I just sat down and watched without following and enjoyed this very much! That might speak about my geekyness, but it also speaks about how good and entertaining you are with your tutorials. Great video, great workflow, great effect.

hachehache
Автор

It's not okay that some people are this skilled at After Effects. THANK YOU

scottrgarland
Автор

I NEVER EVER COMMENT ON ANYTHING, BUT YOU SIR, ARE A LEGEND!! Please create more after effects stuff, LOVE IT!!! <3

hydriusthepanda
Автор

Wow! The sheer depth and breadth of your Adobe suite knowledge is staggering. I've been using After Effects for years, and this is one of the most creative AE tutorials I've ever seen. This technique looks so much better than most of the write-on effects out there. (And you started with a simple linear wipe, which is just mind-blowing!) The way you incorporated all the textures is awesome and so helpful to learn—especially that halftone trick. There really aren't enough good texturing tutorials for AE. I'd love to see more After Effects tutorials on your channel! Thanks so much for sharing your knowledge with us.

stefanieandersen
Автор

Oh man! You will never stop surprising us. First with Photoshop tutorials, now in the field of After Effects! Thank you TEXTURELABS. Keep Creating.

elevenordie