filmov
tv
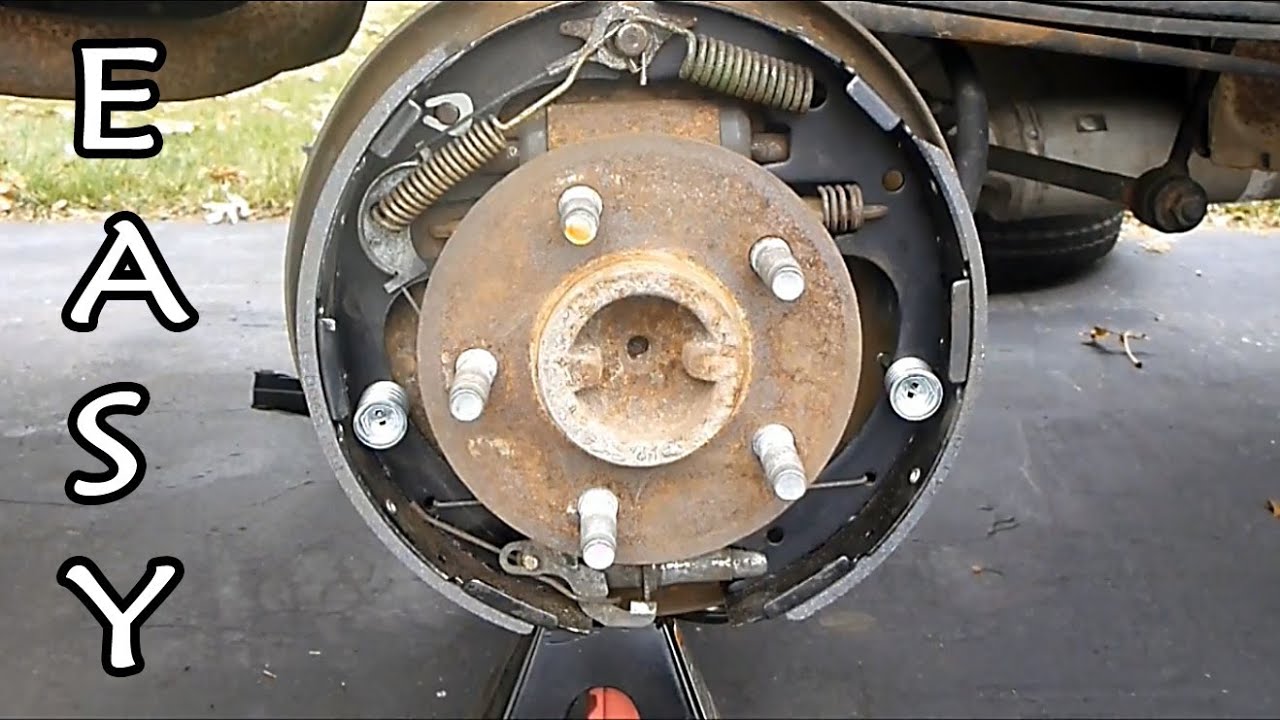
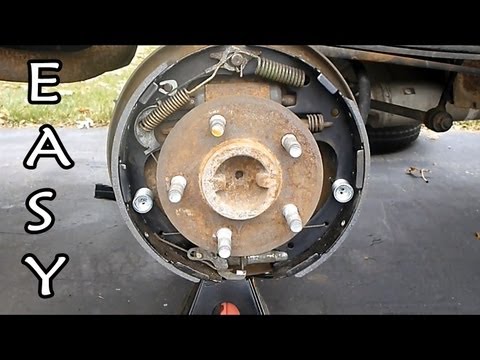
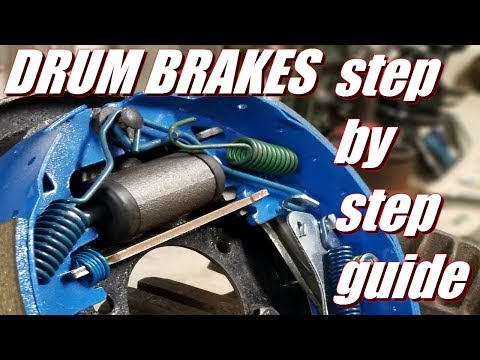
How to Change Drum Brakes (In-depth, ultimate guide)
Показать описание
Learn every step of how to change drum brakes. This drum brake replacement is specifically for a Ford Ranger pickup truck, but it applies to most other cars as well. YOU CAN DO THIS. No special tools required and it will save you a lot of money! After watching this video you can replace the drum brakes in your car!
Drum Brake Spring Kit (inexpensive):
Drum Brake Tool (to make the job easier):
**If the video was helpful, remember to give it a "thumbs up" and consider subscribing. New videos every Thursday**
Disclaimer:
Due to factors beyond the control of ChrisFix, I cannot guarantee against improper use or unauthorized modifications of this information. ChrisFix assumes no liability for property damage or injury incurred as a result of any of the information contained in this video. Use this information at your own risk. ChrisFix recommends safe practices when working on vehicles and or with tools seen or implied in this video. Due to factors beyond the control of ChrisFix, no information contained in this video shall create any expressed or implied warranty or guarantee of any particular result. Any injury, damage, or loss that may result from improper use of these tools, equipment, or from the information contained in this video is the sole responsibility of the user and not ChrisFix.
 0:07:29
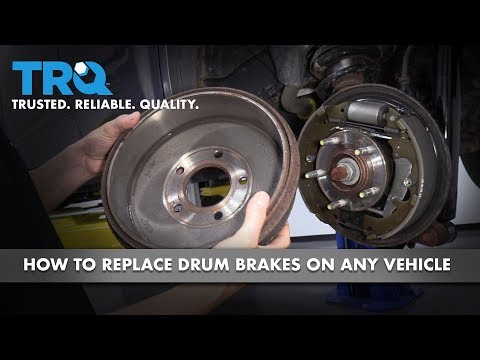
How to Replace Drum Brakes on Any Vehicle
 0:22:00
The ULTIMATE Guide on How to Replace Drum Brakes
 0:04:43
How to Replace Drum Brakes on Your Car
 0:14:10
How to Change Drum Brakes (In depth, ultimate guide)
 0:32:12
How to Change Drum Brakes (In-depth, ultimate guide)
 0:12:53
Common Drum Brake Installation Mistakes!
 0:41:11
How to change drum brakes
 0:31:33
How to Replace Toyota Drum Brakes Like a Pro
 0:07:45
How To: Change Drum Brakes
 0:04:15
How to Replace Brake Shoes - AutoZone
 0:08:08
Drum Brakes Made Simple - R&R Tips And Tricks That Make The Job A Snap
 0:11:24
How To Replace Change Drum Brake Shoes Easy Simple
 0:14:55
How to Change Drum Brakes For Beginners
 0:03:16
Drum Brakes Change
 0:06:56
HOW TO TELL IT'S TIME TO CHANGE BRAKE SHOES (DRUM BRAKES)
 0:08:11
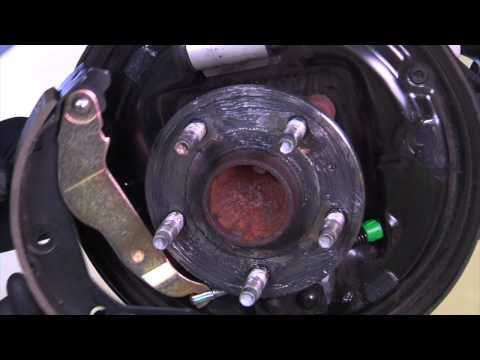
How to | Assemble Drum Brakes
 0:16:09
How To Change Drum Brakes
 0:13:36
The ULTIMATE guide to 9.5' Chevy Drum Brakes
 0:13:06
How to Replace Rear Drum Brakes on a Honda Civic
 0:22:17
The complete guide to Rear drum brakes change
 0:06:57
Why Some Cars Have Drum Brakes Instead of Disc Brakes
 0:07:11
How to Clean and Adjust Rear Drum Brakes
 0:06:49
How to Remove a STUCK Drum Brake
 0:03:40
Drum Brake Replacement: Adjusting Brake Shoes and Installing Drum
Комментарии