filmov
tv
How to use I2C Sensors and Python Library on Raspberry PI

Показать описание
This video demonstrates how to connect I2C sensors to a Raspberry Pi, for this video we use a Raspberry PI Zero W 32bit OS. After this we move onto setting up the hardware to use I2C sensor and then take our first look at some Python examples.
Video Content
0:00 Intro
0:35 Breakout connectors
1:10 Overview of sensors
2:00 Cable connections
4:45 Enable I2C on Raspberry Pi
5:45 Installing library dependencies
7:50 Installing sensor adafruit devices
8:33 Producing Python code for VEML7700
11:20 Producing Python code for ADXL345
14:02 Editing decimal points on Float Point word.
 0:09:57
How I2C Communication Works and How To Use It with Arduino
 0:06:09
Electronic Basics #19: I2C and how to use it
 0:15:03
Getting Started With STM32 and Nucleo Part 2: How to Use I2C to Read Temperature Sensor TMP102
 0:01:00
I2C Addresses - Collin’s Lab Notes #adafruit #collinslabnotes
 0:06:22
Connecting Arduino with multiple I2C devices
 0:13:38
Arduino Workshop - Chapter 5 - I2C
 0:16:13
How to use I2C Sensors and Python Library on Raspberry PI
 0:13:51
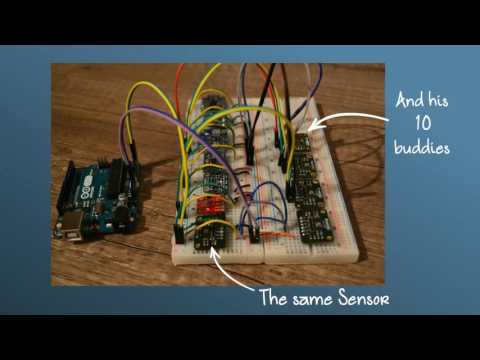
#42 Build your own I2C Sensor with three Ultrasonic Sensors for Arduino
 0:03:48
I2C Magnetic Sensors
 0:06:34
I2C on the Raspberry Pi - HOW TO use I2C with Python
 0:10:04
Core Device Discovery - Reading I2C Sensors
 0:24:29
Solving I2C Address Conflicts - TCA9548A I2C Multiplexer
 0:33:47
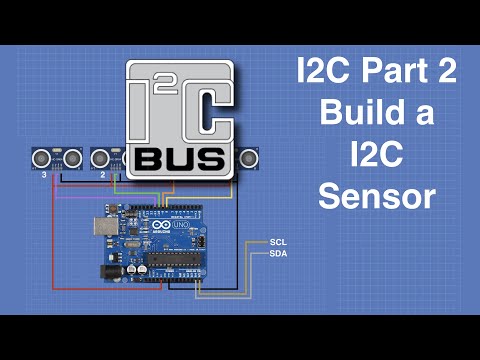
I2C Part 2 - Build a I2C Sensor
 0:00:42
What is I2C? #arduino #sensortechnology #iot #engineering
 0:00:07
I2C Temperature Sensor
 0:07:42
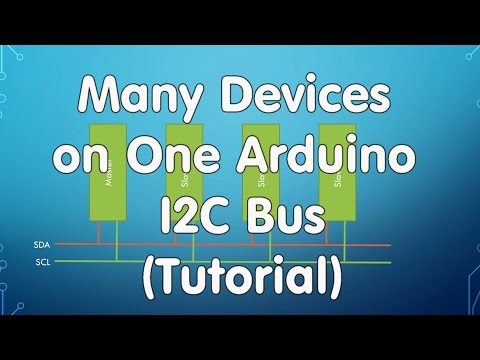
#20 Tutorial: Multiple Devices on One Arduino I2C Bus
 0:01:00
I2C Long Distance - Collin’s Lab Notes #adafruit #collinslabnotes
 0:25:51
I2C Part 1 - Using 2 Arduinos
 0:09:15
Use Arduino I2C with multiple sensors
 0:05:46
Lesson 84: How to change the I2C address for VL53L0X laser distance sensor
 0:08:50
STM32 I2C Setup Temperature and Humidity Sensor
 0:12:37
The Great Search: I2C Infrared Proximity Sensor #TheGreatSearch #digikey #adafruit @DigiKey
 0:00:07
I2C Pressure Sensor (0-200KPa)
 0:10:20
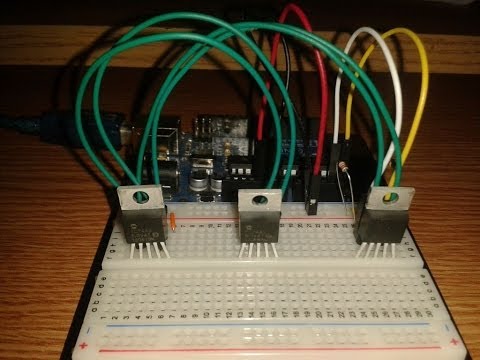
How to use multiple i2c devices on the same bus with the Arduino
Комментарии