filmov
tv
How to Fix the Spell Check Not Working in Word [ 4 Easy Ways ]

Показать описание
There're instances you'll find Word spell check not working. In this video, we highlight 4 different ways to fix spell check not working in Microsoft Word.
You can follow the script below to fix this issue.
Solution 1: Verify Your Language & Check Spelling Options
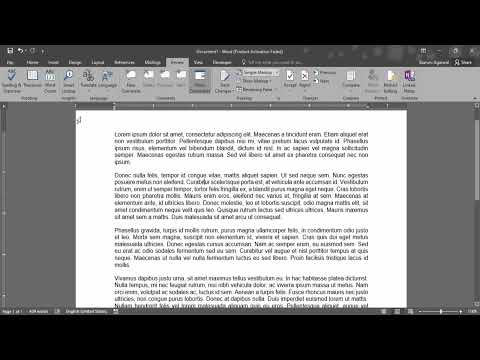
1. Open the problem document.
2. Press the Ctrl + A keys to select the entire text.
3. From the Review tab, select Language then Set Proofing Language…
4. From the Language dialogue make sure the correct language is selected.
5. Verify the checkbox Do not check spelling or grammar is unchecked.
6. Click OK and recheck your document.
Solution 2: Check Your Proofing Exception Options
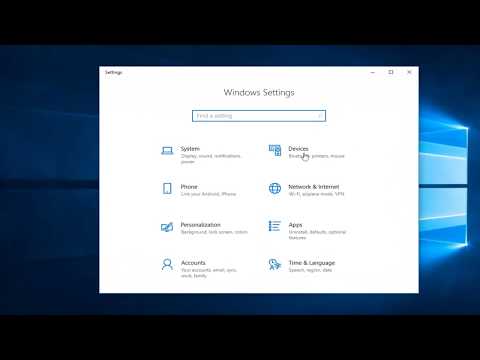
1. From the File tab, select Options.
2. From the left panel, select Options.
3. In the Word Options dialogue, click Proofing.
4. Scroll to the bottom area called Exceptions for:
5. Check to see if the Hide spelling errors in this document only is enabled.
Solution 3: Verify the “check spelling as you type” feature is on
1. From the Review tab, click Check Document.
2. In the Spelling and Grammar: dialogue, click the Settings link in the Editor pane.
3. In the Word Options dialogue, check the boxes for Check spelling as you type and Mark grammar errors as you type.
4. Click OK.
Solution 4: Verify Another Word Add-in Isn’t Interfering
1. Hold down your Ctrl key and then press the icon or menu option for Microsoft Word.
2. Click Yes when the Safe Mode dialogue appears.
3. Open up an existing document.
4. Press F7 to run spell-check.
00:00 Introduction
00:53 Check your Language Settings
01:25 Check the Proofing Exception options
02:16 Verify the "Check spelling as you type"
02:52 Verify that a Word add-in isn't interfering
#MicrosoftWord #SpellChecking #Microsoftword2019
You can follow the script below to fix this issue.
Solution 1: Verify Your Language & Check Spelling Options
1. Open the problem document.
2. Press the Ctrl + A keys to select the entire text.
3. From the Review tab, select Language then Set Proofing Language…
4. From the Language dialogue make sure the correct language is selected.
5. Verify the checkbox Do not check spelling or grammar is unchecked.
6. Click OK and recheck your document.
Solution 2: Check Your Proofing Exception Options
1. From the File tab, select Options.
2. From the left panel, select Options.
3. In the Word Options dialogue, click Proofing.
4. Scroll to the bottom area called Exceptions for:
5. Check to see if the Hide spelling errors in this document only is enabled.
Solution 3: Verify the “check spelling as you type” feature is on
1. From the Review tab, click Check Document.
2. In the Spelling and Grammar: dialogue, click the Settings link in the Editor pane.
3. In the Word Options dialogue, check the boxes for Check spelling as you type and Mark grammar errors as you type.
4. Click OK.
Solution 4: Verify Another Word Add-in Isn’t Interfering
1. Hold down your Ctrl key and then press the icon or menu option for Microsoft Word.
2. Click Yes when the Safe Mode dialogue appears.
3. Open up an existing document.
4. Press F7 to run spell-check.
00:00 Introduction
00:53 Check your Language Settings
01:25 Check the Proofing Exception options
02:16 Verify the "Check spelling as you type"
02:52 Verify that a Word add-in isn't interfering
#MicrosoftWord #SpellChecking #Microsoftword2019
 0:03:47
How to Fix the Spell Check Not Working in Word [ 4 Easy Ways ]
 0:02:32
How to Fix the Spell Check Not Working in Word
 0:01:45
How to Enable or Disable the Spell Checker on Android
 0:01:41
Spell Checking Turn On or Off in Windows 10
 0:01:50
How to Fix Grammar & Spell Check Not Working in MS Word (2007-2016)
 0:09:53
Spell for Fixing Broken Things - Mending, Repairing
 0:01:23
Boss Fix Spell
 0:02:11
how to enable spell check while typing
 0:07:12
Eldritch Blast Fix Maybe
 0:02:21
Google Chrome Spell Check Not Working FIX [Tutorial]
 0:01:12
how to enable autocorrect in android,how to turn on spell check on android phone
 0:01:17
Break Any Witchcraft | Protection Spell
 0:01:24
How To Fix Microsoft Word Spell Check Not Working [2 Methods]
 0:00:15
Get the job that you want with this spell
 0:01:38
Fix Spell Checking Not Working In Microsoft Outlook
 0:00:24
Boss Fix Spell
 0:01:48
How to Convert Amount in Words in Excel (Spell Number)
 0:01:27
How to fix, when spell check is not working in Microsoft word ?
 0:00:37
Boss Fix Spell
 0:00:57
Spell Checking Turn On or Off in Windows 11
 0:12:02
SIGNS YOU HAVE A BLACK MAGIC SPELL ON YOU AND HOW TO FIX THAT
 0:04:57
Spell Check Not Working In Word! How To Fix?
 0:01:01
Fix Spell Check not working in Microsoft Outlook (2024 updated)
 0:01:03
Outlook - how to turn on spell check
Комментарии