filmov
tv
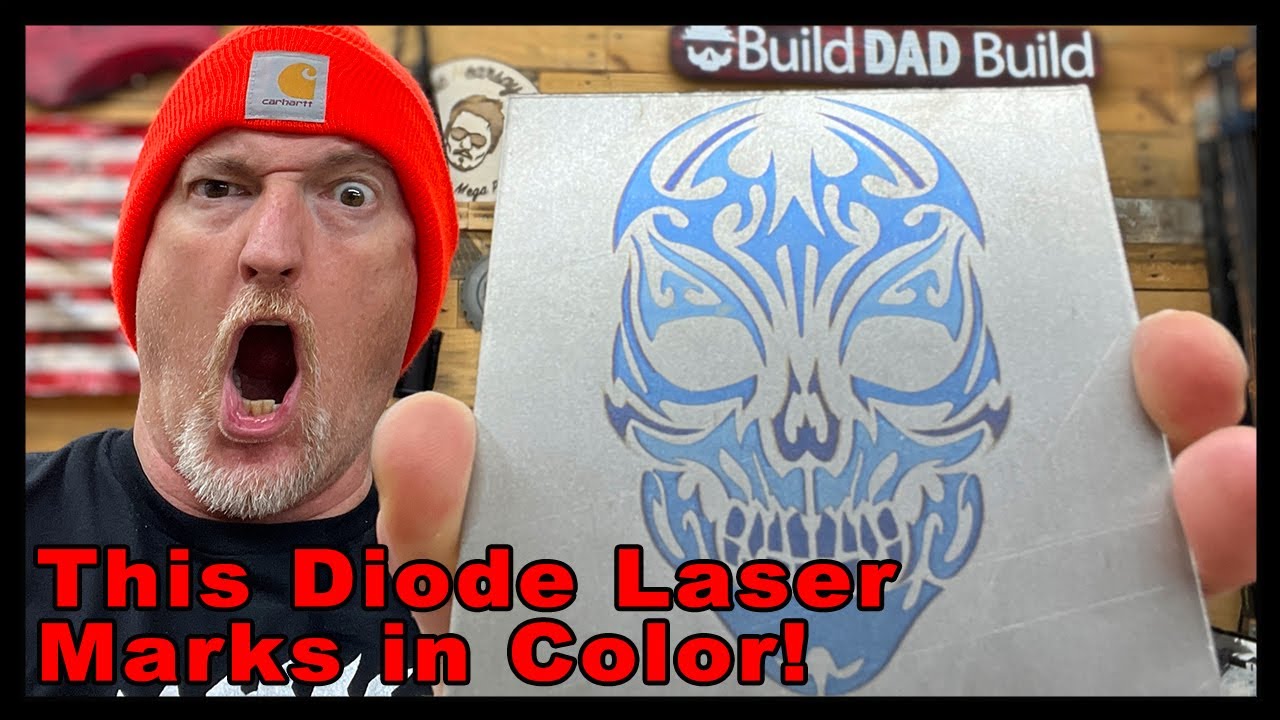
Mark Stainless Steel with this Diode Laser (the new 20W xTool D1 Pro)
Показать описание
Mark Stainless Steel with this Diode Laser (the new 20W xTool D1 Pro). This is a diode laser that marks metal! This new laser is bananas. The extra wattage allows the laser to anneal certain metals like stainless steel and titanium. With crazy good results!
Amazon Affiliate Links Below
Gert your very own xTool D1 Pro here:
xTool:
Use Promo Code: BDBuildxTool for 5% off
PREMIUM MERCH:
DISCLAIMER:
Working with Fire, lasers, Electricity and Power Tools is extremely dangerous. Please use caution if you are attempting anything in these videos.
Also, please drink responsibly.
_____________________________________________________
USED IN THIS VIDEO (affiliate links):
xTool:
Use Promo Code: BDBuildxTool for 5% off
Link to all my tools:
_____________________________________________________
Don’t forget to Like, Comment & Subscribe:
_____________________________________________________
ADD ME ON:
_____________________________________________________
MUSIC:
March On
#builddadbuild #xtool #xtoold1pro #markingmetal #lasermarkingmachine
 0:09:59
Mark Stainless Steel with this Diode Laser (the new 20W xTool D1 Pro)
 0:16:54
Marking stainless tumblers- Plain vs. Cermark
 0:17:01
Which is the best Laser Spray for Stainless Steel (10w Diode laser)? $100 vs $14 per can
 0:06:25
Fiber laser marking machine, marking color parameters on stainless steel
 0:01:20
EM-Smart MP20 20W JPT MOPA color marking on stainless steel
 0:00:31
20W Fiber Laser Marker Laser Marking on Leather and Stainless Steel
 0:31:30
Make Money with your Fiber Laser Marking Stainless Steel! - EM-Smart from 3Plasers
 0:03:37
30W Desktop Mini Fiber Laser Marking Machine for Stainless Steel Plate
 0:00:29
MOPA Color Fiber Laser Marking Machine for Stainless Steel Metal
 0:02:01
Fiber laser marking on stainless steel, shining surface China fiber laser marking machine
 0:00:44
SL-FB 30W JPT M1 fiber laser marking stainless steel
 0:06:02
Mark/ Engrave on Stainless Steel w/ Brilliance Marking Spray (like Cera Mark) w/ the Glowforge
 0:04:05
LASER Marking Stainless Steel - Security Marks | Cloudray 60W JPT MOPA Fiber LASER
 0:03:32
TIG Brush - Printing and Engraving (Marking and Etching) on Stainless Steel
 0:08:18
UNREAL Black Mark on Stainless Steel | Z-Marking | Fiber Laser Tutorial
 0:32:49
Will a Diode Laser Engrave Steel? | xTool D1 Testing
 0:17:40
HOW TO ENGRAVE STAINLESS STEEL TUMBLERS | ENGRAVING YETI MUGS | LASER ENGRAVING MUGS | LASER MARKING
 0:13:50
Stainless Steel & Aluminium Durability: CNC Laser Etching, Annealing & Marking
 0:11:46
Laser Marking Stainless Steel with Molly Dry and markSolid
 0:00:54
How to mark stainless steel surfaces using Cougartron marking machines
 0:02:51
How to engraving white and black color on stainless steel by laser marking machine
 0:08:08
PERMANENTLY “marking” stainless steel with a K40 laser cutter engraver (crc dry moly lube)k 40
 0:00:16
Marking Stainless Steel
 0:03:02
How to Mark a Photo with Fiber Laser Marking Machine on Stainless Steel | 80W Fiber Laser Marker
Комментарии