filmov
tv
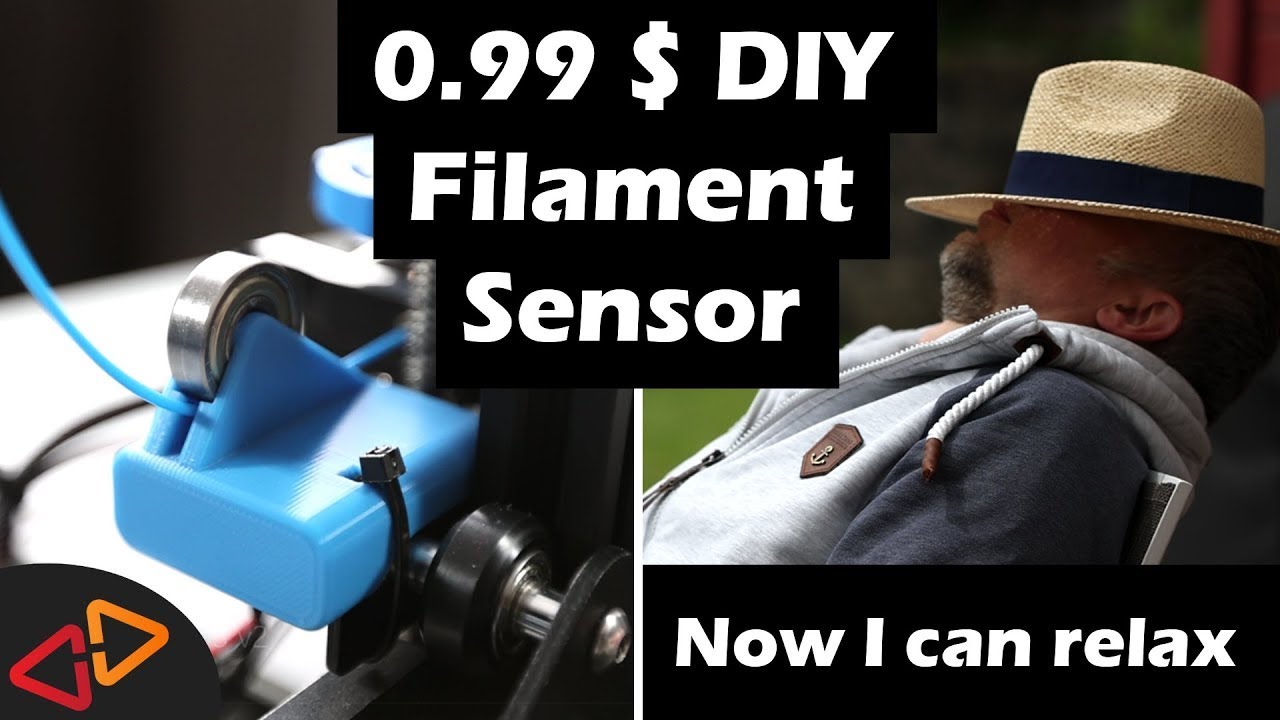
99 CENT Ender 3 v2 Filament Sensor - BEST upgrade for summer
Показать описание
99 CENT Ender 3 v2 Filament Sensor - BEST upgrade for summer
You should install a filament sensor on your Ender 3 v2 and this video explains why and how you can do it for under 1 USD worth of parts - and it also has a second function being a filament guide preventing your filament from wearing out your extruder inlet and filament is less prone to break. Enjoy!
3D PRINTED PARTS
Ender 3 Filament runout sensor and guide with bearing optimized for 1.75mm
HARDWARE AND TOOLS
FIRMWARE
Jyers Marlin branch, supporting Ender 3 v2 display
VIDEOS YOU SHOULD ALSO CONSIDER WATCHING
VIDEO CHAPTERS
0:00 Intro
0:53 Ingredients, Parts, Hardware
2:05 Building the sensor
3:47 Skillshare
4:43 Installing the sensor to the printer
6:00 Firmware installation
FOLLOW ME:
GEAR USED
Disclaimer: As an Amazon Associate I earn from qualifying purchases.
 0:08:20
99 CENT Ender 3 v2 Filament Sensor - BEST upgrade for summer
 0:09:45
How to install filament sensor | Ender 3 V2
 0:00:33
3D Printed upgrade - Bigtreetech BTT smart filament sensor Creality Ender 3 v2
 0:04:23
Ender 3 v2 - I'm switching back to the 12864 display! The WHY and HOW
 0:01:00
ENDER 3 V2 MODS
 0:08:34
Which print surface is the BEST? (for Ender 3 Models)
 0:00:44
Ender 3 Max Neo: Filament Won't Go Through Filament Sensor? Easy Fix! #3dprinter #ender3maxneo
 0:00:51
Ender 3 v2 printer from Aliexpress doesn't working, they sent me probably used item!!!!
 0:13:12
Ender 3 V2 vs. V1 and PRO - what's new and different?
 0:03:01
BLTouch Installation / Creality Ender 3 V2
 0:05:20
4 Upgrades for your 3d printer [Ender 3v2 WOL3D] | firmware upgrade | Octoprint
 0:06:21
Ender 3 v2 BIQU H2 Direct Drive Upgrade
 0:08:45
Budget Ender 3 Upgrades Under $100
 0:01:57
ender 3 v2 Best mods part 2
 0:11:42
BLtouch Unboxing & Installation Ender-3 V2
 0:00:33
Assembly and Installation of Filament Guide for Ender 3 V2
 0:13:24
3 Easy and simple upgrades on Creality Ender 3v2
 0:01:53
Ender 3 V2 Big Flaw/Free Fix
 0:03:32
UPDATE!!! ender 3 pro aka (ender 3 v2 now)
 0:00:50
Bypassing a failing filament sensor. Running our Unified 2 Firmware. #th3d #troubleshooting #ender3
 0:02:30
Creality Ender 3 V2 Printer Bangood Return Update
 0:20:18
Ender 3 Pro - Marlin firmware extra features + filament sensor + 3D / BL touch bed leveling sensor
 0:10:56
Making a filament runout sensor for Ender 3 v2 from a Z-stop
 0:12:31
Ender 3 V2 Neo Installation Guide
Комментарии