filmov
tv
How To Replace A Light Switch | Step by Step

Показать описание
Looking to change out a faulty light switch or just replace an old one for a fresh new look? Well this video is for you then! In this video I will show you step by step how to perform this easy task. If you have plastic outlet boxes the work is basically the same minus having to bond the box to ground.
Please be sure to leave a comment for any new content you might want to see also.
If you find this video useful, please hit that Like button and make sure to click the Subscribe button so you don't miss any new content. Thanks for watching!
Tools used in this video:
Phillips or FlatHead Screwdriver
5/16" Nutdriver
Linesman Pliers
Diagonal Cutters
Wire Strippers
Needlenose Pliers
Parts Used:
Greenie Wire nut
Green bonding screw
14AWG bare copper wire
Electrical Tape
Leviton Brand Decora Switches and Cover Plates:
Disclaimer:
Guy of All Trades is not responsible for any damages to person or property when performing work as depicted in this video. Please be aware that your local electrical code may differ from mine. Please be sure to read up and familiarize yourself with this type of work. Perform safe work practices and be sure that power is turned off before performing any and all electrical work. Have fun with you projects!
#lighting #diy #electrical #electrician
 0:04:51
How To REPLACE A LIGHT FIXTURE In Under 10 Minutes
 0:04:27
How to Change Light Fittings
 0:00:48
How to replace a fluorescent tube light
 0:03:58
How To Install a Light Fixture
 0:00:42
How to replace mini halogen light bulb
 0:01:01
How I swap a light fixture. Love, Dad
 0:12:12
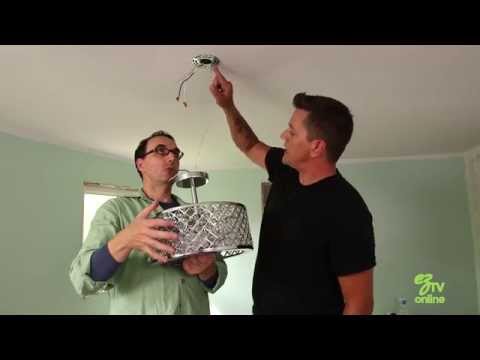
How To Replace A Ceiling Light Fixture
 0:08:18
How to Safely Replace a Ceiling Light | Ask This Old House
 0:00:42
How to Change Out a Light Fixture - Beginner DIY Tutorial - How to Replace a ceiling/wall light
 0:00:41
How to Change a Lightbulb
 0:02:16
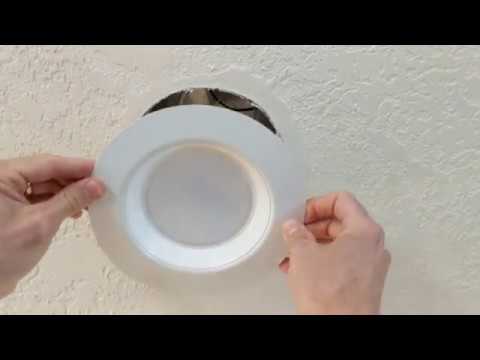
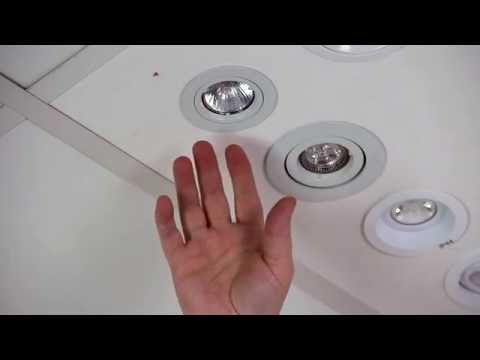
HOW TO REMOVE AND REPLACE A RECESSED LED CEILING LIGHT
 0:00:24
Replace a pool light #pool #diy #shorts
 0:01:25
How Do I Replace a Light Switch? | DIY Basics
 0:00:28
Ceiling Fan Dome Removal
 0:00:52
Time to get rid of all the boob lights in our home!! #diy
 0:00:21
How to fix a burnt out light bulb! #shorts
 0:00:43
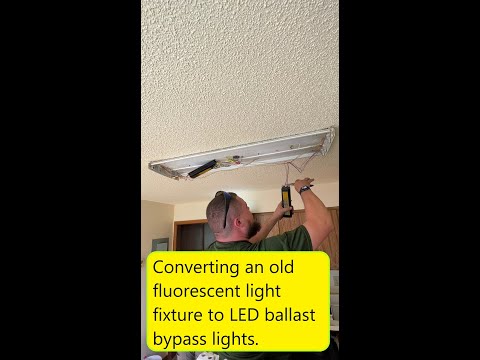
Converting an old fluorescent light fixture to LED ballast bypass lights. #HandsomeOrHandy
 0:03:38
Replace a Lamp Socket
 0:00:41
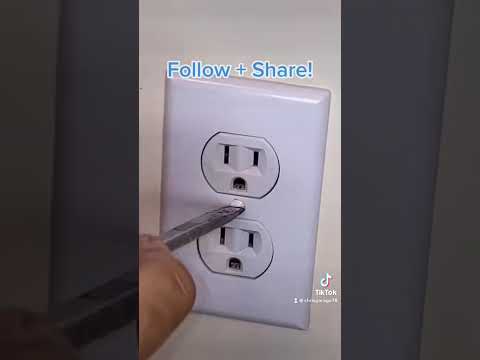
How to replace an Outlet/Receptacle
 0:02:10
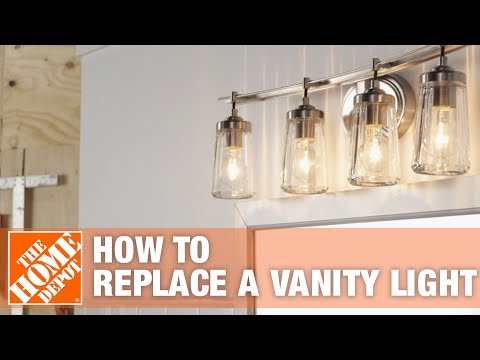
Bathroom Lighting | How to Replace a Vanity Light | The Home Depot
 0:00:21
How to replace the HID headlight bulb on a 6th gen RScamaro
 0:02:16
How to: Replace GU10 Globe
 0:03:41
DIY How to install or replace a light switch for beginners!
 0:14:06
How to replace Pendant light with Ceiling Light Fitting - Step by Step Wiring and Tips!
Комментарии