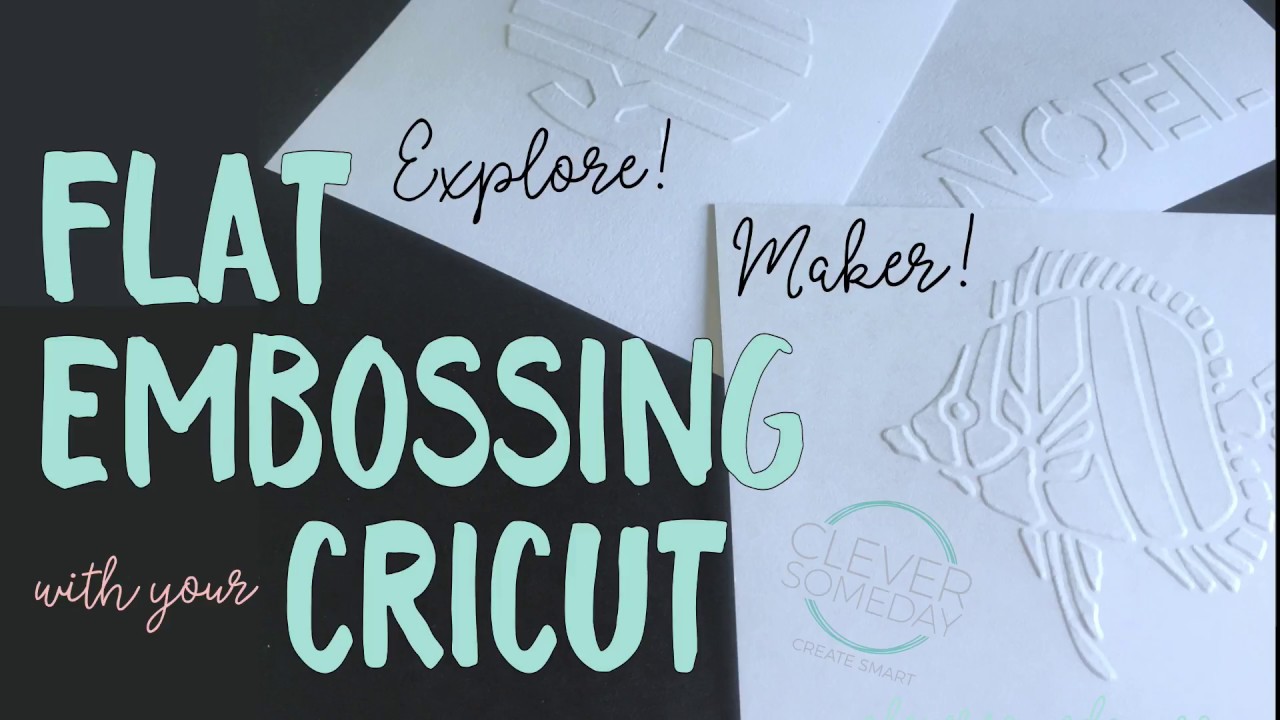
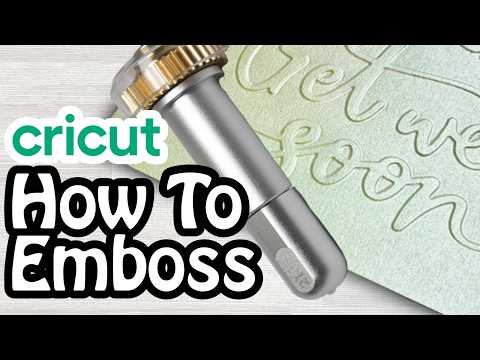
Flat Embossing with a Cricut (Overview)

preview_player
Показать описание
An overview of my technique for embossing card stock with a Cricut Explore or Maker. This is a stencil based technique that produces flat embossing (as opposed to line embossing). To follow along with this demo, open this Cricut Design Space file on your computer
Рекомендации по теме
Комментарии
Автор

Seriously! This is one of the best videos I’ve seen. SO clear, concise and the videoing/filming techniques are awesome!

JoanneHurlock
Автор

This is EXACTLY what I was looking for! Hopefully it still works 3 years later. Will be watching the "create your own" next.

EsmereldaPea
Автор

I only just found you today and I'm beyond thrilled! I have been thinking about doing this with my Maker for quite a while. I watched your video, downloaded the file, watched the video as I performed the steps, and it worked! My printer won't take 110 lb card stock so I will print and cut two from lighter card stock and stick them together around the peremeter and around the design. I think that should work. Thank you very much for posting this tutorial. It is very easy to follow and understand. I look forward to making my own designs and embossing them for cards! Again, thank you!

kensmother
Автор

Just wanted to say think you and I am using this technique on a fairly complex holiday card. I am using the method with the printed rectangle as the register - making 125 have to replace the stencil from time to time but the registration really works! Very cool thanks for teaching us. A little tip I never could figure out how to draw the registration border in design space, once I drew it in illustrator along with the other artwork all was good.

victoriareynolds
Автор

Thanks so much for this, I was struggling to get it all to line up when working on a print then cut project. This worked really nicely.

My own riff on it: I wanted to use kraftboard for my stencil, but unfortunately my printer wouldn't print on it as it's too thick, so I printed on normal paper, then sprayed the back with adhesive then stuck the two together. Worked like a charm.

CharlotteGodley-px
Автор

Great video! Thank you for speaking clearly and for giving precise explanation. And I like the way you pointed out the differences in machines. You've got yourself a new subscriber...I very much look forward to learning more from you!

AndreaStevens
Автор

This is so clever and easy once you see it that I had to hit my head and go duh! Thank you so much for sharing this and I will add that you don’t have to wait for “someday” - you are very clever!❤️😊

evelynwald
Автор

I am not sure if you record your video and then explain, but it's perfect! This is the first video of yours I've seen, definitely a new subscriber. Great job, very informational and can't wait to see your other videos. 😀

beatriceholland
Автор

Great video and explanation and thanks for adding how things were done in the "old days". It all makes more sense. I have the Maker and had a lot of trouble with the stylus popping out or tearing the 80gsm paper.
From your explanation, it gave me the confidence to try some other options to get the result I needed. I eventually got a great result by changing project to Deboss Tip and only debossing once on 216gsm paper. My stencil was also 216gsm as 300 gsm wouldnt go through my printer. The fish is a bit tacky to the touch from the mat (blue mat) on the embossed side but I guess that is to be expected.


It's funny, when i was watching it, I was expecting the stylus or deboss tip to go backwards and forwards to "fill in" the areas but of course it just does the outline. <headslap>. The magic of the stencil allows the paper to match up with the outline! Genius!


Thanks again for making this video, you have opened up a whole new world for me and feel like I have learnt a lot.

KerrinAddis
Автор

I like your well worded, no nonsense approach. Also you are saving me time by figuring out settings etc. thank you.

thenar
Автор

This worked beautifully. This one technique opens many creative doors. Thank you.

robynfreckelton
Автор

You are A-MAZE-ING!!!  Thank you so much! I've had to do some tricks of my own to get what I want....today I learned a new one!

elsagarcia
Автор

Happy to see what I can do with my Cricut Explorer. Thank you for this brilliant tutorial.

mignonfuchs
Автор

O-M-G!!! I have wanted to be able to do this with the Cricut for years because you can design and make some very elegant note cards and other stationery. I can partially see the one you have done with the monogram - LOVE IT! I bet you can also make the stencil with the plastic stencil blanks you can buy from Joanns. I also wonder if you can get a deeper embossing by gluing 2 layers of card stock together and then setting up the Cricut to cut it twice, or if that might be too deep and tear the card stock. Once I dig my Cricut out of storage I think I might do some experimenting.

luxurycardstore
Автор

Very clever indeed! You have just saved me hundreds of dollars!! Thank you so much, I love it!

Trishazurin
Автор

Brilliant!!! Look forward to many more of your videos❤️❤️❤️❤️. Great instructing!!!!

ClearlyCards
Автор

I, too, really appreciate your tutorials and straightforward presentations. I'm still learning to use my Curio, which I bought with the idea of being able to emboss my own designs. The Curio embossing is disappointing. And I know now is limited to the 8.5" work surface; which is why I regret not buying the Cameo instead. I would, however, like to ask if this technique might be applied to use with the Curio. Thx

se
Автор

Your channel name suits you ! Really Clever Somebody! One of the most creative person I have come across on Youtube! Thank you so much for your clear, and fantastic videos!

Btw, what can I do if my printer doesn’t accept heavy card stock?

deepdiver
Автор

Ur video is really amazing and easy to follow

ken
Автор

Game changer!! I can't wait to try this. Thanks for sharing.

naysworld
welcome to shbcf.ru