filmov
tv
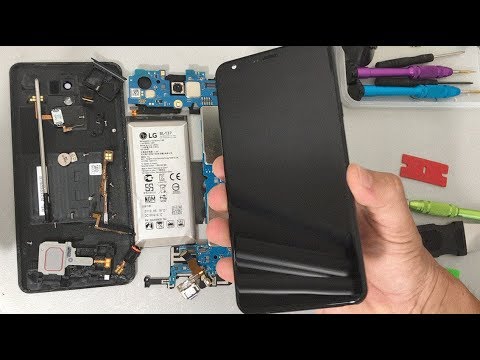
How to replace LG Stylo 4 LCD Glass Screen | Screen Replacement

Показать описание
This is a tutorial video on how to take apart and replace the LCD screen on your LG Stylo 4. (The entire LCD+Digitizer+Glass screen+frame assembly)
Its the same procedure and same glass screen used for all carrier models.
All models -
LG Stylus 4
LG Q710MS
LG Q710AL
LG Q710PL
Metro PCS
Cricket
Boost Mobile
I used the following tools:
1. Small Phillips head screw driver
2. Hair dryer or Heat gun.
3. Prying tool
Warning: Repairs will void your warranty with the service provider and manufacturer of the device. We are not responsible for any damage caused by attempting this repair.
Things I use in this video
Disclosure: This video and description contains affiliate links, which means that if you click on one of the product links, I’ll receive a small commission. This helps support the channel and allows us to continue to make videos like this. Thank you for the support!
 0:09:28
How to replace LG Stylo 4 LCD Glass Screen | Screen Replacement
 0:09:31
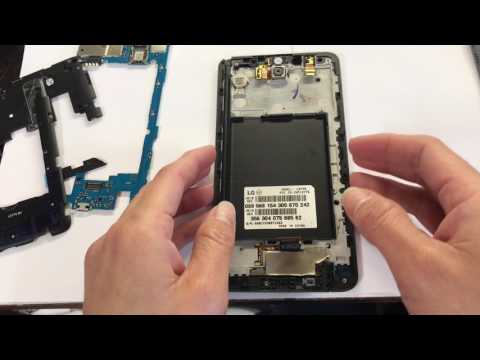
How to replace LG G Stylo LCD Glass Screen | Screen Replacement
 0:05:57
LG Stylo 5 Screen Replacement - LCD Replacement (also the LG Stylo 4!) - full tutorial
 0:16:05
Lg stylo 6 screen repair start to finish
 0:14:25
LG Stylo 6 LCD Replacement quick and easy step by step
 0:05:10
How to replace LG G STYLO LS770 LCD Glass Screen Digitizer Disasembly Replacement
 0:07:50
LG Stylo 4 Q710 - Repair | Take Apart | Fix | Tear Down | Replace | Screen | Cracked
 0:10:33
How to replace LG Stylo 4 Lcd Digitizer (Full Video)
 0:11:47
LG Stylo 4 Cracked Screen Repair Replacement - An Easy How To Repair Video
 0:10:27
LG G Stylo Screen Repair, Teardown and Reassemble Guide - Fixez.com
 0:08:46
How to replace LG Stylo 4 Battery Replacement
 0:09:21
Lg stylo 2 disassembly - how to take off broken screen and replace new screen
 0:03:29
LG Stylo 6 How to take apart, teardown, disassemble...
 0:14:20
How to replace screen of lg stylo 5 | Lg stylo 5 screen replacement
 0:11:10
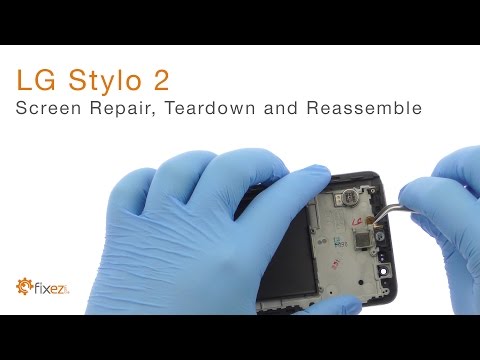
LG Stylo 2 Screen Repair, Teardown and Reassemble - Fixez.com
 0:10:35
How to replace LG Stylo 2 Plus LCD Glass Screen | Screen Replacement
 0:18:44
LG Stylo 4 and many other phones charging port replacement, and battery replacement
 0:03:16
LG Stylo 4 How to Replace and remove Back Cover
 0:03:54
LG Stylo 5 how to remove back cover or replace it
 0:01:51
LG Stylo 6 How to remove or replace back glass cover
 0:03:22
LG Stylo 6 Charge Port Replacement | The last of its kind
 0:13:07
Lg stylo 6 screen with frame replacement | how to replace lg stylo 6 screen with frame
 0:10:22
LG G Stylo Take Apart Repair Guide - RepairsUniverse
 0:22:52
LG STYLO 5 SCREEN REPLACEMENT
Комментарии