filmov
tv
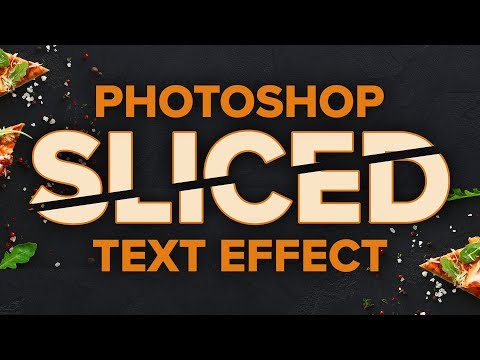
How to Slice Text in Photoshop

Показать описание
Learn how to slice text in Photoshop, and how to keep your text editable so you can try out different words within the same slices!
In this tutorial, I show you step-by-step how to create a popular sliced text effect with Photoshop. And unlike other tutorials that force you to convert your text into pixels before you cut it into slices, you'll learn how to keep your text editable so you can try out different words using the same slices!
To do that, we'll take advantage of two powerful Photoshop features known as smart objects and vector masks. We'll start by converting the text into a smart object, which keeps it editable. And then we'll cut the text into slices, and shape the slices into any angle we need, using vector masks! I'm using Photoshop CC 2019 here but you can also follow along with Photoshop CS6.
#photoshoptutorial #texteffect #texteffectphotoshop
 0:08:25
How to Slice Text in Photoshop
 0:04:05
Slice Text Animation in After Effects | No Plugins
 0:00:55
Cut & Slice Text in After Effects
 0:01:37
After Effects Tutorial How to Cut and Slice Text Quick Tip
 0:11:16
How to Make New TikTok Slice Text on CapCut | Full Tutorial
 0:00:57
Slice & Cut Animated Text in Premiere Pro #tutorial
 0:00:55
Slice & Dice Text in DaVinci Resolve #tutorial
 0:00:59
Slice & Dice Animated Text in After Effects #tutorial
 0:02:33
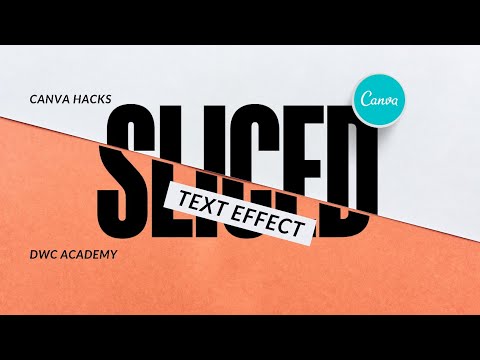
Slice Text Effect in Canva How to Slice Text in Canva
 0:02:48
how to slice text in canva - t-shirt design tutorial
 0:03:40
Slice Text Like a Pro In Illustrator | Beginner Tutorial
 0:09:40
Slice text tutorial | Alight motion (+Preset)
 0:01:24
Quick! How to Slice Text in Photoshop - T-Shirt Design Tutorial
 0:01:22
SLICE TEXT Animation in DaVinci Resolve IN 82 SECONDS
 0:04:27
Slice Text Like AE | Capcut Tutorial
 0:04:48
How to Slice Text in Inkscape - Slice Text Effect - Split Text in Inkscape - Split Text Effect
 0:05:53
How To Slice Text In Photoshop | Photoshop Tutorials
 0:01:52
Create Text Slice Cut Animation in Premiere Pro
 0:01:26
Slice Text Effect in Inkscape
 0:01:17
Quick! How To Slice Text in Photoshop & Make Two Tone Color (T-Shirt Trick!)
 0:03:48
Canva Tutorial: How to Slice a Text
 0:11:22
New Canva Tricks - How To Slice A Text In Canva | Must Watch
 0:02:31
How to Slice text in Canva (FREE) | Tutorial- 8
 0:00:36
Slice Text effect in Photoshop #shorts #photoshoptutorial #graphicdesign
Комментарии