filmov
tv
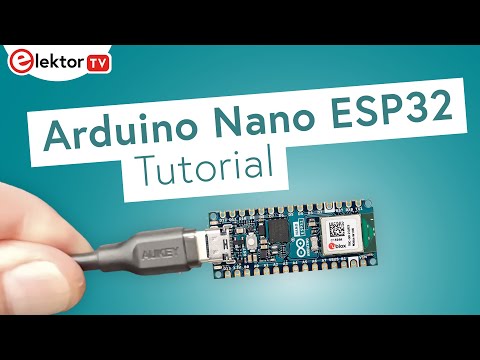
How To Make Arduino Nano ESP32 YouTube Subscriber Display | Step by Step Tutorial

Показать описание
We got the new Arduino Nano ESP32 and couldn't wait to try it out.
.
.
Everyone's talking about how cool this little device is, so we decided to see for ourselves. To really see what it can do, we made a fun project: a YouTube subscriber display. But here's the crafty twist: we housed the tech in a 3D-printed case and added a laser-cut clear acrylic front cover for that polished look.
.
The result?
.
A blend of tech and art, showing our subscriber count in real-time, all powered by the Nano ESP32. Check out our project and see how this tiny but mighty microcontroller works. Whether you're new to this or an old hand, we hope you'll enjoy what we've made!
__________________________________________________________
Shop now:-
__________________________________________________________
Follow Us –
#nanoesp32 #arduino #electronics #arduinoproject #raspberrypi #robotics #technology #engineering #robot #arduinouno #diy #iot #electrical #microcontroller #electronic #programming #esp #maker #arduinoprojects #tech #electricalengineering #coding #pcb #d #diyelectronics #arduinofun #arduinomega #electronicengineering #automation #project #robotica
.
.
Everyone's talking about how cool this little device is, so we decided to see for ourselves. To really see what it can do, we made a fun project: a YouTube subscriber display. But here's the crafty twist: we housed the tech in a 3D-printed case and added a laser-cut clear acrylic front cover for that polished look.
.
The result?
.
A blend of tech and art, showing our subscriber count in real-time, all powered by the Nano ESP32. Check out our project and see how this tiny but mighty microcontroller works. Whether you're new to this or an old hand, we hope you'll enjoy what we've made!
__________________________________________________________
Shop now:-
__________________________________________________________
Follow Us –
#nanoesp32 #arduino #electronics #arduinoproject #raspberrypi #robotics #technology #engineering #robot #arduinouno #diy #iot #electrical #microcontroller #electronic #programming #esp #maker #arduinoprojects #tech #electricalengineering #coding #pcb #d #diyelectronics #arduinofun #arduinomega #electronicengineering #automation #project #robotica
 0:04:45
DIY Arduino Nano !
 0:04:20
Getting Started with Arduino Nano CH340/ATmega328P: A Step-by-Step Tutorial for Absolute Beginners
 0:09:24
Arduino is easy, actually
 0:00:30
Amazing Experiment with Arduino Nano | Flappy Bird Game #diyprojects #arduino #3dprinting #tech
 0:00:15
The Arduino Nano #arduino #diy
 0:00:10
Breaking the Code: How To Make A DIY Virtual Dice With ChatGPT Generated Code And Arduino Nano
 0:00:15
Building a DIY Music Audio Player with a Piezo Crystal and an IoT Arduino Nano #arduino #electronics
 0:00:16
Arduino Nano Pin Soldering
 0:37:13
Logger di temperatura e umidità con Arduino Nano ESP32
 0:07:47
Considering Arduino Nano? Watch this First!
 0:02:43
Upload Your First Code To Arduino Nano || Uploading The First Sketch
 0:00:13
Radar Project Using Arduino Nano RP2040 #arduino #engineering #diy #tme
 0:03:13
Arduino Nano ESP32 - A Short Tutorial to Setup and IoT Usage
 0:22:12
Arduino 101- Crash Course w/ Mark Rober
 0:00:20
The Cheapest long Range Arduino Nano Mini Drone #shorts #drone #arduino #viral #diy
 0:00:13
'Humanoid Face ' based on Arduino NANO
 0:00:09
Arduino Nano vs Arduino Nano ESP32
 0:01:01
Arduino Explained in 60 Seconds! #arduino #electronics #STEM
 0:00:16
Top 5 Arduino Projects #arduino #arduinoprojects #arduinorobot #lightdetector
 0:00:11
LED Matrix - Arduino Project for Beginners #arduino #engineering #diy
 0:00:28
Arduino based Projects | | #arduinoproject #arduinotutorial #arduinoideas #experiment #sensor #diy
 0:00:13
Self Balancing Robot using Arduino and MPU 6050 #selfbalancing #arduinoproject
 0:00:12
Simple Servo Motor Control with Arduino Nano via Serial Communication #tme #arduino #engineering
 0:00:19
Top 5 Arduino projects #shorts
Комментарии