filmov
tv
Unreal Engine 5 | Enzo Behind the Scenes | Part 1: Mesh to Metahuman Pipeline

Показать описание
This is the first of the behind the scenes, where I share how the original mesh used to create Enzo was sculpted by @tomisackmann from scratch from his course on @cgcircuitLLC on how to create a realistic character in @MaxonVFX Zbrush, @Autodesk Maya & Mari, using @Russian3dscannerSoftware plugin Zwrap & @Substance3D
I will also walk you through all the steps I took when using the @EpicGamesStore & @3lateral4 mesh to meta plugin in @UnrealEngine 5 along with sharing some tips and techniques I learned in the process.
Special thank you to @maxwarlond for sharing the Metahuman Lighting setup and environment!
00:00 Intro
00:23 Tomas Sackmann Original Sculpt
01:09 Youtube Resources
01:19 Enable Mesh to Meta Plugin
01:31 Importing Head Mesh & Textures
02:01 Setting Up Metahuman ID
02:24 Framing, Lighting Options & Tracking Variations
03:07 Tracking Without Eye Texture
03:23 Tracker Options
04:10 Metahuman ID Solve
04:29 Metahuman Backend to Bridge
~ Links ~
3D Character Artist Tomas Sackmann
Unreal Engine Artist Max Warlond
Unreal Tutorial
#metahumans #meshtometahuman #ue5 #unrealengine5 #3dcharacter #digitalcharacter #epicgames #virtualproduction #mocap #digitalfilmmaking
Unreal Engine 5 | Enzo Behind the Scenes | Part 1: Mesh to Metahuman Pipeline
Unreal Engine 5 | Enzo Behind the Scenes | Part 2: The Metahuman Creator
Unreal Engine 5 | Enzo Behind the Scenes | Part 11: Da Vinci's Squared Circle & FK Control ...
Enzo: The Vitruvian Metahuman | Behind the Scenes Glimpse in UE5 - Speaking Greek
Unreal Engine 5 | Enzo Behind the Scenes | Part 4: Metahuman Body Control Rig Overview
Unreal Engine 5 | Enzo Behind the Scenes | Part 7: Metahuman Body & Facial Motion Fine Tuning
Unreal Engine 5 | Enzo Behind the Scenes | Part 6: Metahuman Facial Motion Pipeline with Faceware
Unreal Engine 5 | Enzo Behind the Scenes | Part 5: Metahuman Body Mocap Pipeline with Xsens & Ma...
Enzo: Vitruvian Metahuman | Real-Time Short film in UE5
Unreal Engine 5 | Enzo Behind the Scenes | Part 3: Metahuman Face Control Rig Test
Master of Explosive Enzo's Skills and Strategies Revealed!
Hice el REMAKE de GOD OF WAR con Unreal Engine 5
Creating and Modifying Control Rig Preview
Real or Game…
How to UNLOCK Enzo in the First Descendant! (Complete Full Guide) Tips & Tricks
How to Rig your Metahuman`s Face Tutorial in Unreal Engine 5
Need for Speed: RAZOR | Most Wanted Remake 2024 | Second Trailer
The Most Realistic Video Game Ever
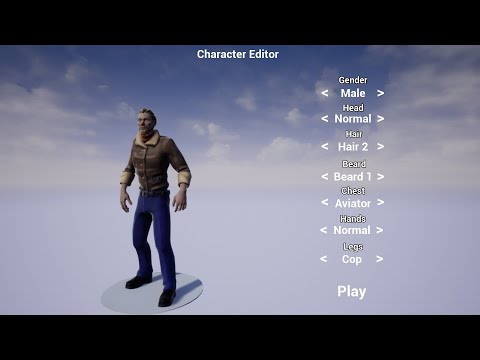
Unreal Engine Character Editor Tutorial
Pushing the limits of Unreal Engine and the Enzo 🚗 💨 #unrealengine #automotive #cgi #ferrari
Pilot shows off the impact of flying at 9.5G 😅 #shorts #funny #gforce
Olav (13) verkoopt zijn Fortnite-account
Metahuman Cinematics Captured with DragonFly Virtual Camera in Unreal Engine 5
Unreal Engine 5 Metahuman Facegood Live Facial Mocap Tutorial
Комментарии
 0:04:58
 0:03:07
 0:04:17
 0:00:18
 0:04:40
 0:09:17
 0:08:27
 0:08:07
 0:05:27
 0:05:16
 0:01:00
 0:11:49
 0:00:25
 0:11:23
 0:17:22
 0:04:28
 0:01:53
 0:10:04
 0:16:51
 0:00:11
 0:00:13
 0:03:13
 0:00:50
 0:07:49