filmov
tv
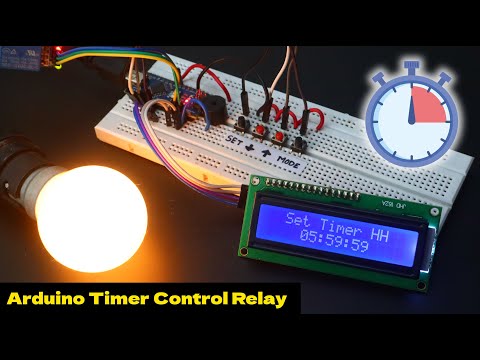
Arduino Assembly Timer and LED Display: A Hands-On Guide

Показать описание
To create an assembly timer with LED blinking using an Arduino Uno. This example assumes you want to create a simple timer that controls the blinking of an LED. Here are the steps:
Step 1: Gather Components
- Arduino Uno board
- LED
- Resistor (220-330 ohms)
- Breadboard and jumper wires
Step 2: Connect the Circuit
Connect the components on the breadboard:
- Connect the longer leg (anode) of the LED to digital pin 13 on the Arduino.
- Connect the shorter leg (cathode) of the LED to a current-limiting resistor (220-330 ohms).
- Connect the other end of the resistor to the ground (GND) pin on the Arduino.
Step 3: Write the Arduino Sketch
Open the Arduino IDE on your computer. Write the following simple Arduino sketch:
```cpp
const int ledPin = 13; // Pin number for the LED
void setup() {
pinMode(ledPin, OUTPUT); // Set the LED pin as an output
}
void loop() {
digitalWrite(ledPin, HIGH); // Turn on the LED
delay(1000); // Wait for 1 second (adjust as needed)
digitalWrite(ledPin, LOW); // Turn off the LED
delay(1000); // Wait for 1 second (adjust as needed)
}
```
This code will make the LED connected to pin 13 blink on and off with a one-second delay.
Step 4: Upload the Sketch
Connect your Arduino Uno to your computer using a USB cable. Select the correct board and port in the Arduino IDE under the "Tools" menu. Click the "Upload" button to upload the sketch to the Arduino.
Step 5: Test the Assembly
Once the upload is complete, you should see the LED on pin 13 of the Arduino Uno blinking on and off with a one-second interval.
Step 6: Adjust the Timer
You can modify the `delay` values in the code to adjust the timing of the LED blinking according to your preference. For example, changing both `delay(1000)` lines to `delay(500)` would make the LED blink every half-second.
Step 7: Further Enhancements
If you want to create a more sophisticated timer, you could add a display (like an LCD) to show the elapsed time or use additional LEDs for different indications. This would involve more complex coding and circuitry, but it provides room for creativity and customization.
Remember, this is a basic example to get you started. Feel free to modify and expand upon it based on your specific requirements.
 0:00:12
 0:07:16
 0:10:39
 0:33:28
 0:03:53
 0:00:59
 0:05:37
 0:00:22
 0:00:16
 0:12:45
 0:00:15
 0:06:34
 0:10:27
 0:00:31
 0:00:17
 0:02:20
 0:12:21
 0:01:01
 0:16:13
 0:03:19
 0:00:24
 0:00:10
 0:00:09
 0:00:14