filmov
tv
How to increase your bootcamp partition without deleting windows. Disk partitioning macOS Catalina

Показать описание
How to resize your bootcamp partition without deleting windows. Disk partitioning macOS Catalina
Please ensure you have all data backed up before starting this process. Every care has been taken to ensure this video tutorial will work for you things can and do go wrong. Please backup your data first...
How to resize your bootcamp partition without deleting Windows/bootcamp
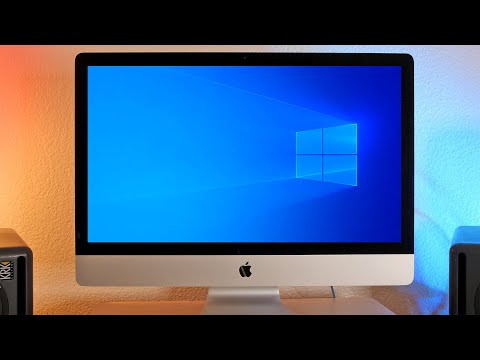
In this video I will show you how to resize your Windows partition (bootcamp partition) without having to delete or reinstall Windows.
I am running macOS Catalina & Windows 10 pro 64 bit.
Step 1 on Mac OSX is to resize your partition
Step 2 reboot into Windows
Step 3 Download MiniTool Partition Wizard
Step 4 Resize your bootcamp partition using unallocated space.
Finally you have extra space
Amazon Links to some of my equipment I use
My Setup:
Canon M50
Rode VideoMic Go
Premier Pro
Twitter @johnr_shirley
Instagram : johnrs1970
Please ensure you have all data backed up before starting this process. Every care has been taken to ensure this video tutorial will work for you things can and do go wrong. Please backup your data first...
How to resize your bootcamp partition without deleting Windows/bootcamp
In this video I will show you how to resize your Windows partition (bootcamp partition) without having to delete or reinstall Windows.
I am running macOS Catalina & Windows 10 pro 64 bit.
Step 1 on Mac OSX is to resize your partition
Step 2 reboot into Windows
Step 3 Download MiniTool Partition Wizard
Step 4 Resize your bootcamp partition using unallocated space.
Finally you have extra space
Amazon Links to some of my equipment I use
My Setup:
Canon M50
Rode VideoMic Go
Premier Pro
Twitter @johnr_shirley
Instagram : johnrs1970
 0:04:01
How to increase your bootcamp partition without deleting windows. Disk partitioning macOS Catalina
 0:05:38
Increase Bootcamp Partition without erasing Windows
 0:01:58
How to increase your BootCamp partition size
 0:10:56
Step by Step Resize BootCamp Partition Without Erasing Windows & Data (In Hindi)
 0:05:34
Reduce the Size of your Bootcamp Partition Without losing Data
 0:04:53
How to Increase BootCamp Partition without loosing data Guaranteed.
 0:03:17
How to unlock CPU on Windows Bootcamp (Works on all Apple Computers)
 0:05:52
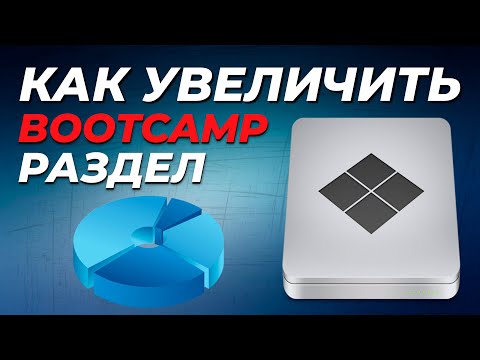
Как увеличить BOOTCAMP раздел?! /How to resize Bootcamp Partition
![[LIVE] Day Five:](https://i.ytimg.com/vi/V1YTLIHqPZo/hqdefault.jpg) 1:01:36
1:01:36
[LIVE] Day Five: The Back To Basics Boot Camp | Recruit Your Next FIVE Reps
 0:02:25
How to increase bootcamp (windows) storage without having to reinstall the windows again
 0:13:34
How To Get Your First Software Engineer Job After College/Bootcamp
 0:10:33
How to install Windows 10 on a Mac using Boot Camp Assistant
 0:05:29
How I Scored a 23AA DAT Score with DAT Bootcamp
 0:13:01
How to Upgrade to SSD (Transfer Bootcamp)
 0:08:25
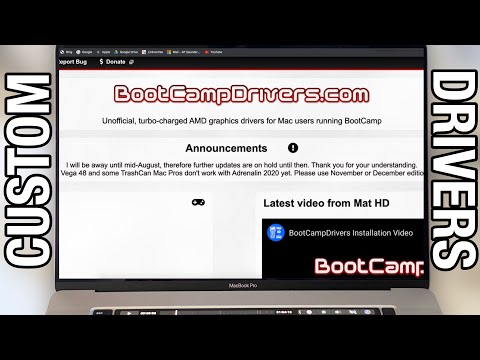
Install Custom AMD BootCamp Drivers For MacBook Pro 16 Inch! (Improve Gaming Performance)
 0:02:15
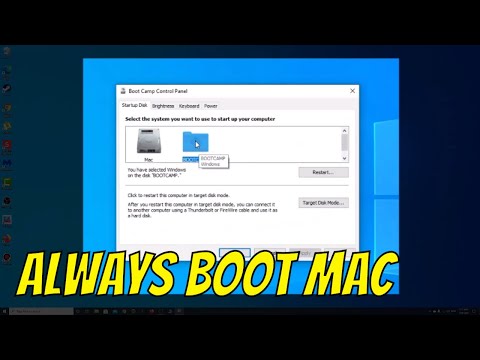
Bootcamp Change Default Startup Disk To Mac (Boot To Mac On Startup)
 0:02:44
How To Switch Between MacOS & Windows BootCamp!
 0:00:38
Tips For Applying to a Tech Skills Bootcamp
 0:24:06
'How Can I Make The Most of My Coding Bootcamp?'
 0:22:14
Improve your STRINGS in 20 mins | Full Bootcamp Tutorial
 0:02:11
EASY!!! BOOTCAMP | HOW TO CONVERT MBR TO GPT PARTITION STYLE
 0:07:57
'HowTo': Bootcamp your (OCed) Mac (without using Bootcamp)
 0:05:13
How to install Windows on a Mac
 0:56:59
I/O BootCamp 2011: Optimizing your Web Performance for Success
Комментарии