filmov
tv
How to build a tiny masonry heater for the woodshop

Показать описание
How to build a tiny masonry heater for the woodshop with Mr Chickadee shows how to use reclaimed bricks and old woodstove parts to construct a very small wood fired mass heater for our woodworking shop.
Follow me on Instagram:
Three different mixes in the video,
1. Vermiculite, clay slurry (used as insulation layer under heater
2. Clay slurry, sand (used for mortar between bricks)
3. Clay slurry, sand, wood ashes, wool (used as fireproof layer inside firebox)
For everyone who wants plans, I would recommend this site, free detailed plans for many many stoves of various sizes, some even small enough to go on a strong wooden floor...
The stove from this video is a very similar design to one built by FireSpeaking, called the "cabin stove" though I don't think they offer plans anymore...
Patreon page:
Follow me on Instagram:
My website :
Follow me on Instagram:
Three different mixes in the video,
1. Vermiculite, clay slurry (used as insulation layer under heater
2. Clay slurry, sand (used for mortar between bricks)
3. Clay slurry, sand, wood ashes, wool (used as fireproof layer inside firebox)
For everyone who wants plans, I would recommend this site, free detailed plans for many many stoves of various sizes, some even small enough to go on a strong wooden floor...
The stove from this video is a very similar design to one built by FireSpeaking, called the "cabin stove" though I don't think they offer plans anymore...
Patreon page:
Follow me on Instagram:
My website :
 0:36:47
Building A DIY Tiny House / Full Exterior Build
 0:26:41
How I Built A Tiny Home DIY Full Exterior Build
 0:00:51
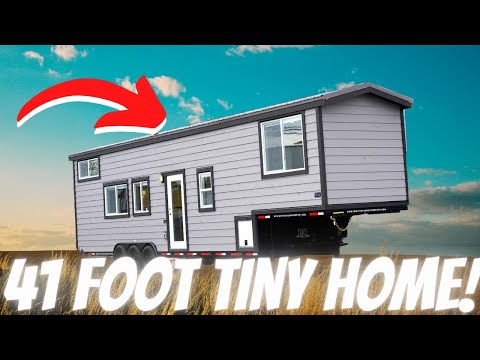
41' Tiny Home! Could You Live HERE?
 0:09:58
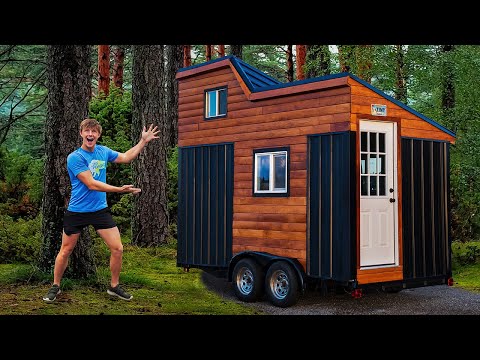
Building My Dream Tiny Home For Under $8000
 0:13:22
I Built a Luxury Tiny home for $6,000 (exterior build)
 0:22:34
Building A Tiny House From Start To Finish!
 0:00:54
Tiny Minecraft build ideas...
 0:07:13
Tiny House Reality Check! Watch This Before Building or Buying One
 0:00:57
How to build a Tiny Village for 3 Players 🏠⛏️ #Minecraft #minecraftbuild
 0:18:39
Building Amazing DIY Wood Cabin Step by Step | Tiny Home | @WoodWorkerenginbircan
 0:11:56
Building a Tiny House with April Wilkerson in 7 Days
 0:00:07
Luxury Tiny Home Treehouse w/ Unique Outdoor Deck!
 0:20:43
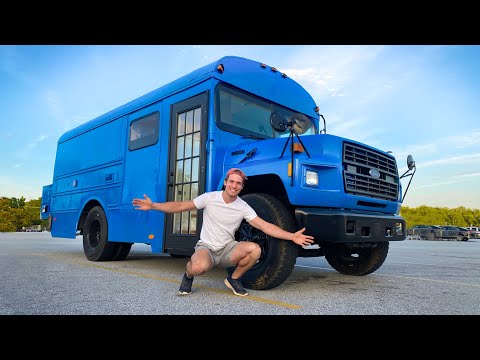
I turned a bus into a luxury tiny home
 0:04:21
(3x6 Meters) Tiny House Design | Small 1 Bedroom House
 0:44:39
Wie man ein Tiny House baut | SWR Handwerkskunst
 0:10:42
How to Build a Tiny Pole Barn in -5 MINUTES- | Chicken House Plans
 0:09:48
DIY tiny home you can build in weeks | Hard Reset
 0:01:00
BUILDING A TINY HOUSE STUDIO IN 60 SECONDS! #COMMUNITY #homesteading #framily #teamwork #timelapse
 0:07:14
Building A Tiny Home On Wheels For A Homeless Guy
 0:06:31
Where Can You Park / Build a Tiny House in Florida?
 0:04:44
Build a Tiny Plant World! | Science Project for Kids
 0:18:34
I BOUGHT an ABANDONED TINY HOUSE & RENOVATED IT
 0:10:39
We Built A $34 Tiny House In 3.5 Days
 0:14:18
How to Build TINY Village Inside a Chest in Minecraft!
Комментарии