filmov
tv
How to Make a Menu System (with Submenus) in GameMaker Studio 2!

Показать описание
Title screens, pause menus, shop systems, whatever! This system can very easily be added to any game (including the "How to Make an RPG" series game), and is good prep for my next video on Textboxes and Branching Dialogue!
If you want to support me, subscribe and follow this stuff!
If you have any questions, leave a comment or send me a dm on twitter/Discord!
 0:19:32
Food Menu design using ms word | Ready to Print | How to make Restaurant Menu Card Design ms word
 0:12:02
How to design a menu for your restaurant – Use free templates or start from scratch
 0:16:26
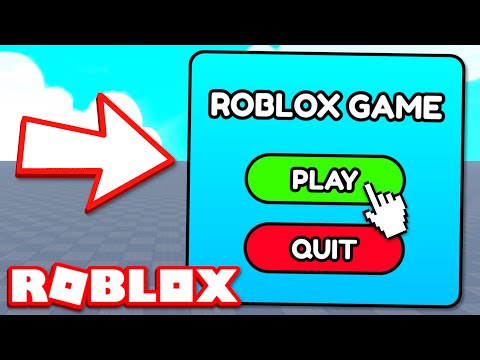
HOW TO MAKE A MAIN MENU 🛠️ Roblox Studio Tutorial
 0:08:33
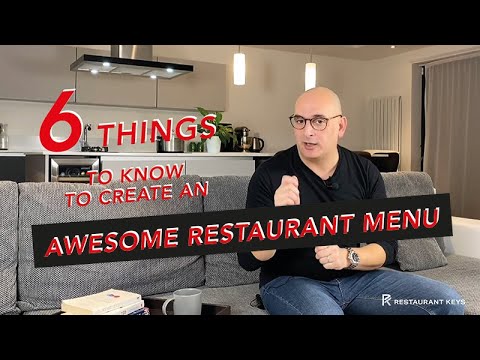
6 Things You Need to Know to Create an Awesome Restaurant Menu
 0:01:05
How to Make a Menu Screen in 1 MINUTE!
 0:09:06
6 Restaurant Menu Design Hacks To Increase Revenue - 2.6.2 Profitable Restaurant Owner's Academ...
 0:05:43
How to Make a Main Menu // Beginner Tutorial // 2024
 0:09:17
Create a Simple Menu WEDDING MENU in Word | EASY TUTORIAL
 0:14:20
How to make a MENU in ROBLOX STUDIO | Tutorial | 4K
 0:02:31
How to Make MAIN MENU? | Roblox Studio Tutorial
 0:02:50
How To Make A Main Menu Gui WITHOUT SCRIPTING
 0:08:00
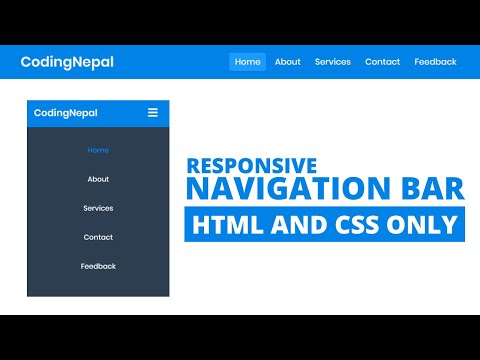
How to Create Responsive Navigation Bar using HTML and CSS
 0:14:30
Restaurant Menu Design | Photoshop & Illustrator Tutorial
 0:13:11
Creating a DISH/MENU from START to FINISH
 0:23:45
How to make a Main Menu Gui // 2023 // Roblox Studio
 0:15:30
13: How to Create a Menu in HTML | Learn HTML and CSS | Full Course For Beginners
 0:03:24
How to make a Main Menu in Roblox Studio!
 0:00:57
How to make menu card for school project (300k views)#school #project #viral #300kviews
 0:12:15
How To Make Fast Food Menu in Mobile || Fast Food Menu Design
 0:04:08
How to make a Main Menu Gui in Roblox Studio
 0:01:10
How to make Menu card / Handmade Menu / DIY Menu card
 0:00:33
My new craft Fast Food Restaurant #diy
 0:02:10
How to Make a Restaurant Menu Out of Construction Paper : Cool & Functional Crafts
 0:03:40
how to make beautiful menu card for home science prectical, greeting card design #craft.#papercraft
Комментарии