filmov
tv
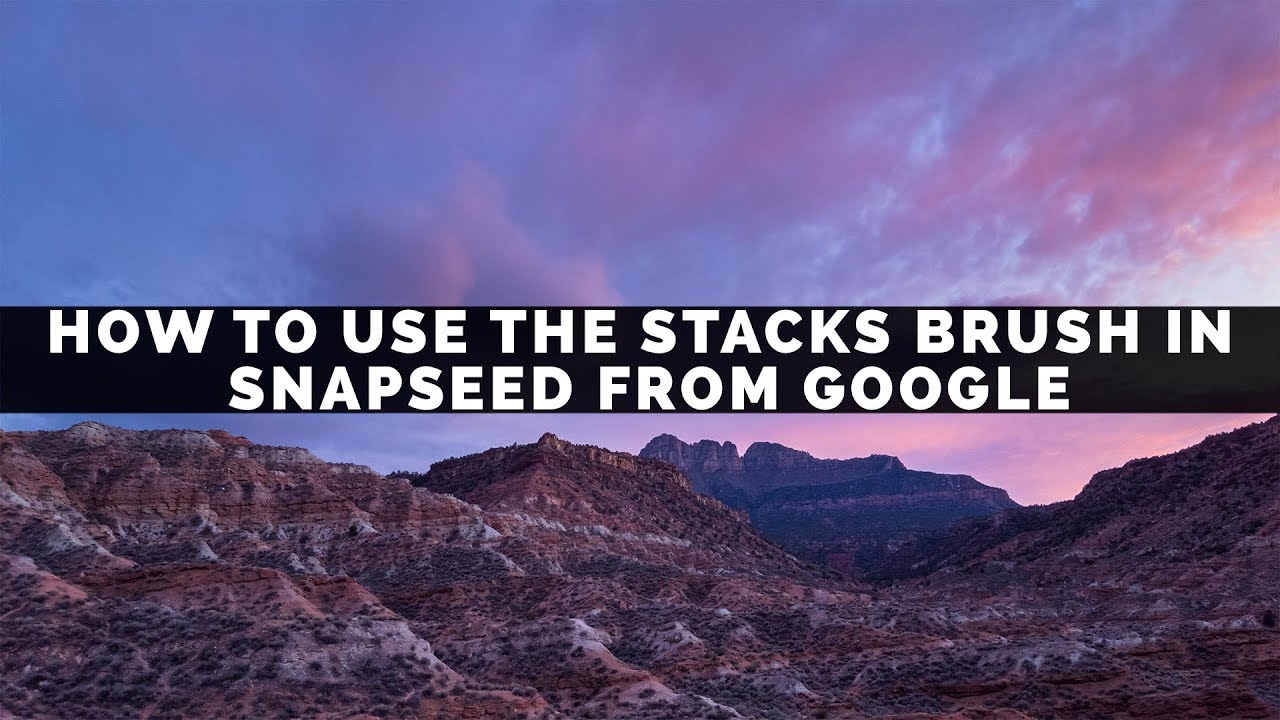
How To Use The Stacks Brush In Snapseed From Google

Показать описание
Learn how to use the Stacks Brush in Snapseed from Google.
It’s time for a tutorial on the secret Stacks Brush feature inside of Snapseed from Google. Using the *Stacks Brush* feature, we can target the effects of almost any Tool in this App to one specific part of our photograph rather than changing the entire image.
By painting with the Stacks Brush Tool, we can make precise local changes instead of altering our entire image.
This kind of editing precision, which we call Masking in Adobe Photoshop Lightroom and other advanced image editing programs, is the gateway to all sorts of advanced editing techniques using this amazing App.
The Mask feature is the best way to see which parts of your image will, or will not, be altered while you are working in the Stacks Brush mode.
For those who watched the previous tutorial on the plain old Brush Tool, or for those of you with a strong Adobe Photoshop Lightroom / Adobe Photoshop CC background, then the red overlay that the Mask displays in here might instantly make some sense.
When the Mask feature is active then the parts of your image that are covered in red are the areas that this Edit Layer will change. As you paint over additional parts of your image with the Stacks Brush, you are expanding the area that this Edit Layer enhances.
If you make a mistake while you are painting in this mode then set your Brush Strength to Zero and erase your changes away. Having this kind of control with a mobile app really opens up a world of creative possibilities!
------------
Visit our website today to take your photography to the next level!
Комментарии
 0:13:55
 0:08:34
 0:36:26
 0:10:07
 0:01:42
 0:16:30
 0:06:33
 0:11:20
 0:03:17
 0:05:15
 0:04:51
 0:05:28
 0:14:18
 0:03:46
 0:02:54
 0:24:25
 0:09:31
 0:12:21
 0:16:09
 0:03:37
 0:13:05
 0:00:50
 0:14:10
 0:00:58