filmov
tv
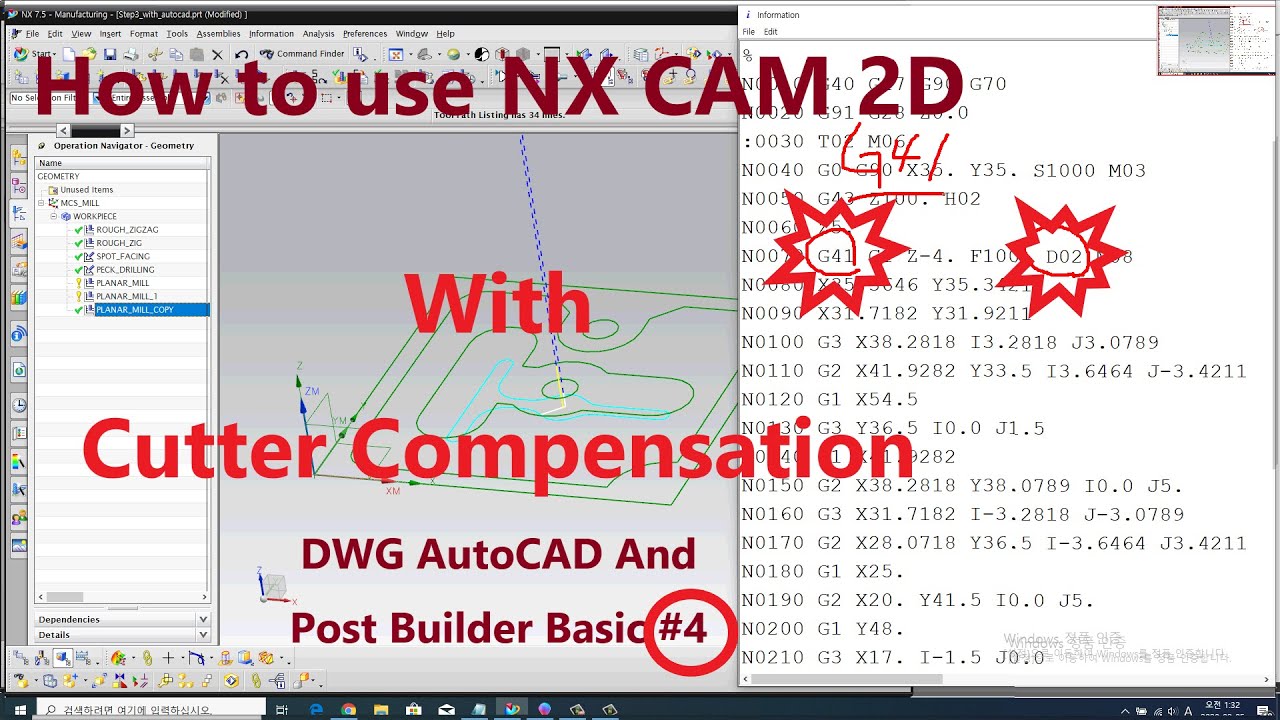
* How to use NX CAM 2D with DWG File - Step#4 Finish Pocket Area with Cutter Compensation.(G41,G40)
Показать описание
* NX CAM 2D Basic(with Dwg) Contents.
1. Open/Import DWG(AutoCAD) File
2. Start Manufacturing
3. Set MCS, Clearance, Fixture Offset
4. Workpiece(part,blank,check)
5. Tool Setting
T01_10mm EM for Rough
T02_10mm EM for finish
T03_CenterDrill 3.15/8mm
T04_TwistDrill 8mm
T05_Chamfer
T06_FaceCutter_40 from Tool_Library.
T07_FaceCutter_50 Rough.
T08_Ball_2mm_engrave
6. Operation List (All S1000 F100)
6-2.CenterDrill G99 G81 Z-2. R5.
6-3.PeckDrill G99 G83 Z-23. R5. Q3.
6-5.Contour_Area Semi_f(0.2)/finish
7. Simulation for verify Tool Path. Make IPW.
8. Postprocessor with Default 3axis_Mill
9. Edit/Make Default 3axis_Mill as Metric
- Insert G54, G99 in Canned Cycle.
11. Register in Postprocessor List.
12. Register Post Builder Library.
 0:10:13
Siemens NX 12 Tutorial for Beginners
 0:09:40
Nx Quickstart - How to Scale a JavaScript Project
 0:14:01
NX Tutorial for Beginners - 1
 0:01:25
siemens nx tutorials how to use subtract command | unigraphics ug nx tutorials
 0:00:58
siemens nx tutorials how to use unite command | unigraphics nx tutorials
 0:16:29
Siemens NX 12 Tutorial for Beginners - 3
 0:06:11
Siemens NX Tutorial for beginners,basic model for surface exercise -35
 0:39:04
Siemens NX Basic Assemblies Tutorial
 0:08:24
Better Value Than RX? 2024 Lexus NX 350 F-Sport 3 AWD Review
 0:02:20
NX 12.0 | SIEMENS | Walkthrough - Trim Curve
 0:00:33
how to use wave geometry linker in nx
 0:09:07
Monorepos - How the Pros Scale Huge Software Projects // Turborepo vs Nx
 0:04:33
NX 12 Use of layer in modeling
 0:12:03
Siemens NX Tutorial | Standard Parts
 0:06:30
How To Use The New NX Measure Tool | Blog
 0:13:50
NX Training Exercises Tutorial - 1
 0:01:38
NX Extrude Part of a Sketch | Multiple Extrude from one Sketch | Siemens NX Tutorials
 0:01:30
How to Give Expression in NX | Use of Equation in NX explained in 1 min
 0:18:51
Siemens NX Tutorial | How to use Reference Set in NX
 0:04:31
Siemens Nx Training Tutorial | UG Nx CAD Tutorial | How to create Rib / Stiffener in Nx
 0:11:43
Siemens NX Freeform Pro Tutorial - how to use Splines to create Class-A Surfaces (Part 1/2)
 0:00:33
NX 11 Revolve command |
 0:16:11
Siemens NX- What's New in Sketcher || NX 2306 Tutorials
 0:21:50
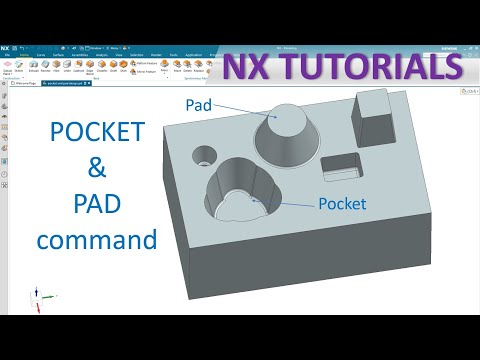
Siemens NX Modeling tutorials #13 | How to use Pocket and Pad command
Комментарии