filmov
tv
72v 12,000watt enduro Ebike build! (Step by step explanation)

Показать описание
Here are all the products links. Keep in mind some of these prices have gone up since I have bought so I will also make recommendations to other products . Excuse apexling errors my phone Is sort of glitching out
-frame- has gone up in price since I bought.
Zoom Forks=trash and they have gone up 100 dollors 🤨 all forks are universal so look Into something else.
All small unmentioned parts come with Included links. Total build price is about 4100.
-frame- has gone up in price since I bought.
Zoom Forks=trash and they have gone up 100 dollors 🤨 all forks are universal so look Into something else.
All small unmentioned parts come with Included links. Total build price is about 4100.
 0:10:43
72v 12,600 watt enduro ebike after 2 years!( ultimate q&a
 0:06:15
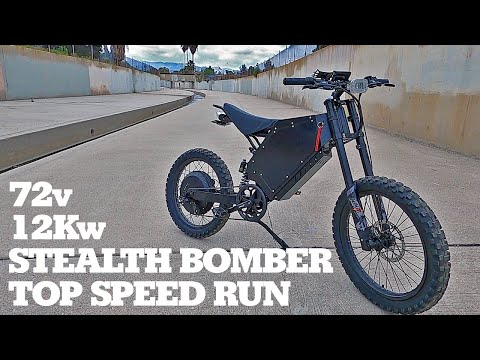
72v 12000w Stealth Bomber Walk-around + Top Speed Run
 0:06:33
DIY Stealth Enduro Battery! Create a Powerful 72V 40AH Battery for Cheap!
 0:00:09
This Electric Bike Is Looking Clean #shorts
 0:10:00
I Built a 15,000W eBike and it's WAAAAY Overpowered
 0:01:15
ENDURO EBIKES CANADA | Overview Build, Style & Options
 0:08:54
Enduro 12000w 5T E-Bike Unboxing & Build
 0:17:41
Enduro Ebike build start to finish
 0:02:54
72v 12,500 Watt Ebike ( 12.5KW - SABVOTON72150 - qs273 )
 0:01:22
ENDURO EBIKES Overview Build, Style & Options
 0:00:16
Cyc pro x1 3000w vs Bbshd 1000w race full build coming tomorrow.
 0:08:12
🚲 Custom 8KW (8,000W) E-bike! Hex-Camo Enduro Ebike - DIY Full Build! 72V \ QS273
 0:00:14
12kw 72v 80+mph Follow us for the full videos
 0:13:38
Illegal 3000W 72V E-Bike Build Conversion Kit
 0:20:36
Enduro 72v 5000w stealth bomber ebike custom build clone Overview and Commuting
 0:10:01
72v enduro Ebike(What you need to know about it).
 0:21:16
72v 12000w Stealth Bomber Street Range Test
 0:17:04
This thing is too fast! (60 mph 12000 watt ebike adventure)
 0:15:10
I Built an INSANE Electric Mini Dirt Bike (+60mph!)
 0:10:20
How to Build an Electric Mini Bike
 0:08:38
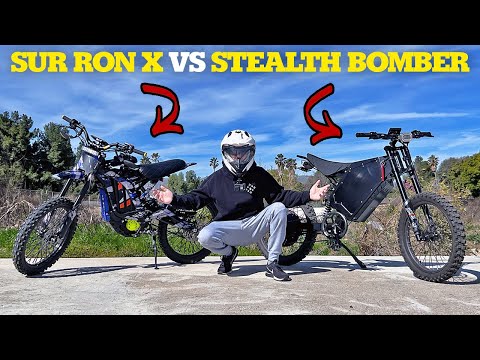
60v Sur Ron X VS 72v 12000w Stealth Bomber Ebike
 0:11:08
High power DIY 72 Volt eBike Build
 0:05:51
The best electric bike Super 73 RX DIY MOD!
 0:00:26
SURRON EBIKE URBAN FREERIDE LINE
Комментарии