filmov
tv
How to use a Rotary Encoder with an Arduino - CODE EXPLAINED!

Показать описание
In this video we will have a look at rotary encoders and in particular go through a robust and reliable code for the Arduino.
The code in the video can be downloaded here:
Make sure that the pins used to connect the rotary encoder to support interrupts. See:
The code in the video can be downloaded here:
Make sure that the pins used to connect the rotary encoder to support interrupts. See:
 0:11:34
How to use a rotary polisher FOR BEGINNERS
 0:02:20
How to use a Rotary Tool
 0:26:30
A Guide To Using A Rotary Polisher/Buffer To Polish Car Paint! + Rupes Rotary Polishing System!
 0:07:46
Polishing with a rotary made easy.
 0:04:04
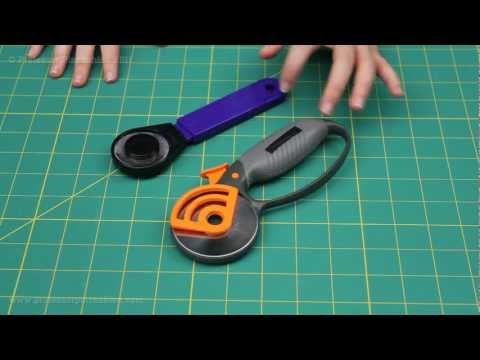
How to Use a Rotary Cutter - Updated
 0:08:02
How to Use a Dremel Rotary Tool & Its Accessories
 0:07:35
Rotary Tool Basics: Your New Favorite Tool
 0:03:31
How to Use a Rotovap (Rotary Evaporator)
 0:09:53
👍 HOW TO USE YOUR ROTARY CUTTER - 10 TIPS FOR BETTER RESULTS
 0:10:04
Dremel/Rotary Tool 101: Complete Beginner Guide
 0:03:53
How to Use a Rotary Evaporator (Rotavap)
 0:07:59
Cleaning and Shaping, Using Rotary Files
 0:20:51
How To Use a Rotary Cutter // Helpful Beginner Tips and Tricks
 0:02:50
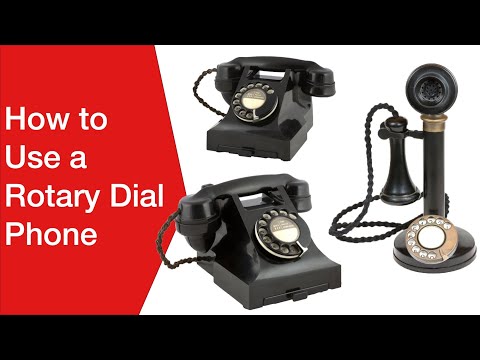
How To Dial a ROTARY TELEPHONE (a guide for Generation Z & Late Millenials...really)
 0:12:26
How to use a rotary polisher for the beginner
 0:00:41
How to Use a Rotary Cutter
 0:06:23
How to Use a Rotary Tool | RYOBI Tools 101
 0:08:35
How To Use a Rotary Polisher! - Chemical Guys
 0:08:02
Rotary Tools Tips and Tricks
 0:04:21
Rotary Tool How to - Mandrels and Attachments
 0:10:37
How to Use a Rotary Cutter
 0:02:54
How to Use a Rotary Cutter
 0:04:12
Rotary Cutting Tip for Beginners- Crafty Gemini
 0:02:22
How to Use a Rotary Dial Phone / Telephone
Комментарии