filmov
tv
How to Make a Curved Railing (No Steam Required)

Показать описание
A simple method for creating a curved railing using laminated strips. No steam is required.
The Excel file containing the equation for the curvature is found at:
The Excel file containing the equation for the curvature is found at:
 0:08:36
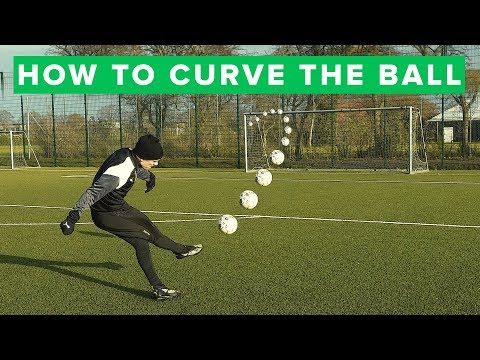
How to curve the ball | Learn bending free kick
 0:00:33
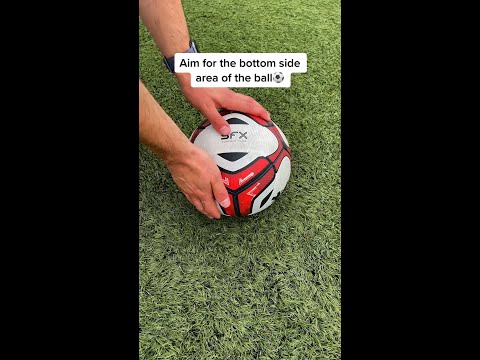
5 steps to curling a ball like a boss
 0:00:11
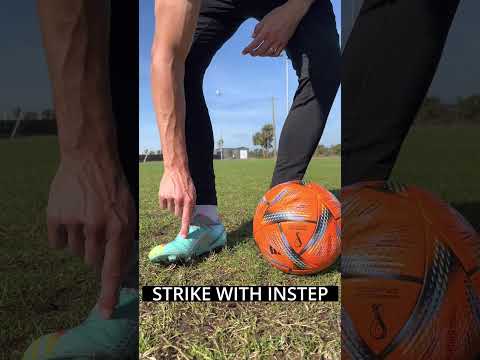
How To Curve The Ball (Shooting Tutorial)⚽️🔥
 0:00:14
Curve Shot Tutorial
 0:04:25
How to make a Curved Glulam Beam for a Shepherd Hut roof: Complete Step-by-Step Woodworking Guide
 0:00:17
Try this Curved Shot tutorial! ✅⤵️⚽️
 0:00:36
Make AMAZING Curved Objects in Blender in 60 Seconds!
 0:05:45
How to Shoot with CURVE in Soccer
 0:00:58
Loader in Html CSS #shorts #cssanimation #html #css #coding #trending
 0:00:34
How to Shoot With Curve in 3 Steps
 0:03:31
Make Long Curves with a Simple Drawing Bow - Woodworking
 0:00:22
Bloxburg CURVED PATHS are super easy to build? #bloxburg #roblox #bloxburgbuilds
 0:00:32
How To Make Curved Text in Premiere Pro
 0:00:54
Creating a curved wall in SketchUp without any plugins! #curvedwall #sketchup3D #nicetower #sketchup
 0:00:16
making curved geometry quickly
 0:25:35
Build a Curved Rafter Cedar Pergola - Sawn Arches
 0:06:11
How to make CURVED mouldings and trim with a router table!
 0:00:43
Making Curved Doors for my Record Player Cabinet…
 0:13:21
DIY CURVED TOP CROSSBODY BAG / SHOULDER BAG / DIY BAG / BAG MAKING TUTORIAL
 0:00:59
Can I Make My Own Lego Curved Track?
 0:01:01
SketchUp tricks and tips! Creating curved handrails without any plugins in #sketchup #nicetowers
 0:01:00
Why 3D Printing Struggles with Curved Surfaces #3dprinting
 0:01:01
How to make a curved surface in SketchUp?!Hera is the tutorial by the help of Shape Bender plugin.
 0:00:22
Bending Wood #shorts
Комментарии