filmov
tv
How to Make a DIY Saw Guide with Magnets Woodworking Tutorial

Показать описание
Creating a DIY saw guide with magnets enhances precision in woodworking projects. Begin by selecting a straight, sturdy piece of wood or metal as the base of your guide. Measure and mark the base to match the width of your saw's base plate. Securely attach rare earth magnets along the marked line using strong adhesive, spacing them evenly to match the saw base plate's length. Ensure the magnets are flush with the guide's surface to provide a stable, magnetic grip on the saw. Once the adhesive cures, test the guide's alignment with the saw, adjusting if necessary. This magnetic saw guide ensures straight cuts, guiding the saw smoothly along the workpiece. Its simplicity and effectiveness make it a valuable addition to any woodworker's toolkit, improving safety and accuracy with minimal effort.
Woodworking is FUN, come and explore WOODWORKING tips and tricks presented in the fun and byte-sized format of 'YouTube Shorts' and long videos.
Let's Re-wild and 'PLANT A TREE'
Become a Patreon member and gain access to plans, dedicated videos and a rapid knowledge base for only 5€ a month
Channels:
This video is under fair use: Copyright Disclaimer under section 107 of the Copyright Act 1976, allowance is made for “fair use” for purposes such as criticism, comment, news reporting, teaching, scholarship, education and research.
“As an Amazon Associate, I earn from qualifying purchases.”
No
 0:17:37
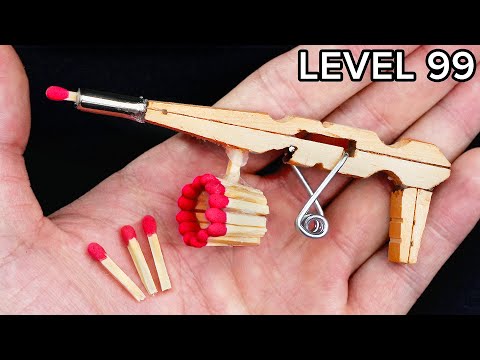
Level 1 to 100 DIY Inventions
 0:19:17
How to Make a DIY Pup Disguise in Ellie's Giant Disc Drop Game
 0:00:15
✨Making Diy viral squishy!? #squishy #fidget #papercraft #cutecrafts #crafts #craft #cute #diy ...
 0:00:48
FUN! DIY Cutest Cat Paper Toys! #shorts #papercraft
 0:10:37
I made a DIY Sofa for a Hotel
 0:19:02
15 DIY Super Fidget Toys - Pop It and Stress Relief Toys - Viral TikTok Videos #fidget #diy #popit
 0:18:30
🌷How to make Stationery | DIY Stationery | Handmade stationery | School hacks
 0:19:17
How to Make a DIY Pup Disguise in Ellie's Giant Disc Drop Game | Ellie Sparkles | WildBrain
 0:00:32
DIY Labubu with Clay #shorts #youtubeshorts #labubu #diy #kidsvideo #kids #craft #clay
 0:00:28
🌀DIY Spiral Game! 🎨 Make and Play the Fun Way! #fun #diy #game
 0:03:08
DIY DISINFECTANT WIPES using what you have! (please share!)
 0:02:18
How To Make Homemade DIY Skincare Products (Detailed Guide)
 0:03:55
Homemade Glue Pen | DlY Glue Pen | How to make glue pen at home | ❌ No Fevicol ❌ No Tape ❌ No Color...
 0:13:15
How to make DIY Real Working Vending Machine with Ryan's World!
 0:00:27
How to make a tissue paper squishy #papercraft #gift #squishy #satisfying #diy
 0:00:21
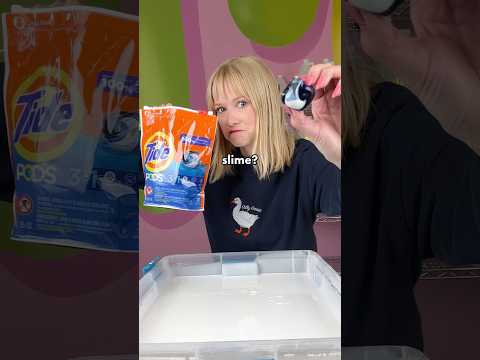
Can Tide Pods Make Slime? Peachybbies.com restocks Friday at 7pm EST! ✨🎉
 0:06:04
How to make a KNEADED ERASER - DIY
 0:08:47
How to Make DIY Lego Maze Christmas Edition!!!!
 0:03:14
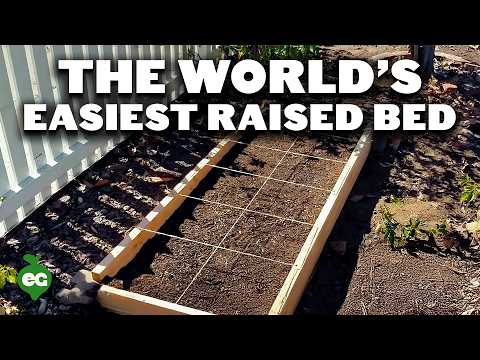
How to Build Cheap, DIY Raised Garden Beds In Under 30 Minutes
 0:19:24
25 Home made craft materials items/How to make Craft Materials in home for School/25 Ghar pe Crafts🤩...
 0:25:55
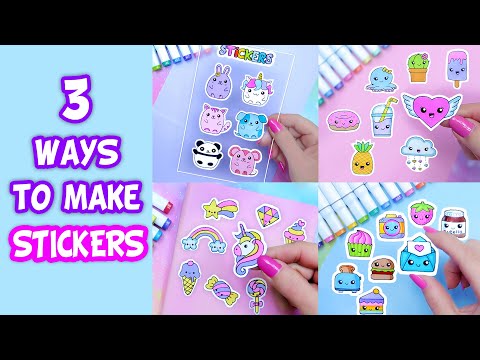
3 Ways! How to Make Stickers/ DIY Stickers / Handmade Stickers / Homemade Stickers
 0:03:07
DIY | How To Make Giant Bubbles!
 0:03:18
DIY Floating Shelves - How To Make Wood Floating Shelves
 0:07:28
BEST Moisturizer DIY Lotion Recipe Natural Ingredients | Natural Minimalist | Mindful Wellness
Комментарии