filmov
tv
The BEST DIY Kit on Amazon: HiVi Swans 2.2A

Показать описание
That was a bit of a fail. I will regroup and try again!
Other items shown in the video*:
This DIY kit is amazing, not only is it the best on on amazon, it is the best one period. Get yourself a HiVi Swans 2.2A today!
Exclusive Discount Codes for DIY Audio Guy fans:
Support DIY audio content by shopping with these affiliates:
Connect with me on social media:
Chapters:
00:00 Introduction and Unboxing
02:15 Enclosure Assembly
04:05 Crossover Assembly
06:53 Vinyl Wrapping
08:56 FAIL!
 0:24:59
This Time... I Built A DIY Speaker That DESTROY Expensive Audiophile Speakers ...
 0:21:46
Why DIY Speaker Kits - Because They're Better and Cheaper - CSS Audio and GR Research
 0:06:17
Top 5 Best DIY Digital Clock Kits 2022 Reviews
 0:19:50
Top 5 Budget DIY Custom Mechanical Keyboard Kits Under $100
 0:20:57
The best way to air down/up tires DIY Kit
 0:06:28
Best DIY Robot kit for beginners - Micro:Bit
 0:06:07
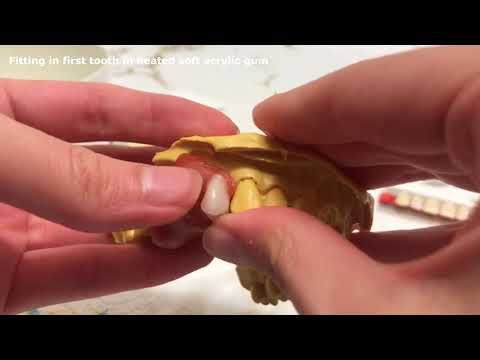
Make the PERFECT Denture Do-It-Yourself Dentist Quality DIY Best Dentures
 0:00:24
Arduino Make Your Uno Kit
 0:05:45
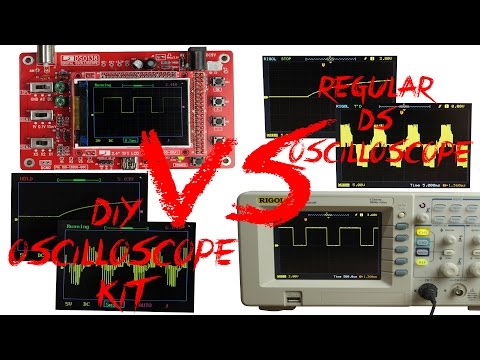
DIY Oscilloscope Kit (20$) VS Regular DS Oscilloscope (400$)
 0:13:47
Zebrawood Tele DIY kit - FINALLY A DECENT KIT! Bad Cat Instruments Telecaster T-style review
 0:06:27
YES! You CAN build $5000 HiFi Speakers for UNDER $500 DIY vs HiFi
 0:00:36
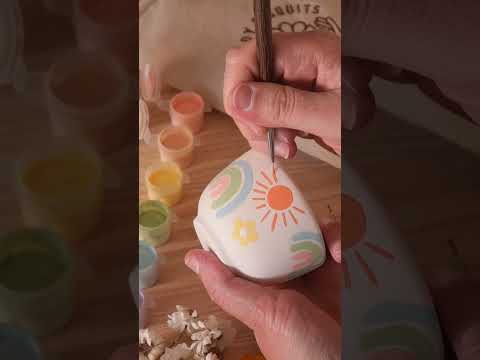
A DIY pottery painting kit ✨ I made this for you 🥹💕
 0:00:34
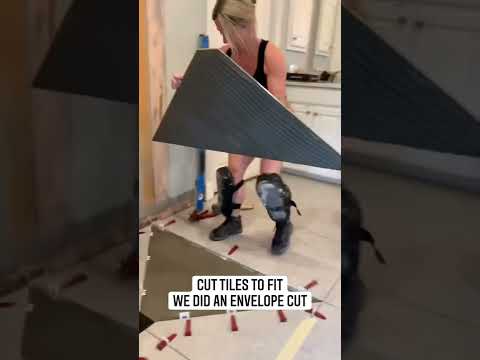
30 second curbless shower #shorts #shortsvideo #diy #tile
 0:15:33
MK870 the Best Budget Custom DIY Keyboard Kit???
 0:08:00
Beginner And Budget Friendly DIY Solar Power System! Anyone can build this!
 0:19:48
Building my StewMac STRATOCASTER | My New Favorite DIY Guitar Kit
 0:05:23
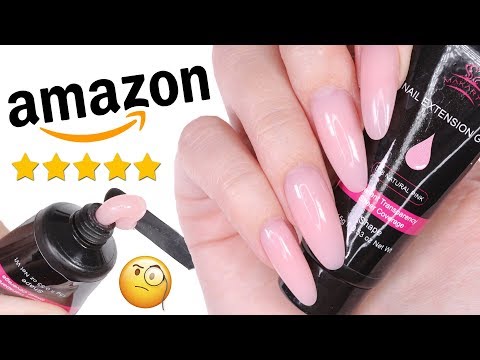
DIY TESTING THE #1 POLYGEL NAIL KIT ON AMAZON PRIME
 0:01:00
Gel-X application step by step🥰 #apresgelx #apresnail #apres#apresgelcouleur
 0:09:45
Top 10 Tools for the New DIY'er for less than £100
 0:19:15
8 Must-Have Power Tools For DIY And Woodworking
 0:00:30
How To Turn One Pendant Into 5!! #Shorts
 0:00:43
THE Reason People Buy Ryobi Tools
 0:00:41
The ₹2000 DIY Drone That Flies! 🔥
 0:00:24
DIY Gloves! TOP CREATIVE IDEAS FOR OLD SOCKS || Everyday Crafts #shorts
Комментарии