filmov
tv
How to Graft Trees like a Pro! Step by Step Tutorial

Показать описание
Are you ready to take your gardening skills to the next level? In this comprehensive step-by-step tutorial, we'll show you how to graft trees like a pro! Grafting is a fantastic technique that allows you to combine the best traits of two different plants into one amazing tree.
In this video, we'll cover everything you need to know about the T-grafting technique, from selecting the right rootstock and scion to the precise steps for making the perfect graft. You'll learn about essential tools, timing, and care for your grafted trees to ensure a successful union.
Whether you're a beginner or looking to refine your skills, this tutorial is packed with tips, tricks, and expert advice to help you achieve stunning results. Don't forget to watch until the end for common mistakes to avoid and answers to frequently asked questions!
Join us on this exciting gardening journey and transform your fruit trees and ornamental plants with the art of grafting. Subscribe for more gardening tutorials, and let’s grow together!
#Grafting #Gardening #TreeGrafting #Tgrafting #PlantCare #HowToGraftTrees #GardeningTips #FruitTrees #Horticulture
.
.
.
KEYWORDS:-
grafting trees, tree grafting tutorial, how to graft trees, grafting techniques, gardening tips, horticulture, tree care, grafting for beginners, fruit tree grafting, step by step grafting, gardening tutorial, plant propagation, DIY gardening, tree grafting methods, growing fruit trees, advanced grafting techniques, home gardening, grafting plants, landscaping tips, tree nursery
.
.
.
VIDEO SCRIPT:-
Are you ready to learn how to graft trees like a pro? Today, we're diving into the T-grafting technique, a simple and effective way to create new trees.
First, gather your materials: a healthy scion, a rootstock tree, a sharp knife, and grafting tape. Start by selecting a suitable rootstock, ideally one that’s healthy and well-established.
Next, make a T-shaped cut on the rootstock. Begin with a vertical incision about one to two inches long, then create a horizontal cut at the top to form the T. Carefully peel back the bark on either side.
Now, take your scion, which is the piece you want to graft. Make a diagonal cut at the base of the scion to fit into the T cut. Insert the scion into the T opening, ensuring the cambium layers of both the scion and rootstock touch.
Once they're aligned, wrap the graft with grafting tape to secure it in place. This helps to hold moisture and promotes healing.
Finally, be patient! Keep the grafted area moist and check for signs of growth in a few weeks.
Thanks for watching our tutorial on T-grafting! If you found this helpful, don’t forget to subscribe to our channel for more gardening tips!
 0:10:34
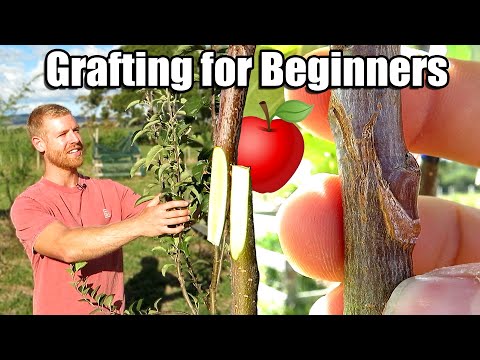
Apple Tree Grafting For Beginners - Learn How To Graft | Includes 6 Months of Updates
 0:10:54
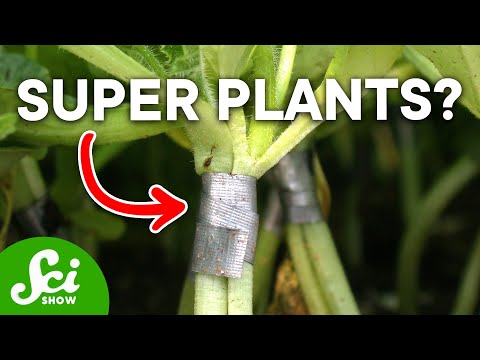
How Plant Grafting Actually Works and Why It's So Cool
 0:00:41
Fruit Trees Grafting Technique | How To Graft Fruit Plants #Short #grafting #shorts #fruittrees
 0:00:27
How to Graft Trees like a Pro! Step by Step Tutorial
 0:08:22
Grafting Trees - How to Graft a Tree
 0:07:34
Fruit Tree Grafting for Beginners
 0:25:03
How to Graft Trees
 0:09:16
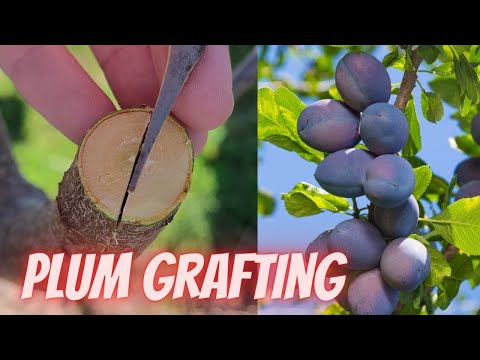
How to graft plum trees
 0:16:46
7 COMMON GRAFTING MISTAKES and HOW to AVOID THEM | Grafting Techniques TIPS
 0:08:12
How to Graft Fruit Trees Like A PRO | Loquat Tree Grafting | Fruit Tree Grafting | Cleft Grafting
 0:09:42
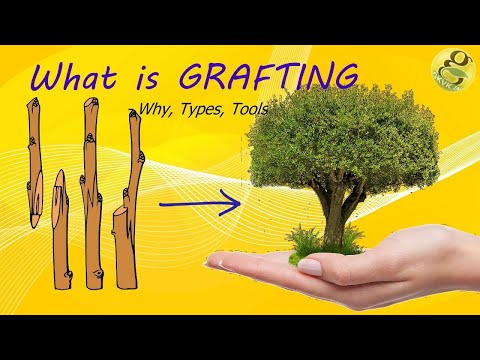
What is Grafting - Methods,Techniques,Benefits of Grafting | Grafting Tools
 0:00:14
Best method and unique ideas for the grafting of fruit trees #grafting #plants #garden #tree
 0:15:32
Grafting Fruit Trees | The 2 Best Techniques for Grafting Figs and other fruit trees
 0:05:33
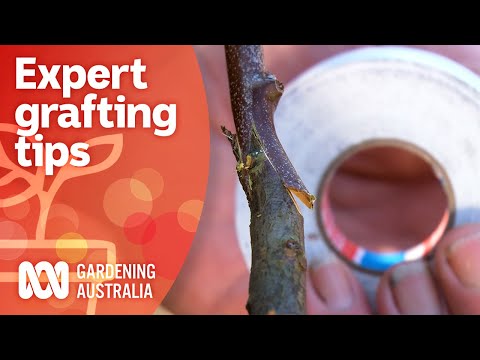
Topworking - how to graft multiple fruit to grow on one tree | Gardening Australia
 0:15:59
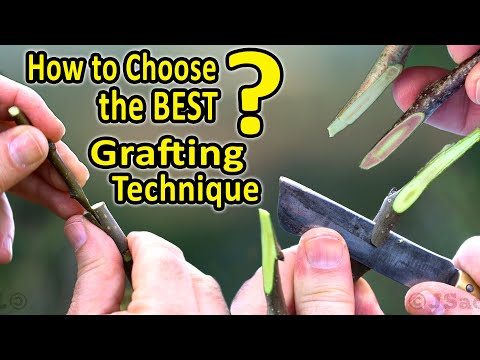
Best Grafting Techniques | WHICH Grafting Technique should I CHOOSE, when grafting fruit trees?
 0:04:19
Grafting a Orange branch on Lemon Tree by Cleft grafting | Grafting Citrus Trees | Grafting Plants
 0:00:15
Easy Grafting skills #plants #tree #grafting
 0:02:44
Grafting Trees - How to Graft a Tree Recap
 0:17:27
Grafting Fruit Trees | The 3 BEST Grafting Techniques for SPRING
 0:00:26
Graft Like a Pro with Just One Simple Trick #shorts
 0:00:13
Best method and unique ideas for the grafting of fruit trees #grafting #plants #garden #tree
 0:00:11
Grafting olive tree successful method #oliveoil #satisfying
 0:50:09
5-IN-1 Fig Tree | Grafting & Re-Potting Techniques
 0:00:49
4 in 1 Grafting . Best Method to Graft Guava in Late Summer.
Комментарии