filmov
tv
Blender 2.82 : Hair Rigging, Physics, & Animation (In 2 Minutes!!!)

Показать описание
Hair animation, can be one of the most frustrating parts of Character Design for new users. But, luckily there are a few tricks that can literally save you months of pointless manual animation. Learn everything you need about rigging hair in the next few minutes!!! Hope it helps :)
Wiggle Bones Download Link:
Spring Bones Download Link:
Female Body Model Link:
If you enjoyed this video, please don't forget to like and subscribe!
You can find my entire Blender 2.8 Speed Tutorial series here:
I also have a small 1$ Patreon perk available for anyone who would like to simply support the channel. Please check it out if you get the chance :)
If you're a gamer, please check out my new game on steam! It took over 3 years to create and has thousands of hours and heart put into it :)
As always, thank you so much for watching, please have a fantastic day, and see you around!
- Royal Skies -
-------------------------------
 0:02:45
Simple Hair Collisions Blender 2 82!
 0:01:11
blender 2.83 new hair collision tutorial - animation
 0:10:46
WIGGLE2 | Bones collision & Simulation of bones and wind
 0:17:38
Blender Character Creation - Chapter 12 - Hair Rigging (Part B)
 0:00:53
HAIR DYNAMICS ( CLOTH MODIFIER, WEIGHT PAINTING, BLENDER 2.83 ).
 0:00:23
Novo sistema de Hair do Blender
 0:00:15
I Animated hair in blender
 0:00:26
Blender 2.8 | Cloth Simulation + Particle Hair Dynamics | 4K PREVIEW
 0:07:00
Blender rigging tutorial: Jitter Physics in Real-Time(non-addon)
 0:08:03
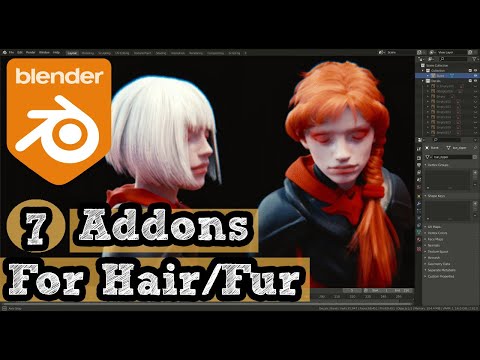
Blender Addons for hair & Fur
 0:06:00
Rigging Particle Hair In Blender
 0:00:09
Hair dynamics- particle simulation via Blender 2.82
 0:17:32
Modeling a Character in Blender 3d 2.83 Part 2 - Hair
 0:05:41
Blender 3.0 - How to add Hair Particles on any type of Rigid Body objects | Short tutorial |
 0:06:41
Blender 2.8 Organic modeling/animation with Hair Particles Tutorial
 0:02:41
Blender 3.0 Hair Tutorial & Tips | How to Animate Hair with Shape Key
 0:05:42
Blender Tutorial: SILKY HAIR SHADER
 0:00:34
Hair Simulation in Blender #shorts #blender
 0:01:05
Blender Rigging Tips & Tricks | Rigging Helper | VFX Grace
 0:11:34
How Pixar Makes Hair in Movies | Taz
 0:00:28
Mohawk Hair #blender #3d #shorts #character
 0:06:28
Hair Grooming Tutorial | Blender 2.8
 0:10:54
Modelling hair using splines - blender
 0:15:52
Hair Tutorial with Hair Tool in Blender
Комментарии