filmov
tv
TUTORIAL: Quickly getting started with ESP32 / ESP32S in 5 - 10 minutes! Beginner Friendly! Arduino!

Показать описание
My website link for downloads (if any are present), etc:
A short video, introducing the ESP32! Hopefully, you'll like it. It's concise as possible!
Please Note: The ESP32, like it's predecessor, it's picky about power! Make sure you have a stable power source or it simply won't work!
Schematics for the DOIT ESP32 board:
A short video, introducing the ESP32! Hopefully, you'll like it. It's concise as possible!
Please Note: The ESP32, like it's predecessor, it's picky about power! Make sure you have a stable power source or it simply won't work!
Schematics for the DOIT ESP32 board:
 1:00:06
Python for Beginners - Learn Python in 1 Hour
 2:30:48
Java Tutorial for Beginners
 0:02:30
Go in 100 Seconds
 3:10:19
SQL Tutorial for Beginners [Full Course]
 1:03:21
👩💻 Python for Beginners Tutorial
 0:48:17
JavaScript Tutorial for Beginners: Learn JavaScript in 1 Hour
 0:16:20
Node.js Ultimate Beginner’s Guide in 7 Easy Steps
 5:31:30
Python Tutorial for Beginners - Learn Python in 5 Hours [FULL COURSE]
 0:25:00
How to Construct a Stunning Quilt from Scratch - Easy Tutorial
 0:24:23
Figma UI Design Tutorial: Get Started in Just 24 Minutes!
 0:01:47
Tech Deck Tutorials: Getting Started
 0:09:00
FASTEST Way to Learn Data Science and ACTUALLY Get a Job
 0:02:17
React Native in 100 Seconds
 0:17:40
Learn Basic SQL in 15 Minutes | Business Intelligence For Beginners | SQL Tutorial For Beginners 1/3
 0:32:49
Microsoft Excel Tutorial - Beginners Level 1
 0:02:45
Unity in 100 Seconds
 0:14:49
Getting Started With Hugging Face in 15 Minutes | Transformers, Pipeline, Tokenizer, Models
 0:08:36
How to Crochet for Absolute Beginners: Part 1
 0:22:30
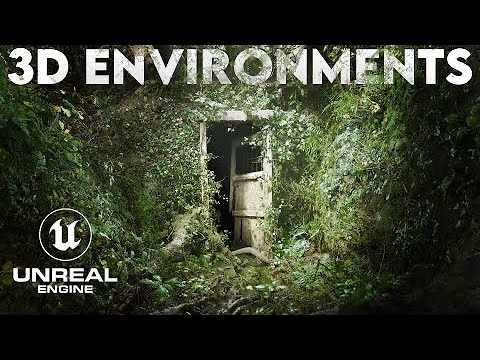
How I Quickly Create 3D Environments in Unreal Engine 5 | FULL WORKFLOW
 0:33:48
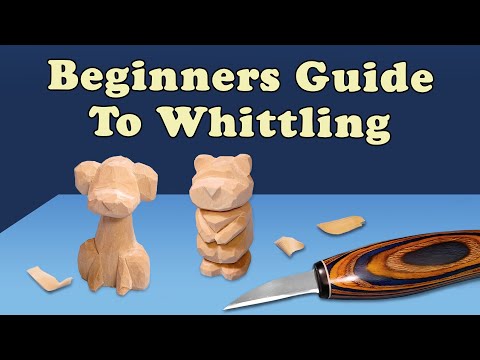
Start Whittling TODAY - Complete Beginners Guide to Whittling
 1:09:13
Git Tutorial for Beginners: Learn Git in 1 Hour
 4:26:52
Learn Python - Full Course for Beginners [Tutorial]
 1:12:04
Kubernetes Crash Course for Absolute Beginners [NEW]
 1:09:34
HTML Tutorial for Beginners: HTML Crash Course
Комментарии