filmov
tv
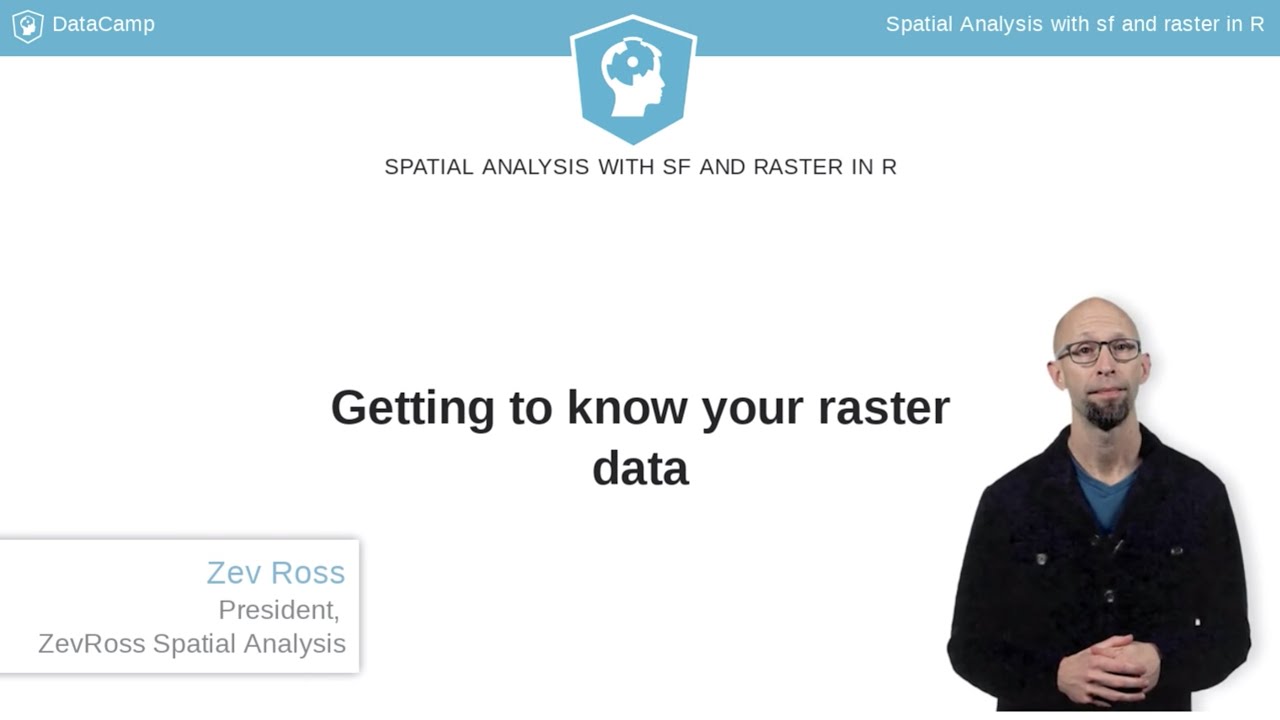
R Tutorial: Getting to know your raster data
Показать описание
---
In this lesson, we will explore raster data. Once you read in your raster layers with either the raster() or brick() functions you'll notice that they will be stored as objects with the class RasterLayer or RasterBrick. These classes are very similar in terms of their structure. Let's start with a look at the RasterLayer object.
If you type the name of your RasterLayer in the console, this is the single-band object created by reading in with the raster() function, you'll see a print out of some key pieces of metadata like information on the dimensions, resolution (meaning the grid cell size) and coordinate reference system (which we'll talk about later).
With a RasterBrick object you can see that the metadata is very similar to a RasterLayer except that there are a few spots that indicate we have more than one layer. In particular, under dimensions we have 3 as the number of layers and we have three names, one for each layer in the brick. The print out on the console is a useful description of all the metadata, but in many cases you'll want to extract and use pieces of this information. The raster package comes with a number of handy functions to help you do this.
So for example, you can use extent() to get the minimum and maximum X and Y coordinates, ncell() and nlayer() to get the number of cells and number of layers. And then crs() will grab the coordinate reference system and you'll see later that you can use this to reassign the CRS if needed.
So you can see here that the file on disk is nearly 2 million bytes, so a big file, but in memory it’s just 12 thousand bytes because the values have actually not been read in.
You can use the inMemory() function to explicitly ask R if the raster values are in memory. A returned value of FALSE means that the raster values are not in memory.
You can use the inMemory() function to explicitly ask R if the raster values are in memory. A returned value of FALSE means that the raster values are not in memory.
As discussed earlier, often it's useful to take a quick look at your spatial objects to make sure they match your intuition. Later we will use the tmap package to make nice maps with these rasters, but for much of the course we will make use of the plot() and plotRGB() functions to take a quick look.
When you plot a single band raster with plot you see the single layer as a map complete with legend.
If you use plot() with a multi-band raster you can see here that each individual layer will be plotted as a separate map.
If your multi-band raster has a layer each for red, green and blue light (which is common with satellite data) you can plot them together to create a true color image with plotRGB(). Now it's your turn to work with raster data!
#DataCamp #RTutorial #Spatial #Analysis #raster
 2:10:39
 0:07:48
 3:16:53
 0:49:45
 6:49:39
 10:10:56
 0:04:52
 1:10:56
 1:33:00
 0:08:35
 0:24:02
 1:50:45
 0:08:46
 1:03:22
 0:06:22
 1:26:19
 0:02:27
 0:05:38
 0:08:12
 0:08:10
 0:11:10
 0:21:26
 0:00:28
 0:06:40