filmov
tv
How to Detect and Fix a Bathroom Leak | This Old House
Показать описание
In this video, This Old House plumbing and heating contractor Richard Trethewey shows how to find and fix a bathroom leak. (See below for a shopping list and tools.)
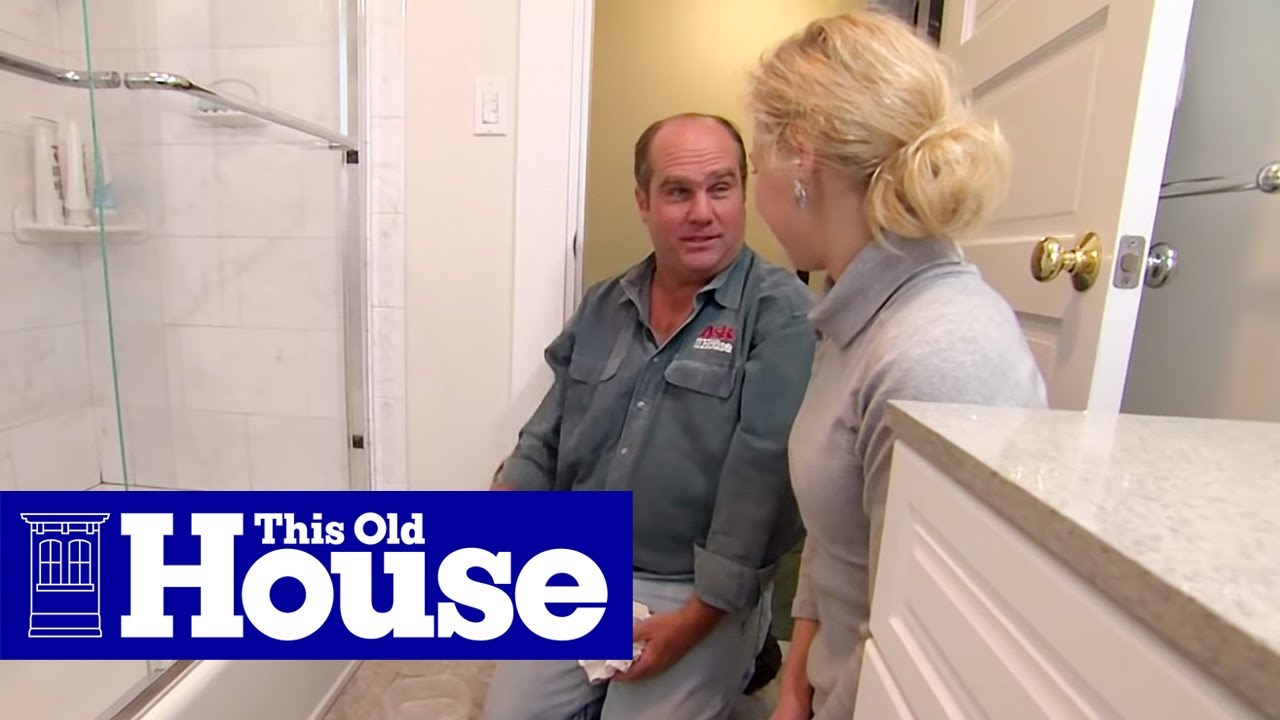
Richard helped a homeowner with a mysterious leak that caused a water stain on the foyer ceiling. First, Richard went to the upstairs bathroom and inspected the bathtub and toilet. He also looked at the floor tile and shower door. He then decided to open up the ceiling below to help determine the source of the leak. Using a reciprocating saw, Richard cut out a large, square piece of drywall just below the bathtub and toilet. With the ceiling opened up, Richard determined that neither the toilet nor bathtub drains were leaking. Back upstairs, Richard discovered that water was leaking around the shower door and down through the floor. To fix the problem, Richard installed a "door sweep" on the shower door to prevent water from escaping. He then removed some old tile grout around the base of the tub and applied a bead of silicone caulking, making a watertight seal. Finally, Richard replaced the ceiling drywall below and the repair was complete.
Shopping List for How to Detect and Fix a Bathroom Leak:
- door sweep, for creating watertight seal along vertical edge of shower door
- silicone caulk, for sealing joint between floor and tub
- drywall, used to patch ceiling below bathroom
- drywall screws, for attaching new drywall patch to ceiling joists
- joint compound and drywall tape, for finishing new drywall patch
- primer and paint topcoat, for covering drywall patch
Tools for How to Detect and Fix a Bathroom Leak:
- chalk line, used to snap cutting lines on existing ceiling
- reciprocating saw, for cutting out water-damaged ceiling
- utility knife or grout saw, used to remove old grout from joint between floor tile and tub
- caulking gun, for applying silicone caulk
- cordless drill, used to drive in drywall screws
- drywall taping knives, used to finish drywall ceiling patch
- paintbrush and paint roller, for priming and painting drywall patch
About Ask This Old House TV:
Homeowners have a virtual truckload of questions for us on smaller projects, and we're ready to answer. Ask This Old House solves the steady stream of home improvement problems faced by our viewers—and we make house calls! Ask This Old House features some familiar faces from This Old House, including Kevin O'Connor, general contractor Tom Silva, plumbing and heating expert Richard Trethewey, and landscape contractor Roger Cook.
Plus, download our FREE app for full-episode streaming to your connected TV, phone or tablet:
Follow This Old House and Ask This Old House:
How to Detect and Fix a Bathroom Leak | This Old House
 0:03:55
How to Detect and Fix a Bathroom Leak | This Old House
 0:06:34
How to detect (and fix) frequency collisions with FabFilter Pro-Q 3
 0:08:53
How to detect and fix Memory Leaks on Android with Android Studio
 0:01:24
How to Detect and Fix a Battery Connection Issue | Schneider Electric Support
 0:11:54
How to detect and fix Multicollinearity using Stata?
 0:05:13
Understanding the concepts of aliasing and how to detect and fix it using a Tektronix oscilloscope
 0:04:57
How To Do Water Leak Detection Like A Plumbing Pro
 0:00:56
How to fix Detect and mount installation media. | Linux - Error | The Malware Hawk
 0:03:51
How To Fix Windows 11 WiFi Adapter Missing Problem
 0:07:56
How to detect and fix leaks in your home
 0:04:27
Achieve Precise Weighing: How to Detect and Fix Leveling Errors
 0:03:01
How to Fix Problem Detect And Mount CD-ROM Install Kali Linux 2.0
 0:00:55
Fix Windows 10 could not automatically detect this network's proxy settings Error
 0:00:29
How to Detect and Fix Water Pump Leaks in Your Engine
 0:08:49
15 Ways to Detect a Plumbing Leak UNDER a Slab Foundation
 0:01:09
How To Detect Hidden GPS Trackers On Any Vehicle
 0:16:39
Power query errors: Detect, prevent & fix them
 0:03:43
How to tub leak, detect ceiling leak under bathroom, stop tub leaking. Easy!
 0:08:21
Repairing Exhaust Pipe Leaks(How To Detect /Fix a Leaking Exhaust Pipe like a pro)
 0:03:29
How to Detect and Fix Water Running Noise Behind the Wall (Hot Water is only warm)
 0:03:20
Windows 10 Won't Detect Second Monitor - How To Fix [Tutorial]
 0:10:13
fix flaky tests with detect-test-pollution! (intermediate) anthony explains #403
 0:09:07
Apple Watch Doesn't Automatically Detect Workout (How to Fix)
 0:13:40
how to detect and fix low voltage problem
Комментарии