filmov
tv
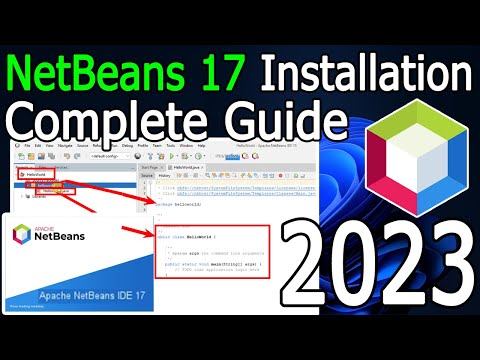
How to Install Apache NetBeans 11.0 for JDK 11.0.2 or higher on Windows 10 x64.

Показать описание
This video shows you how to install Apache NetBeans IDE 11.0 for Java Development Kit 11.0.2 on Windows 10 x64.
I assumed that you have already installed the JDK (Java Development Kit) version 11.0.x. In this example,
C:\Program Files\Java\jdk-11.0.2.
1. Install NetBeans IDE 11.0 for JDK 11 or later
- You need to unzip the downloaded archive to C:\Program Files.
C:\Program Files\netbeans
- Go to C:\Program Files\netbeans\bin folder, where you will see the files:
netbeans
- On 64-bit systems, choose whether you want the shortcut to appear on your Desktop.
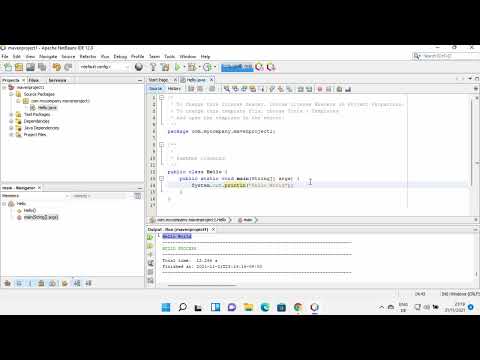
2. Set Up the Project Start NetBeans IDE.
- In the IDE, choose File ... New Project
- In the New Project wizard, expand the Java category and select Java Application. Then click Next.
- In the Name and Location page of the wizard, type your project name in the Project Name field.
- Click Finish.
3. Add Code to the Generated Source File.
- You can add the "Hello World" message to the generated code by replacing the line.
4. Compiling and Running the Program.
- Because of the NetBeans IDE's Compile on Save feature, you do not have to manually compile your project in order to run it in the IDE. When you save a Java source file, the IDE automatically compiles it.
I assumed that you have already installed the JDK (Java Development Kit) version 11.0.x. In this example,
C:\Program Files\Java\jdk-11.0.2.
1. Install NetBeans IDE 11.0 for JDK 11 or later
- You need to unzip the downloaded archive to C:\Program Files.
C:\Program Files\netbeans
- Go to C:\Program Files\netbeans\bin folder, where you will see the files:
netbeans
- On 64-bit systems, choose whether you want the shortcut to appear on your Desktop.
2. Set Up the Project Start NetBeans IDE.
- In the IDE, choose File ... New Project
- In the New Project wizard, expand the Java category and select Java Application. Then click Next.
- In the Name and Location page of the wizard, type your project name in the Project Name field.
- Click Finish.
3. Add Code to the Generated Source File.
- You can add the "Hello World" message to the generated code by replacing the line.
4. Compiling and Running the Program.
- Because of the NetBeans IDE's Compile on Save feature, you do not have to manually compile your project in order to run it in the IDE. When you save a Java source file, the IDE automatically compiles it.
 0:08:03
How to install NetBeans IDE 17 on Windows 10/11 (64 bit) [ 2023 Update ] Complete Installation guide
 0:08:02
How to install NetBeans IDE 21 on Windows 11 [ 2024 Update ] Complete Installation & Demo Java C...
 0:15:36
How to Install the NetBeans IDE and Java JDK on Windows 11
 0:08:53
How to install NetBeans IDE 22 on Windows 11 (64 bit) [ 2024 Update ] with JDK 22 Complete Guide
 0:08:42
How to install NetBeans IDE 20 on Windows 11 (64 bit) [ 2024 Update ] JDK 21 | Complete guide
 0:09:01
How to Install NetBeans 16 with Java 19 on Windows 11 [Updated 2023]
 0:05:38
How to Install Apache NetBeans on Windows 11 | Apache NetBeans + Java SDK [UPDATED]
 0:11:19
How to Install Apache NetBeans 11.2 on Windows 10 x64
 0:08:06
How to install NetBeans IDE 21 on Windows 10 (64 bit) [ 2024 Update ] with JDK 21 Complete Guide
 0:06:54
How to install NetBeans 22 on Windows 11 | Complete Installation [Updated 2024]
 0:02:30
How to Install Netbeans Apache in Windows 10
 0:08:44
🚀 How to Install Apache NetBeans 22 on Windows 10/11 | Step-by-Step Guide 🖥️ #netbeans #java
 0:10:11
Como instalar o Netbeans - 2023
![#01 [JAVA] -](https://i.ytimg.com/vi/wJKgqYj4mtU/hqdefault.jpg) 0:14:20
0:14:20
#01 [JAVA] - Installing the Java Development Tools (JDK, Apache NetBeans IDE)
 0:03:43
How to install NetBeans IDE in Windows 11 | Apache NetBeans IDE 14
 0:07:02
How to Install Apache NetBeans 12 with Java JDK 14 on Windows 10
 0:06:26
How To Install Apache NetBeans IDE 12.0 on Windows 10 x64
 0:07:54
How to Install NetBeans IDE 17 on Windows 10/11 [2023] | Create & Run Java Program | Complete G...
 0:07:29
How to Install NetBeans IDE 23 on Windows 10 /11 [ 2024 ] | Run Java Program in Netbeans IDE
 0:03:49
How to Download and Install Netbeans IDE on Windows
 0:08:39
How to Install NetBeans with on Computer / Laptop
 0:09:19
Installing Apache NetBeans 16 with JDK 19
 0:05:19
How to install Apache NetBeans IDE 14 on Ubuntu 22.04 LTS
 0:08:28
How to install NetBeans IDE 23 on Windows 11 (64 bit) [ 2024 Update ] with JDK 23 Complete Guide
Комментарии